Store Management
General Introduction
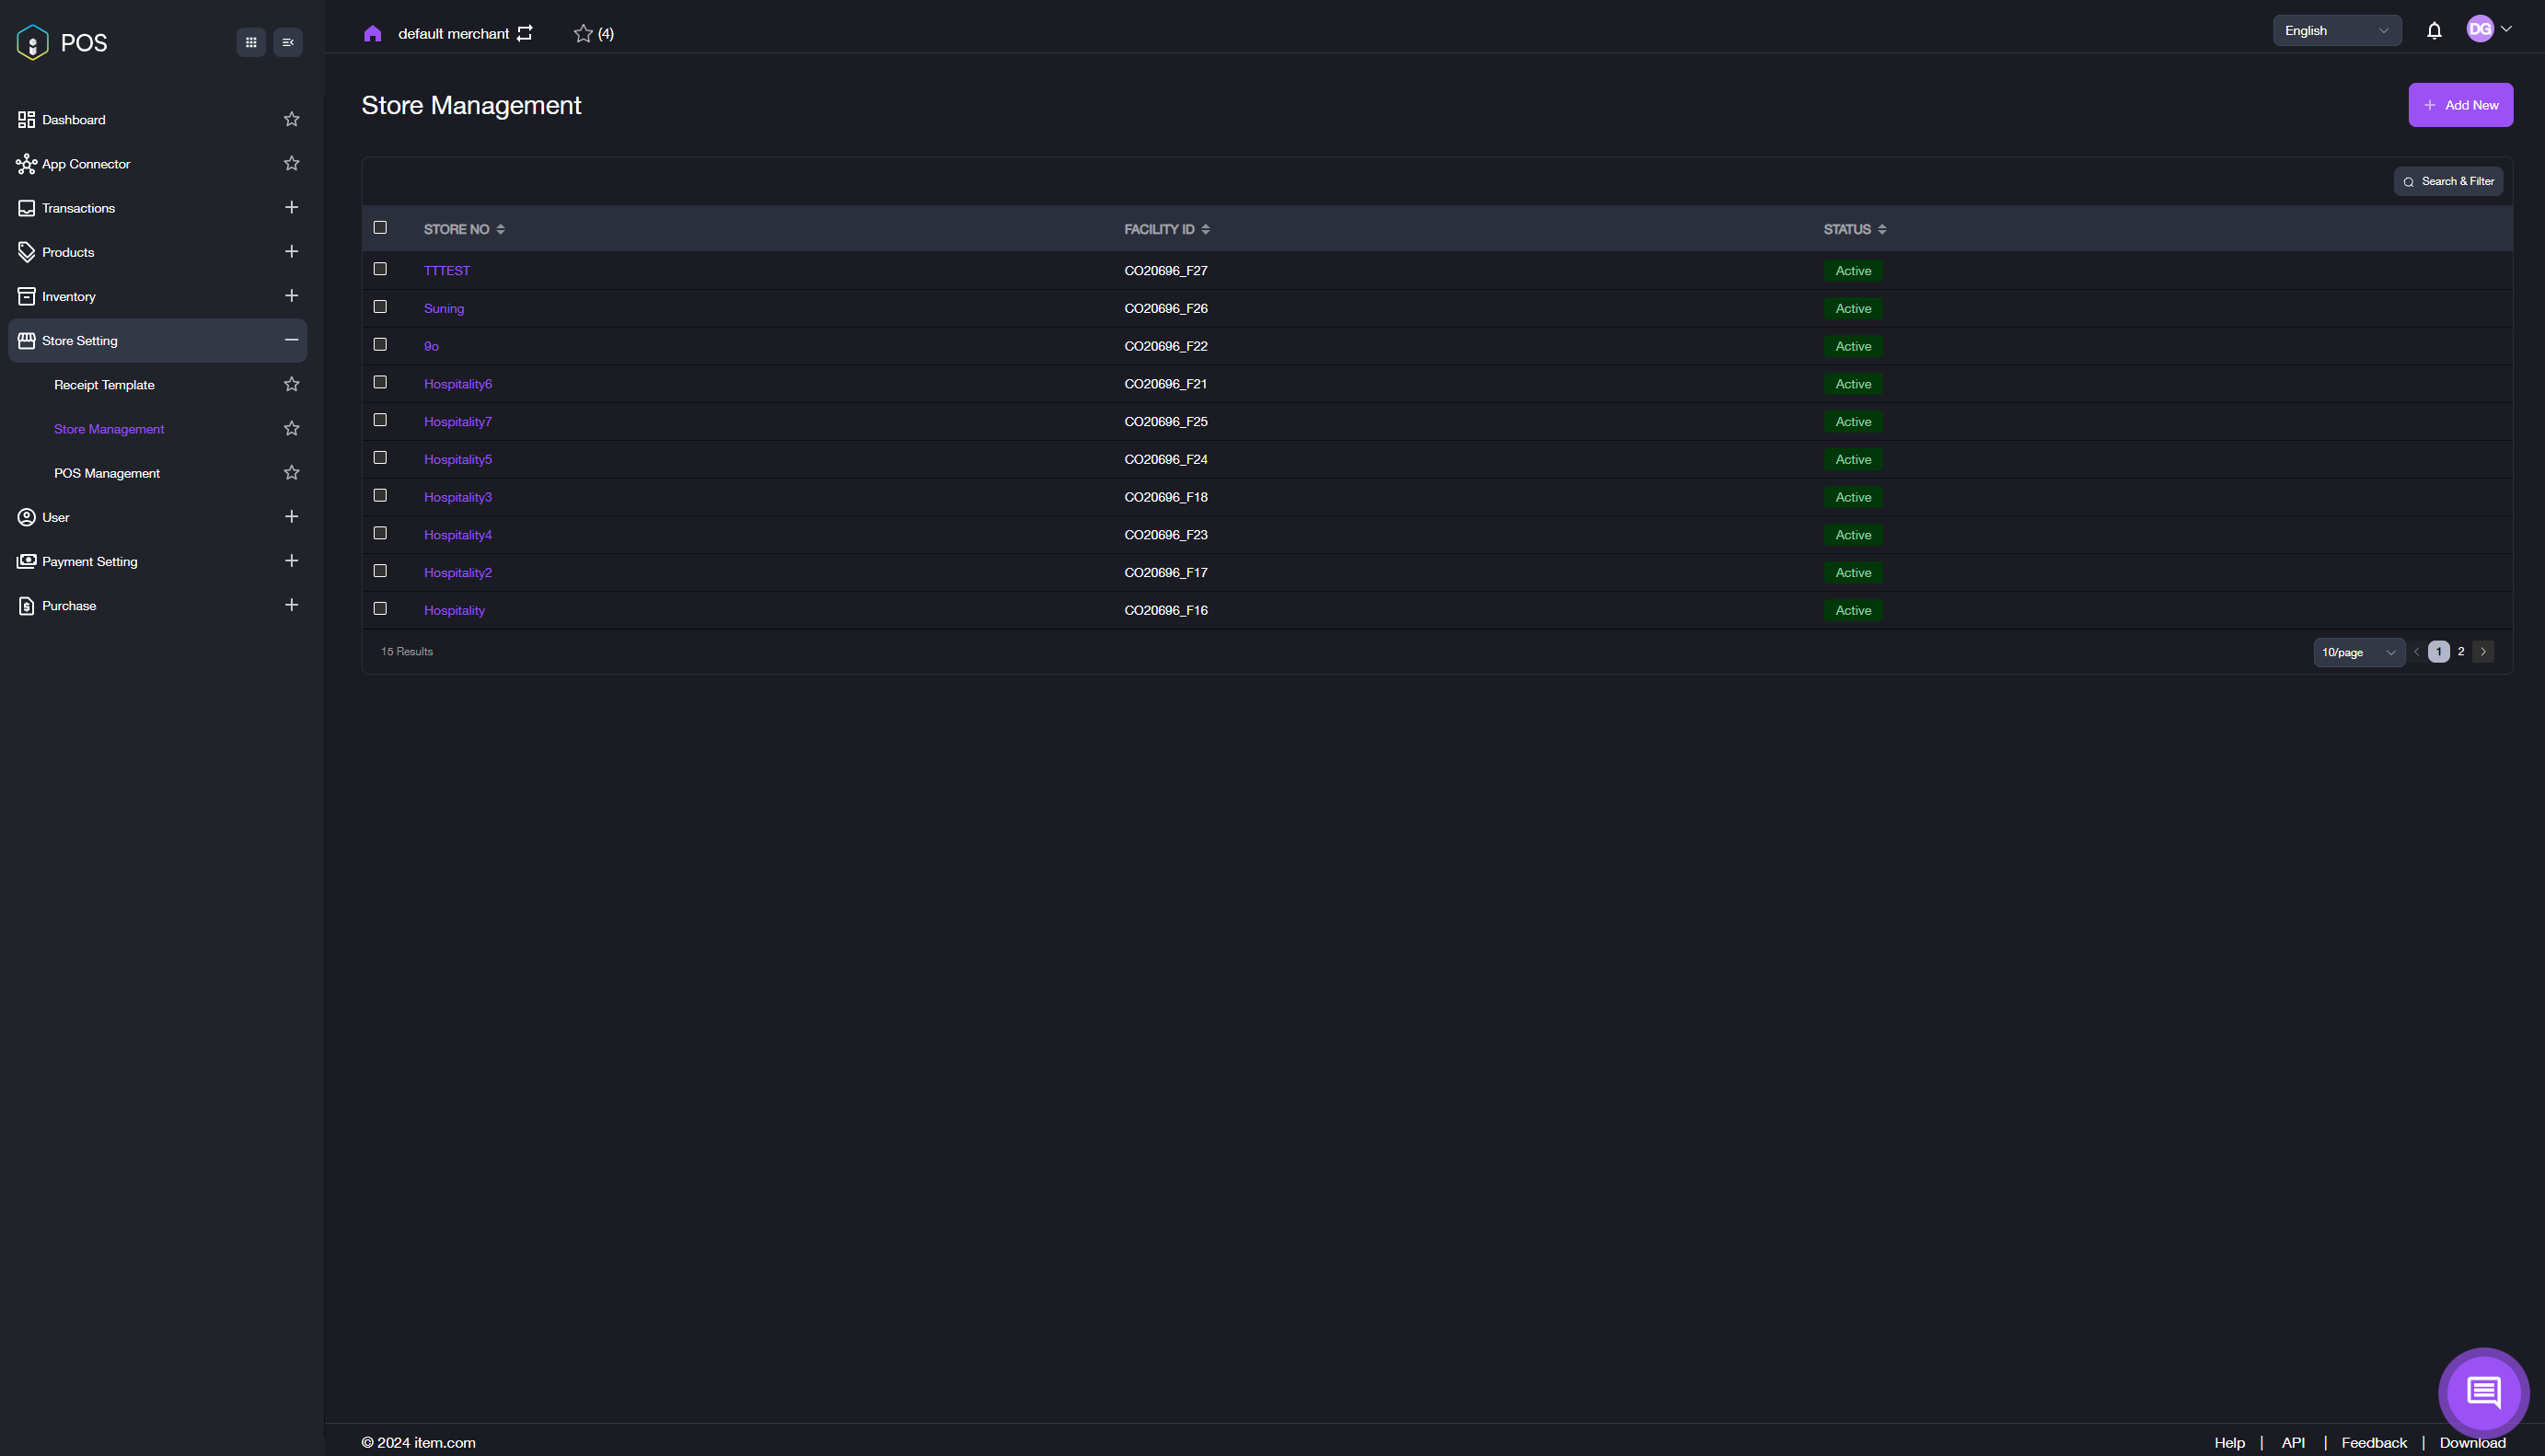
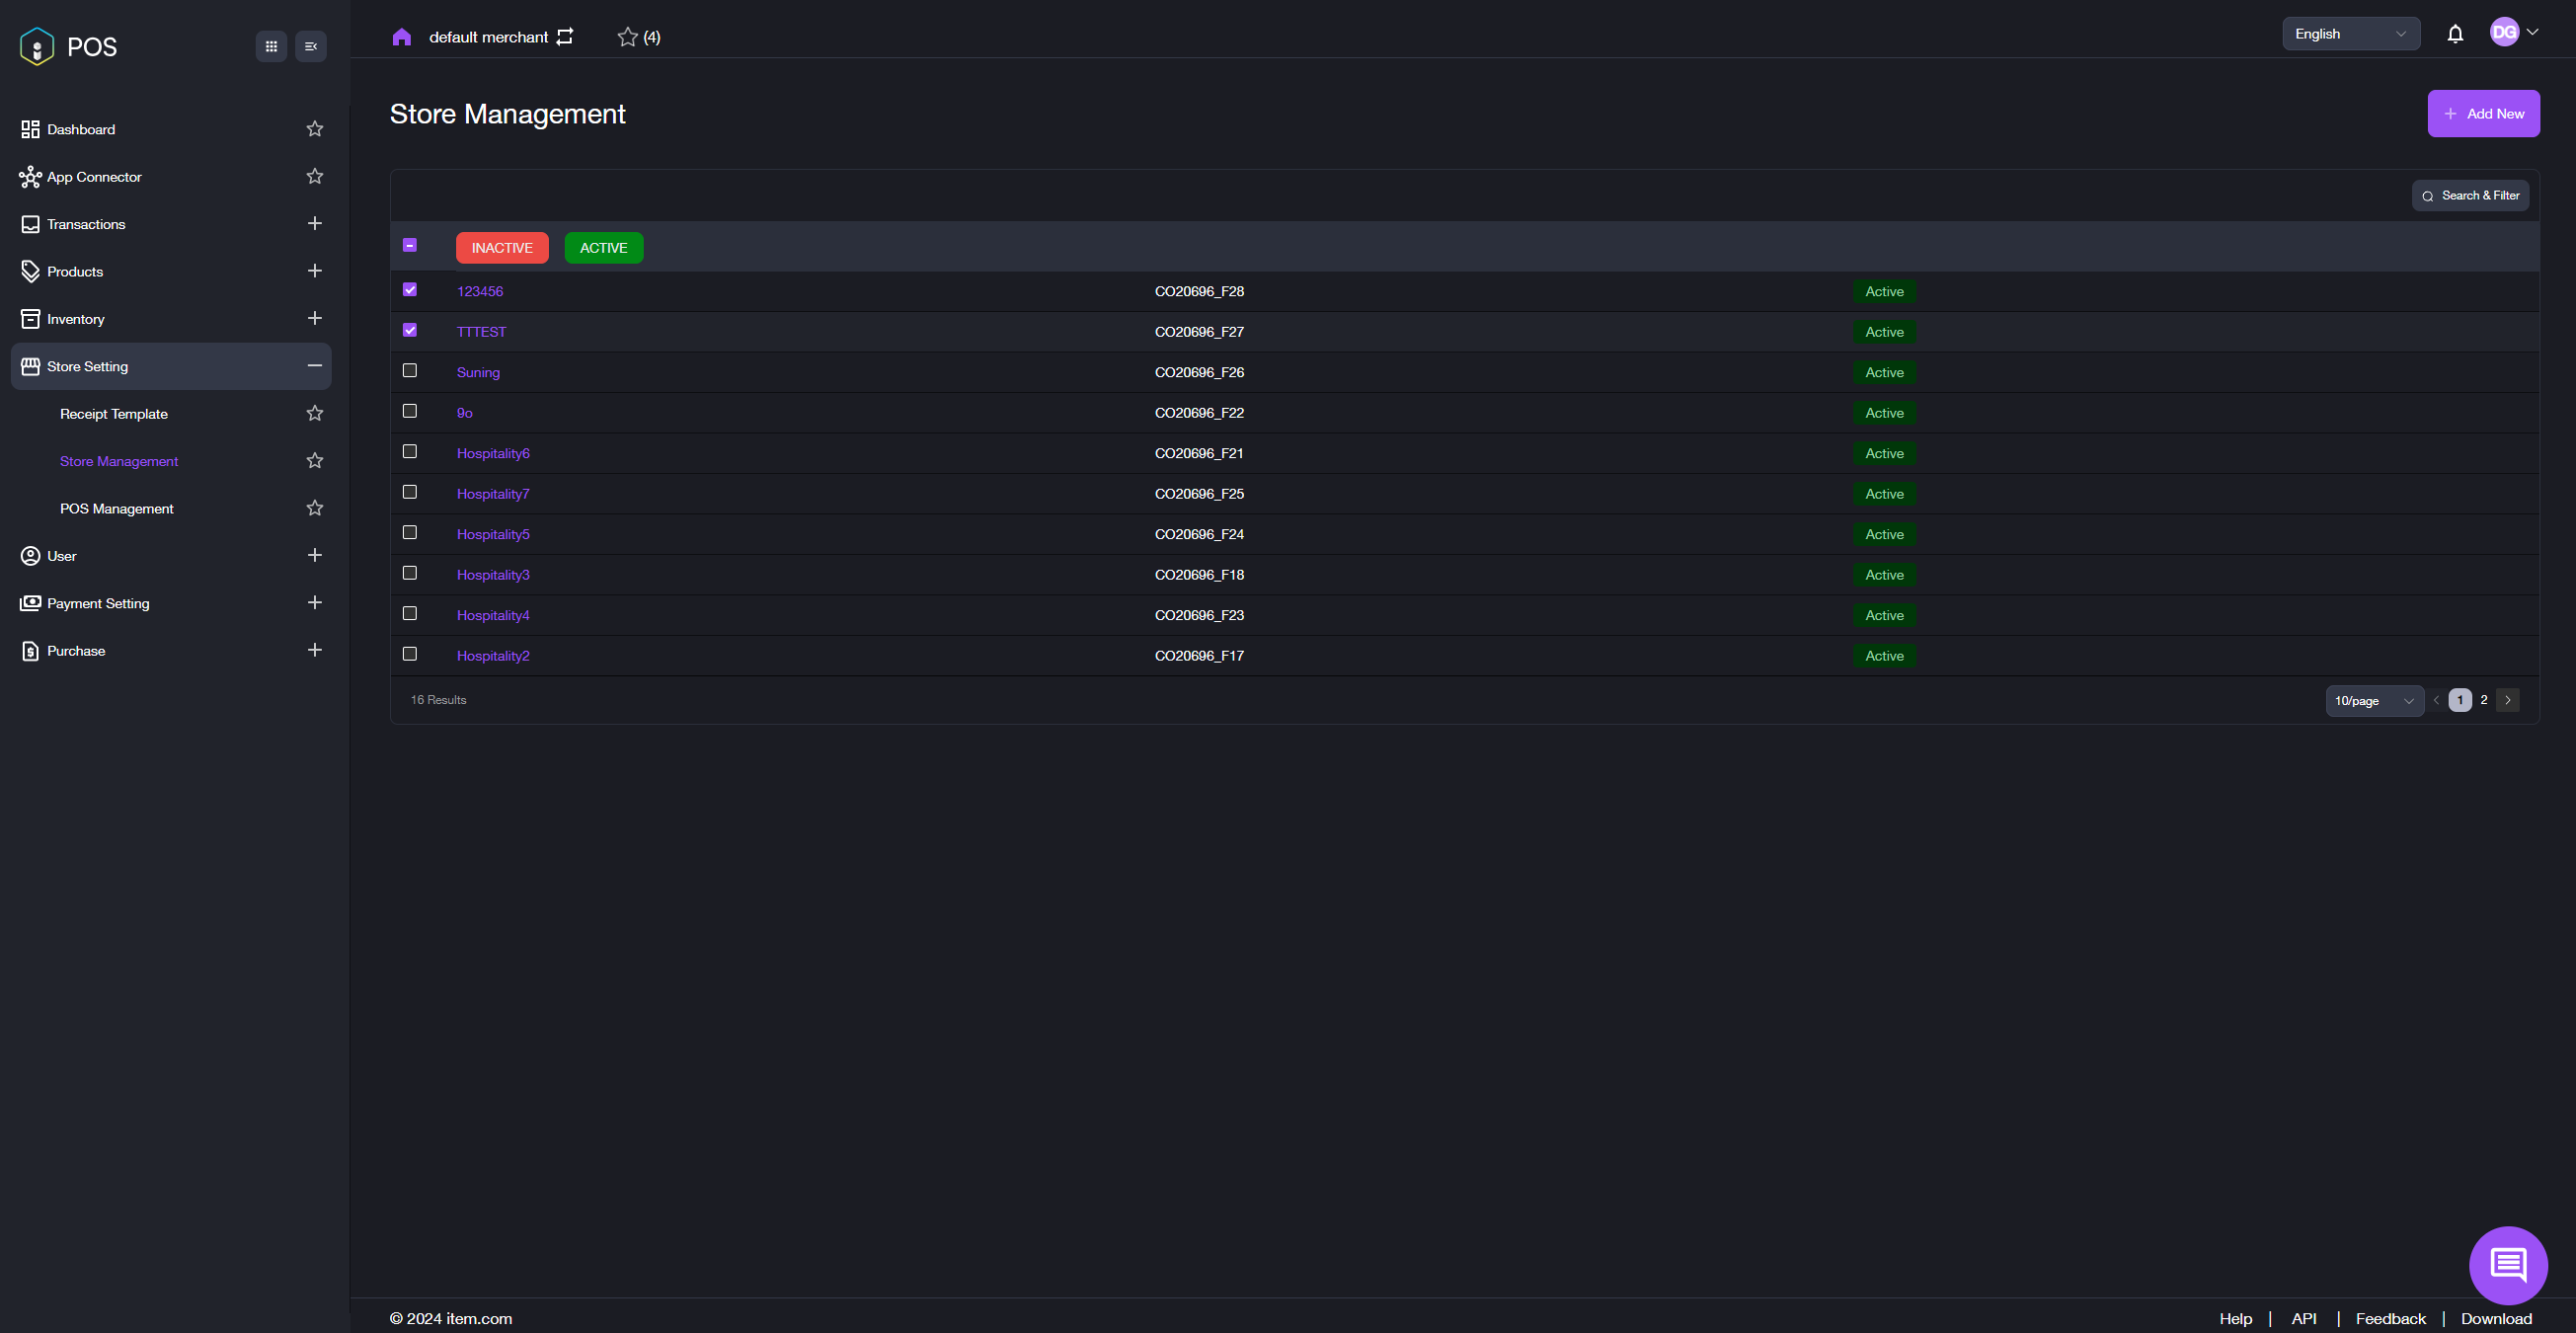
Click Store Setting, then select the sub-menu Store Management from the navigation panel on the left side of the main interface. The Store Management page shown in the image below will be displayed. All your stores are listed in the table. You can view the basic information of each store.
- STORE NO: The number of the store.
- FACILITY ID: The specific number of the warehouse the store uses.
- STATUS: The current mode of the store, whether it is enabled or disabled.
Note: You can search for a specific store by clicking the Search & Filter button with the search icon in the right top corner of the page. Enter the required information, including: address, store name, store number and status (active/inactive). Click Cancel to return to the original page mode.
Add Store
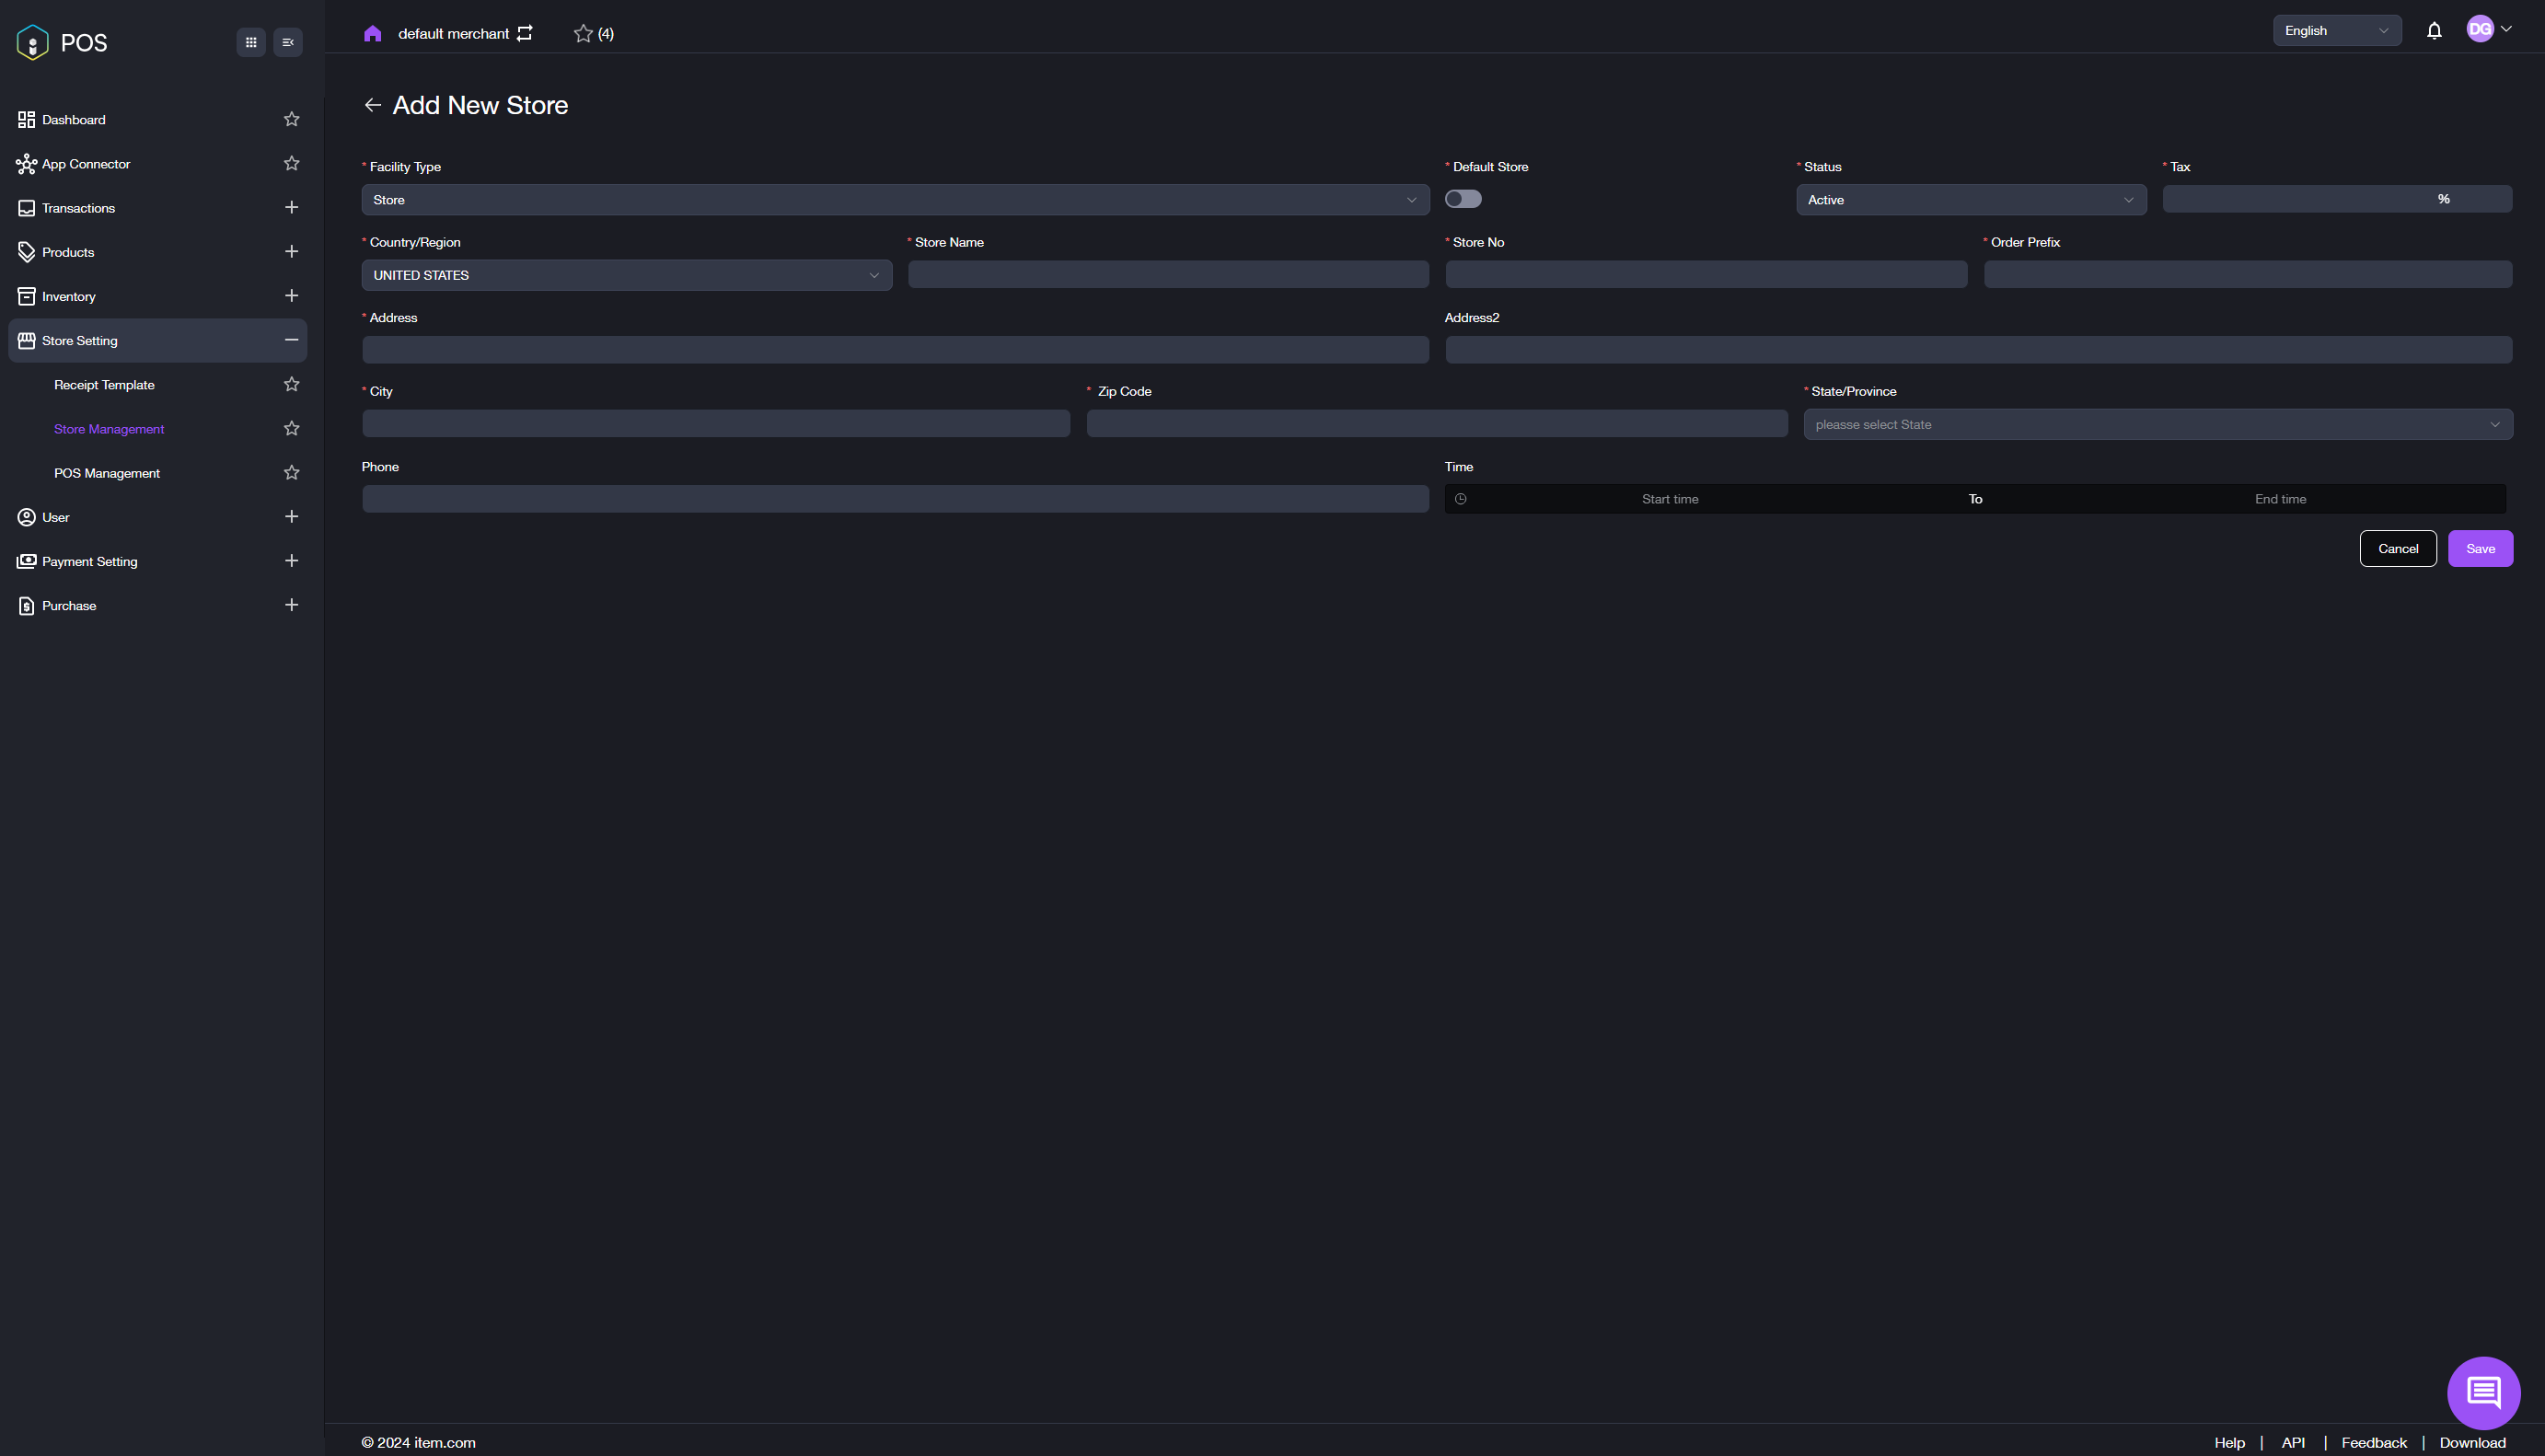
- On the Store Management page, click the + Add New button in the top right corner.
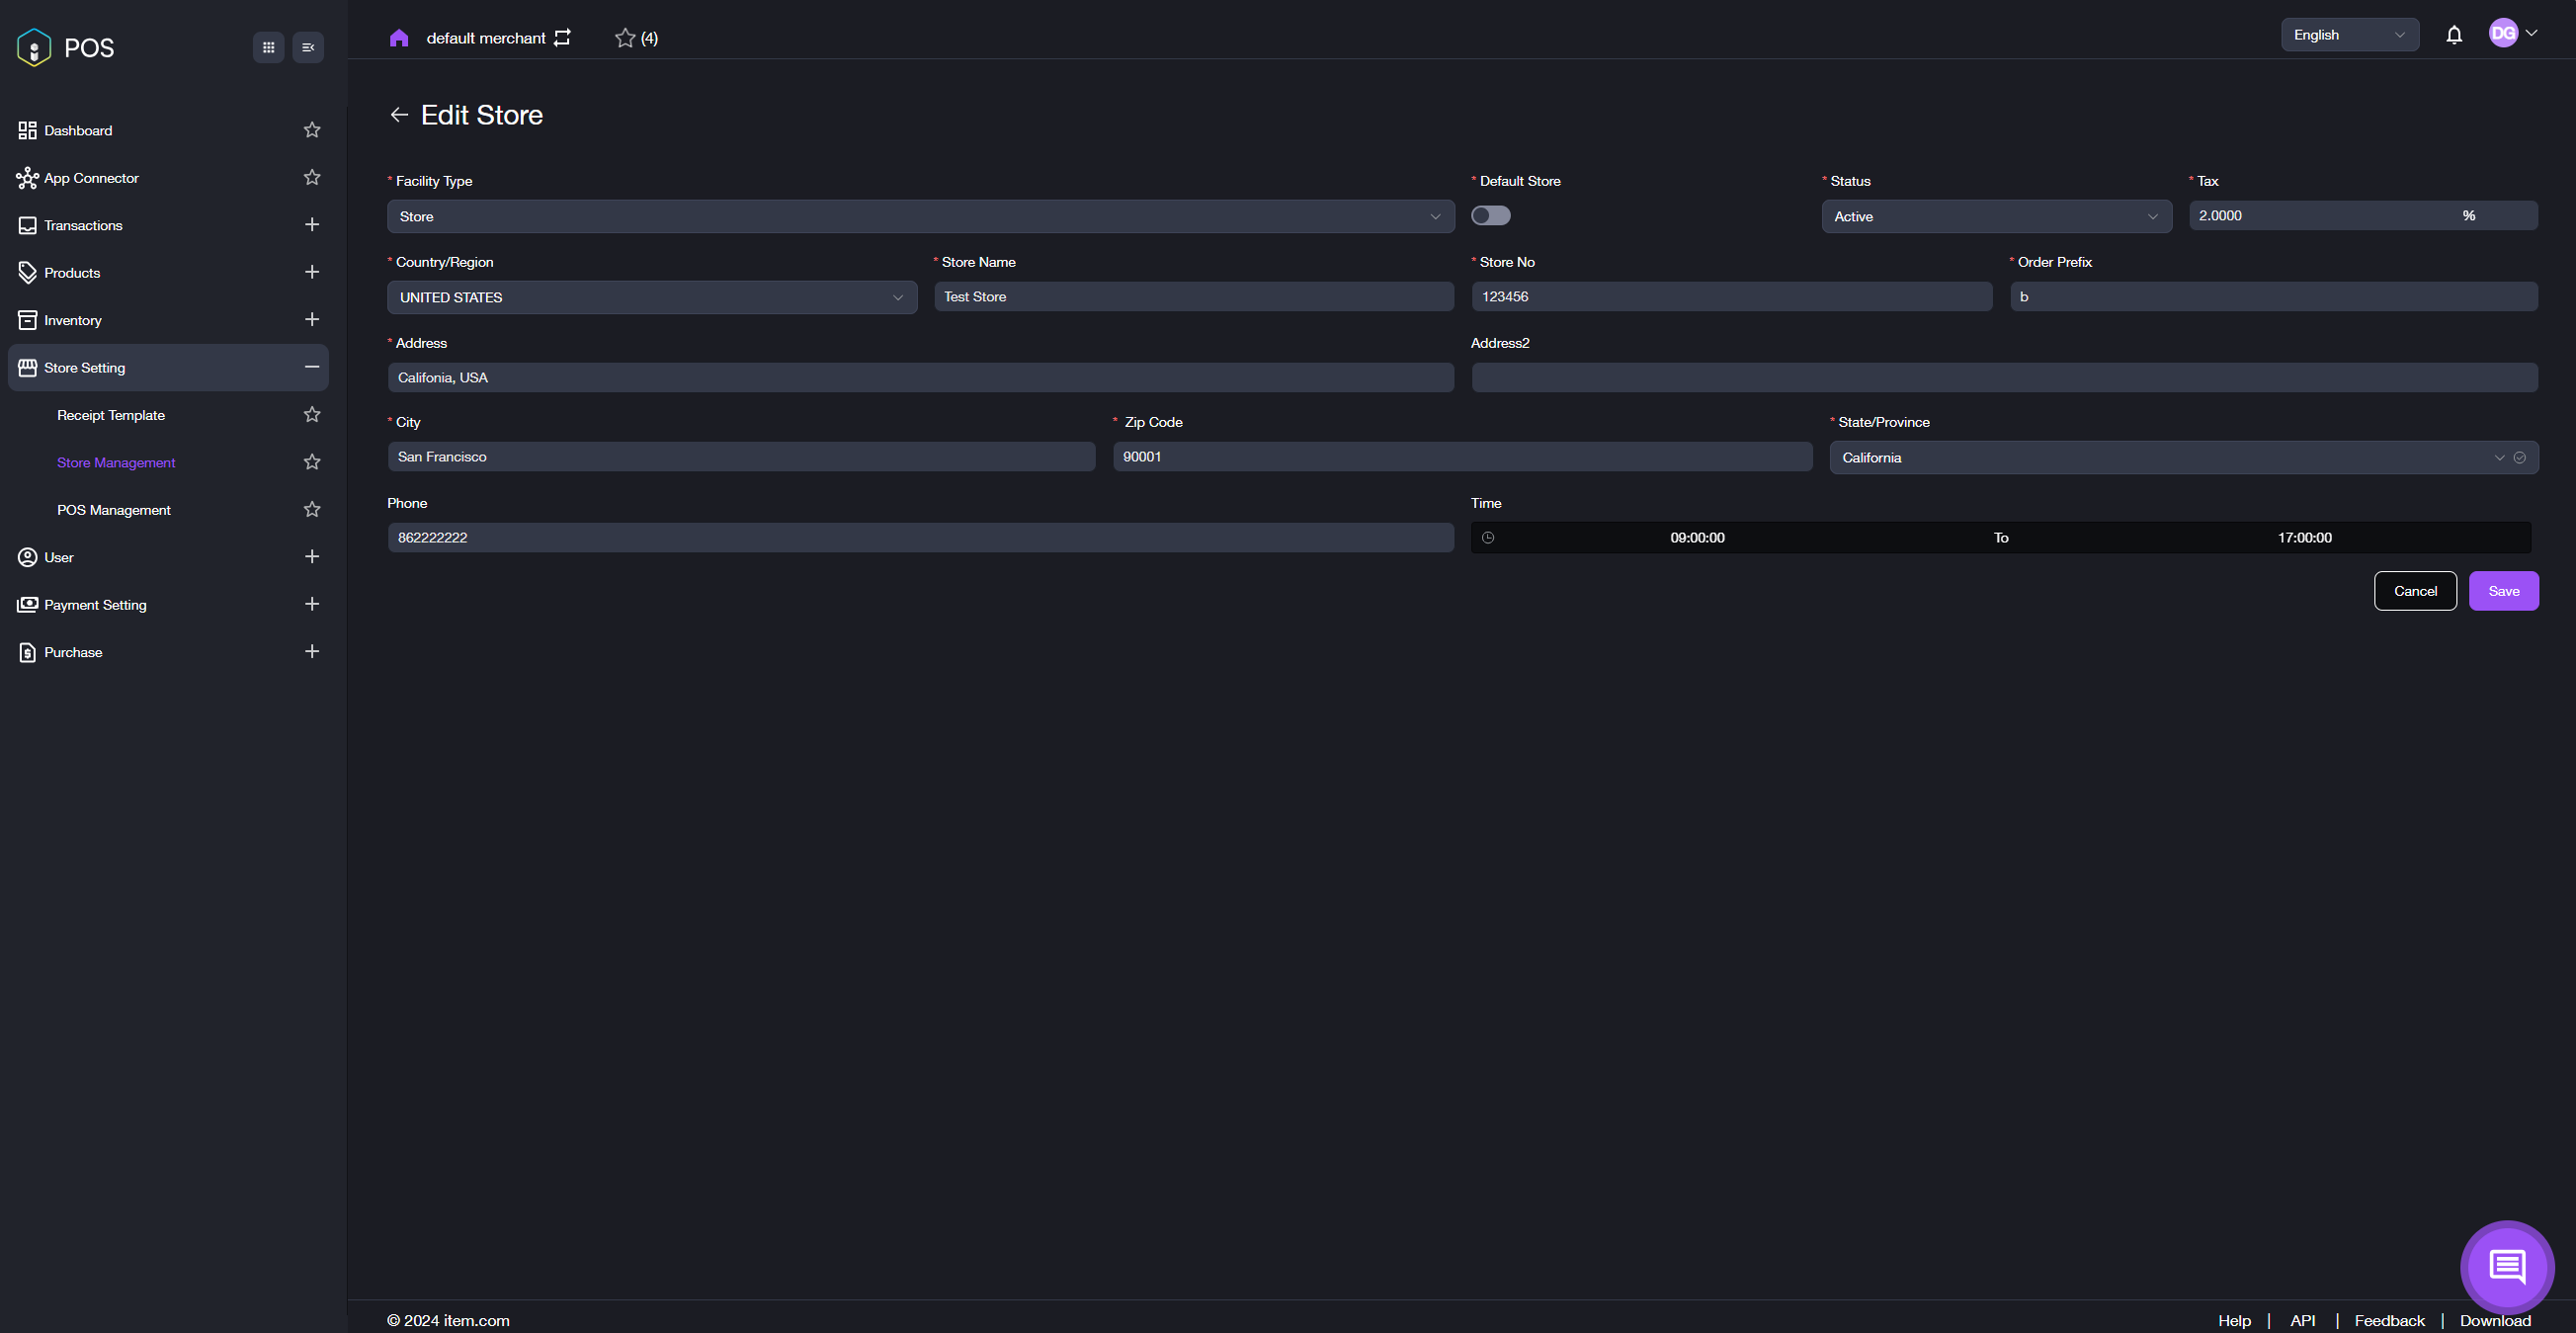
- The interface shown in the image below will appear. Enter the required information or select options from the drop-down menus, including: Facility Type, Status, Tax, Country/Region, Store Name, Store No., Order Prefix, Address, City, Zip Code, State/Province.
- Click the Save button.
- You will then be returned to the Store Management page. You will be able to view the basic information of the newly added store in the table.
Edit Store
- Access the Edit Function: a. On the Store Management page, locate the store you want to edit. b. Check the small option box next to the store number. This will make the INACTIVE and EDIT buttons appear in the table header. Refer to the image below.
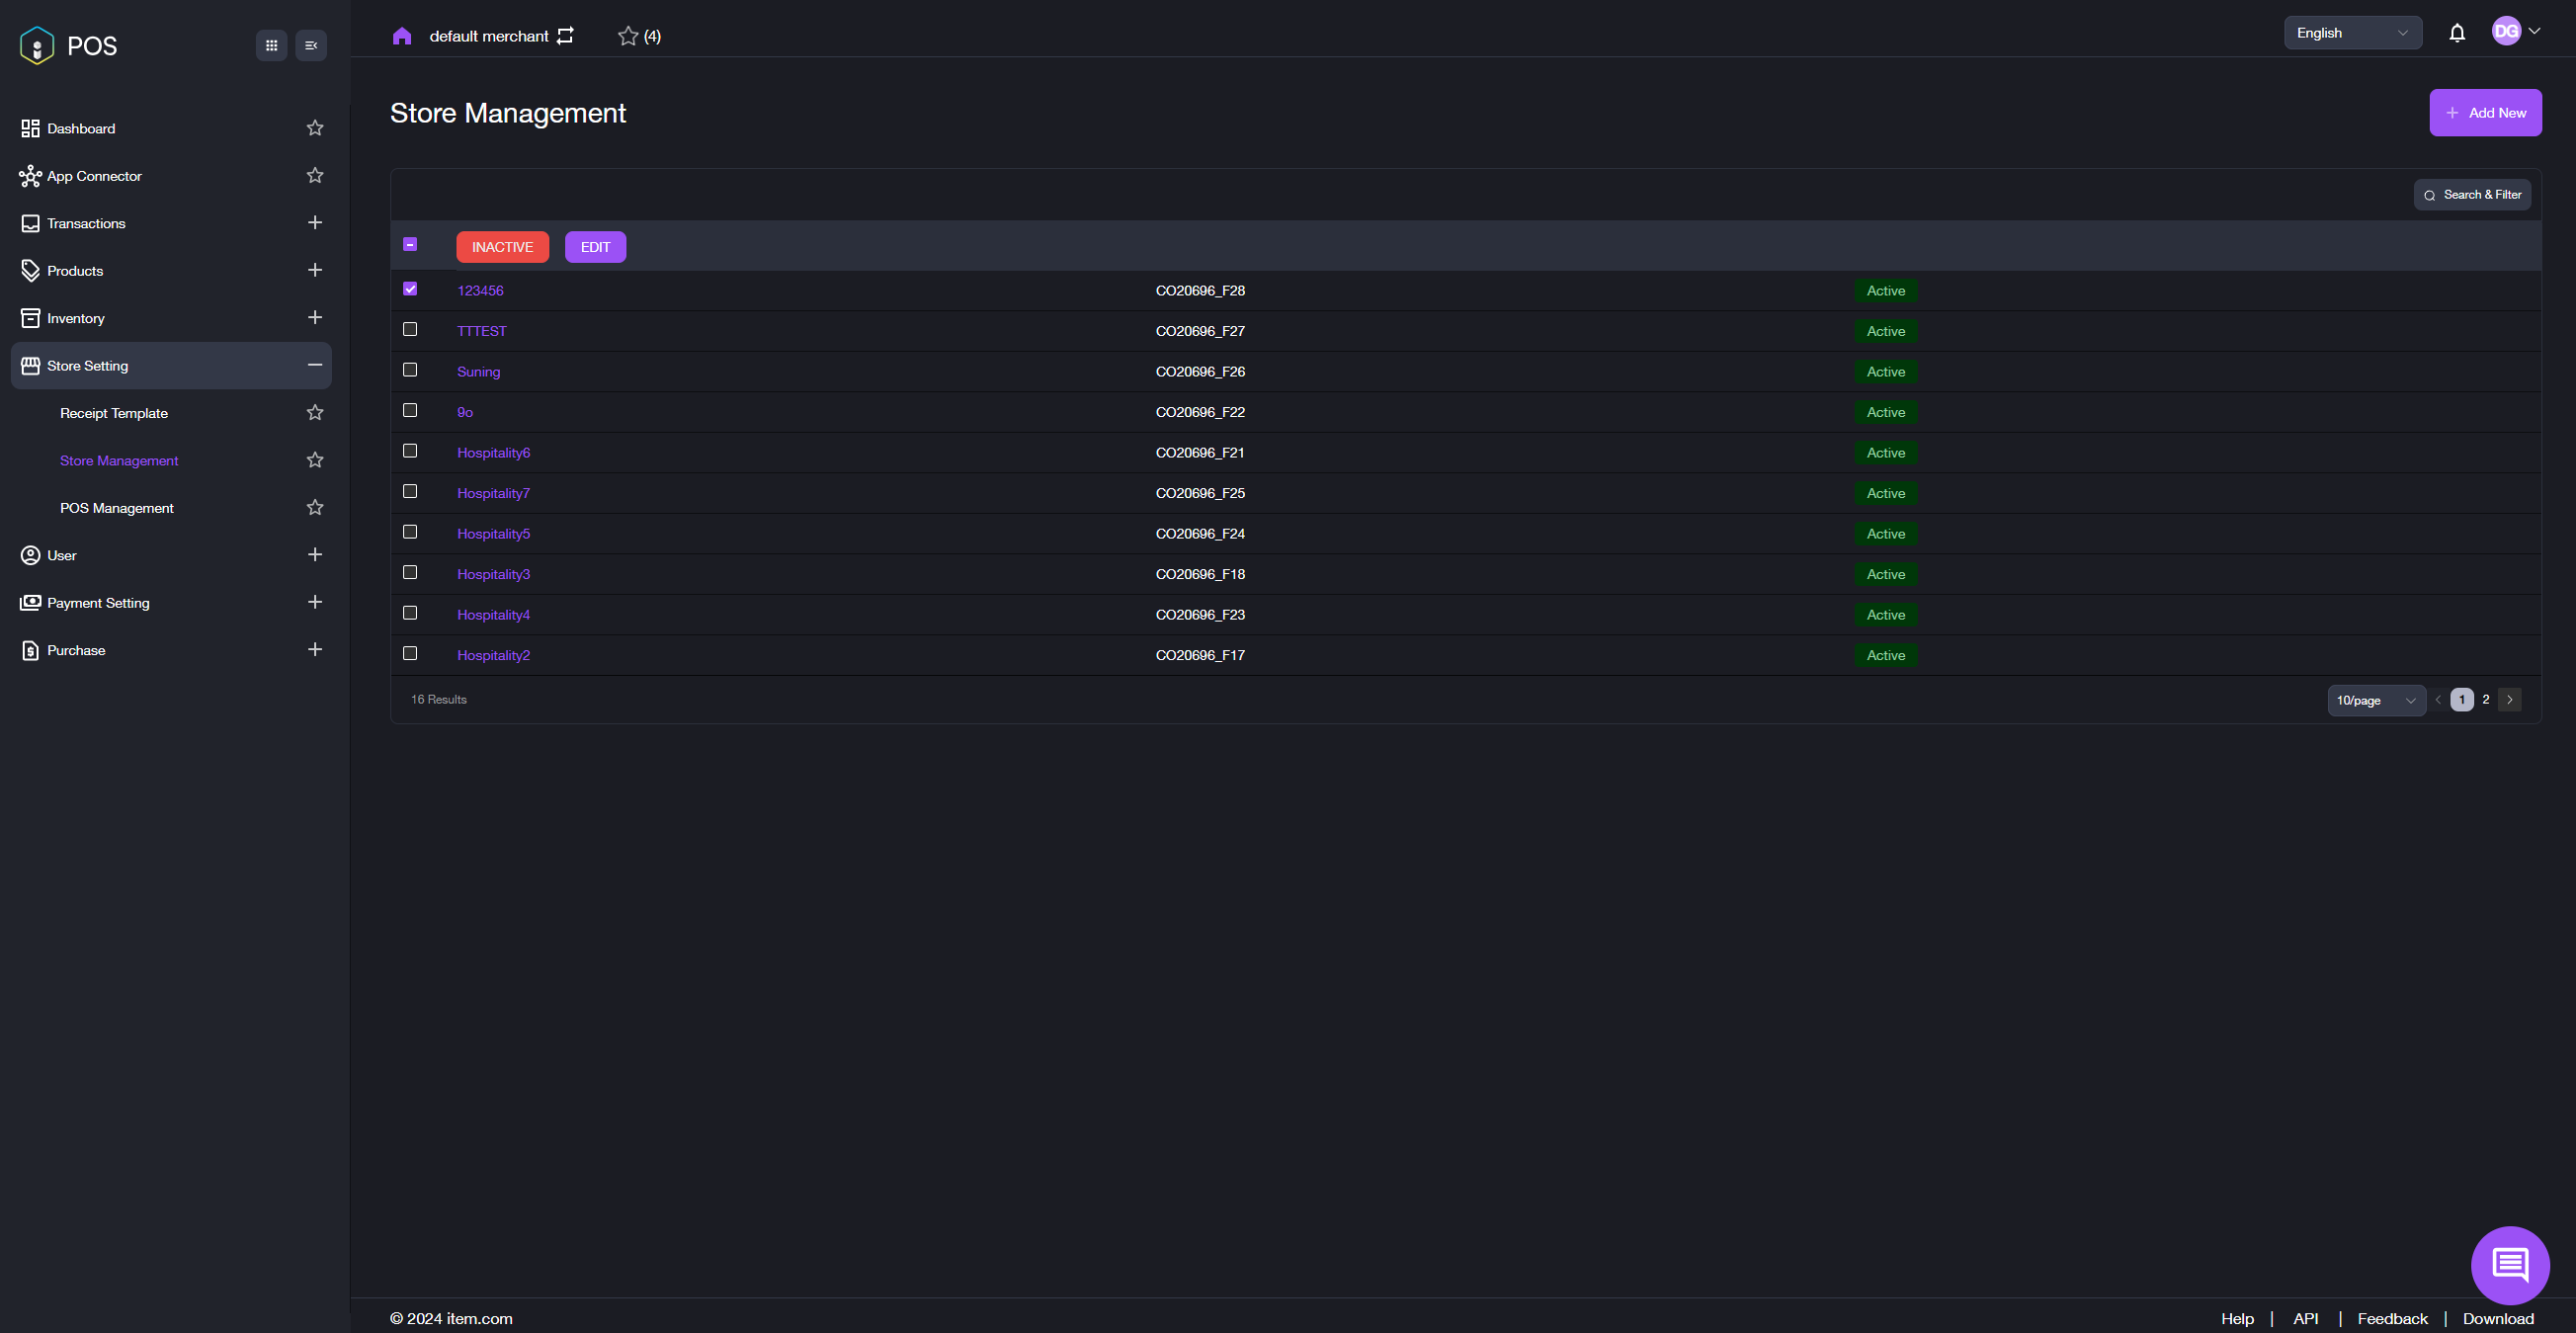
- Edit Store Information: a. Click the Edit button. b. The Edit Store page shown in the image below will be displayed. c. Revise the store information as needed. d. Click Save to apply the changes. e. You will be redirected back to the Store Management page.
Notes:
- Disabling a Store: To disable a store, click the INACTIVE button.
- Editing Multiple Stores: Only one store can be edited at a time. If you check multiple store numbers, the INACTIVE and ACTIVE buttons will appear in the table header. Refer to the image below. Use these buttons to enable or disable multiple stores simultaneously.
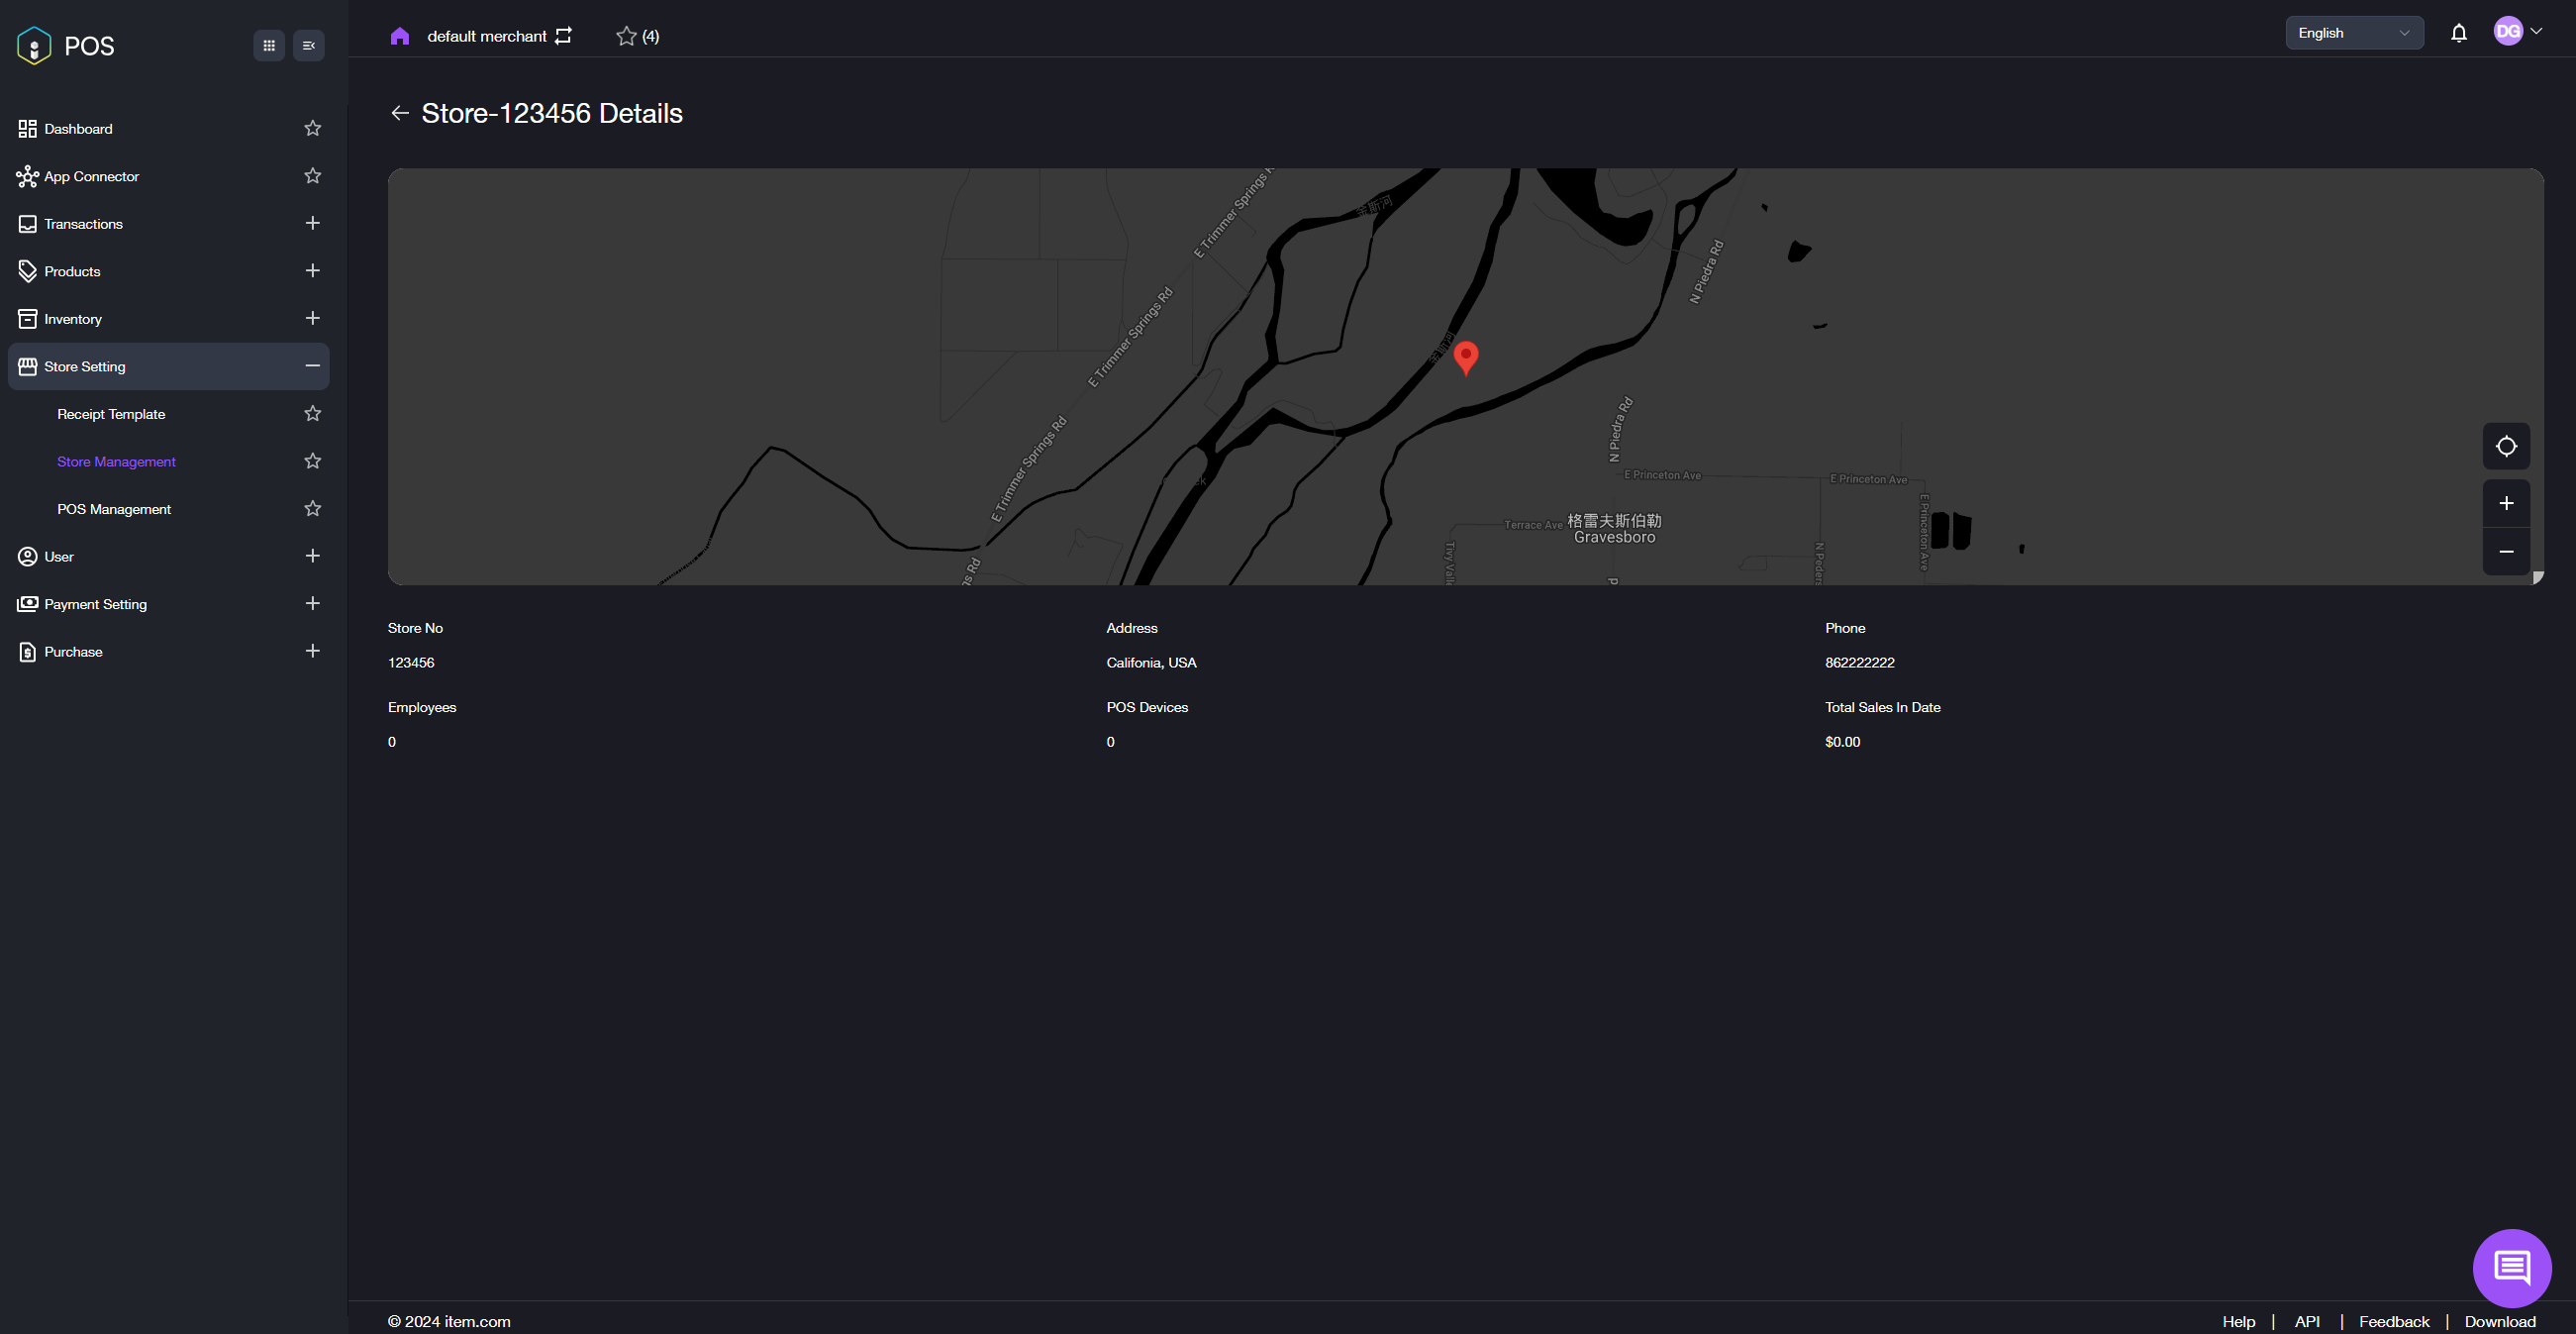
View Store's Detailed Information
-
Access Detailed Information: On the Store Management page, click on the store number you want to view.
-
View Store Details:
The detailed information page for the selected store will appear (refer to the image below).
You can view the following details:
- Store Number
- Address
- Phone Number
- Employee Number
- POS Device Quantity
- Total Sales in Date
- The page also includes an interactive map displaying the store's location to enhance visual understanding.