General Overview
This section provides you a general understanding of the POS system, aiming to familiar you with its functions, intended use, required system, and operational procedure.
Introduction
item POS is intended to provide you with a whole bunch of cut-edge store digitalization solutions, including store management, store cashier management, store merchandise management, store inventory management, membership marketing management and employee management. With these advanced functions, POS empowers store management and enhances its operational efficiency. Opening up the chain of business management by integrating product, order, membership and marketing voucher management across the whole chain, and through the accumulation and deposition of business data, POS achieves intelligent and visual transformations. This enables the enterprises to gain a better understanding of the consumers so that they can improve their control over channels and terminals. Welcome to use POS system! This instruction will guide you on how to use the various functions of POS to improve your business management efficiency.
System Requirement
OS: Recommended Windows 10, MacOS 10.12 or later
Browser: Recommended Chrome 48 and later
Network: Stable Internet connection
Operation Procedure
To Open store

- Sign in POS Web
- Add store
- Bind POS device
- Set receipt printing template
Product Listing and Delisting

- Sign in POS Web
- Add product
- List product
- Delist product
- Adjust inventory
Payment Settings

- Sign in POS Web
- Payment Settings
- Receiving account
- Register and activate Stripe
- Fill out and validate information
- Creation completed
Binding Card Reader

- Sign in POS Web
- Payment Settings
- Card reader
- Add card reader
- Choose location and POS
- Input terminal device registration number
Improtant: Currently only Stripe Reader S700 is supported.
Checkout Process

- Sign in POS Web
- Add products to cart (by scanning code or manually)
- Cart Checkout
- Choose payment method
- Payment by customer
- Payment completed
- Printing receipt
Signing In
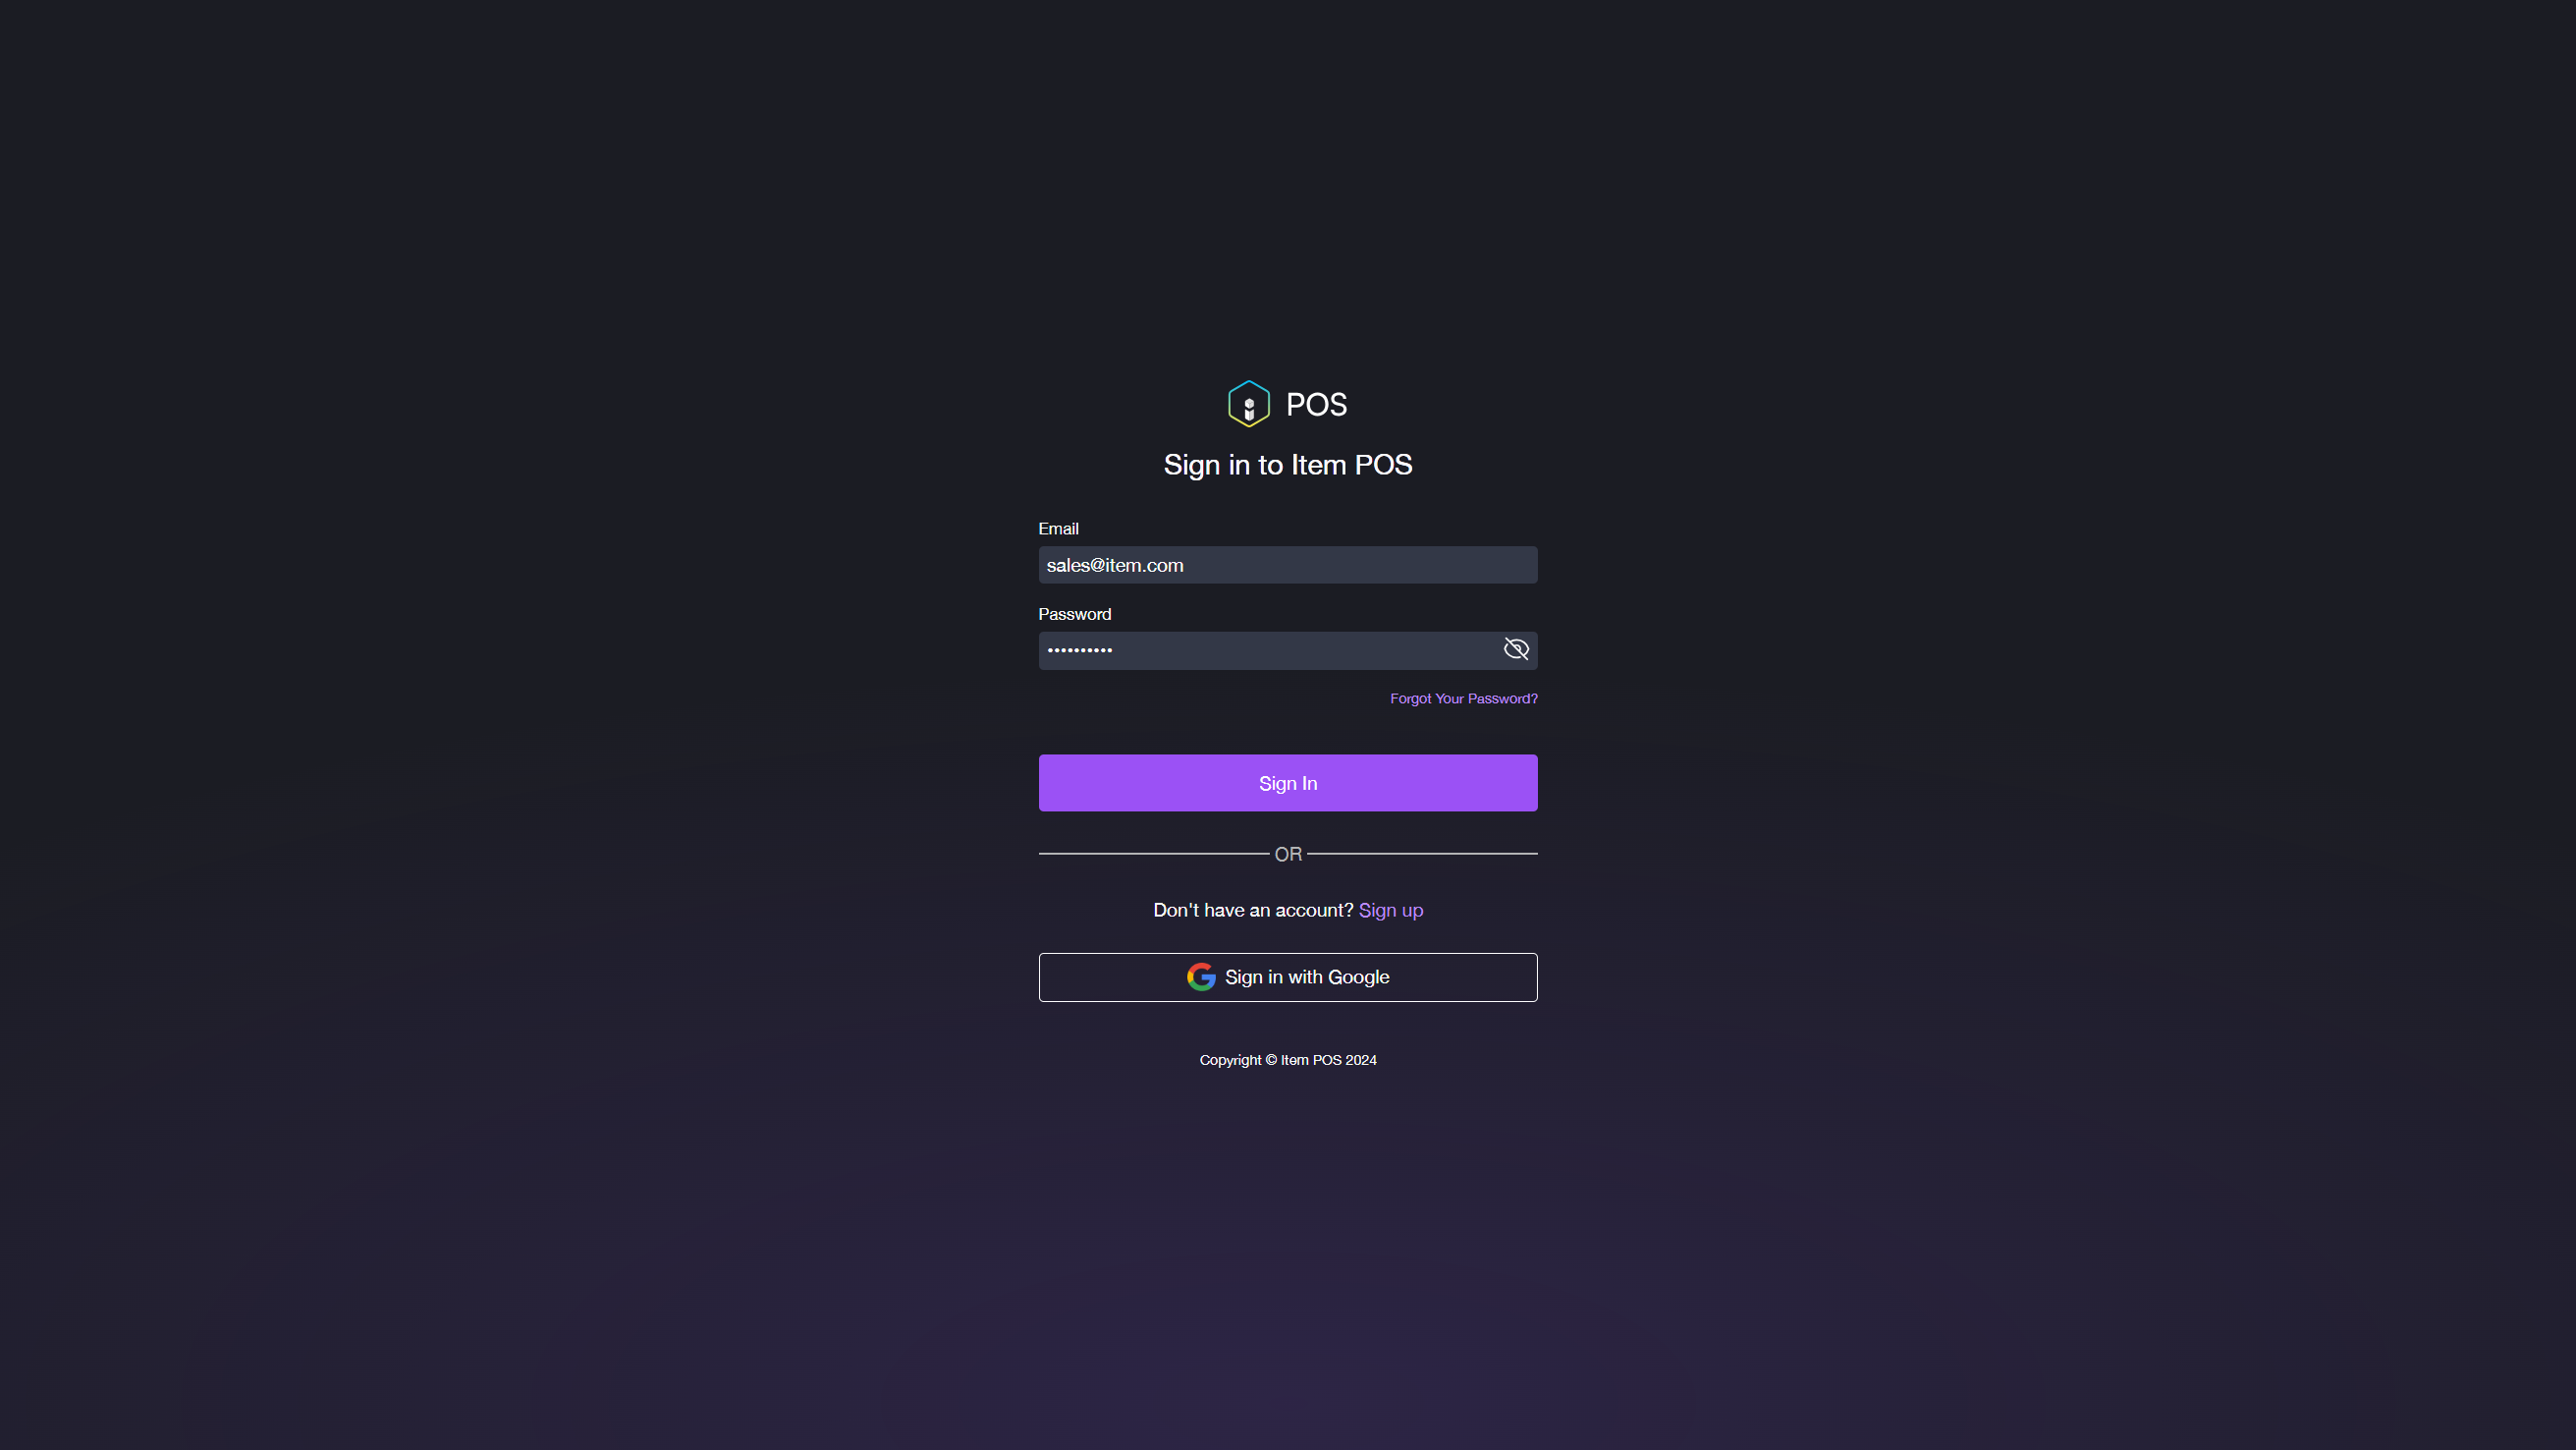
- Open POS: http://pos.item.com (opens in a new tab).
- Input your registered email account and password.
- Click Sign in to enter the main interface of the system.
Note: Sign up first if you do not have an item account yet.
Tip: Check Remember me to help you remember your username and password, so you don't have to input this information again when signing in next time. This provides convenience and prevents you from forgetting the account details.

Getting Started with the Main interface
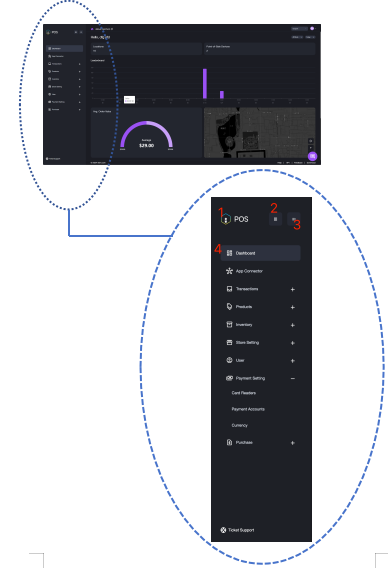
Navigation Panel
Refer to the illustrations below for more details.
-
System name with icon
-
System switch
a. Click on the icon.
b. All item systems included in your subscription plan will be shown on the navigation panel.
c. A check mark with a round green background appears beside the system name "POS" and its icon, indicating that POS is the currently used system.
d. Click on the system name to switch among the different systems. -
Menu fold
a. Click the icon to fold the module names.
b. Click the icon again to show the module names. -
Menu
a. Module names under POS are displayed.
b. Click the module name to switch among different modules according to your requests.
