POS Management
General Introduction
When subscribing to the Item solution with the POS system, a hardware POS device will be provided as an accessory. This section provides a detailed explanation of how to bind a POS device, add new POS devices, view and edit existing POS information, and manage your POS devices. Using the POS device will make the order selling and checkout process much easier for you.
To View Store Information
Click Store Setting, then select the sub-menu POS Management from the navigation panel on the left side of the main interface. The POS Management page will be displayed. You can view the basic information of each store or POS device by clicking the tag Store/Point-of-Sale Device on the top of the table.
-
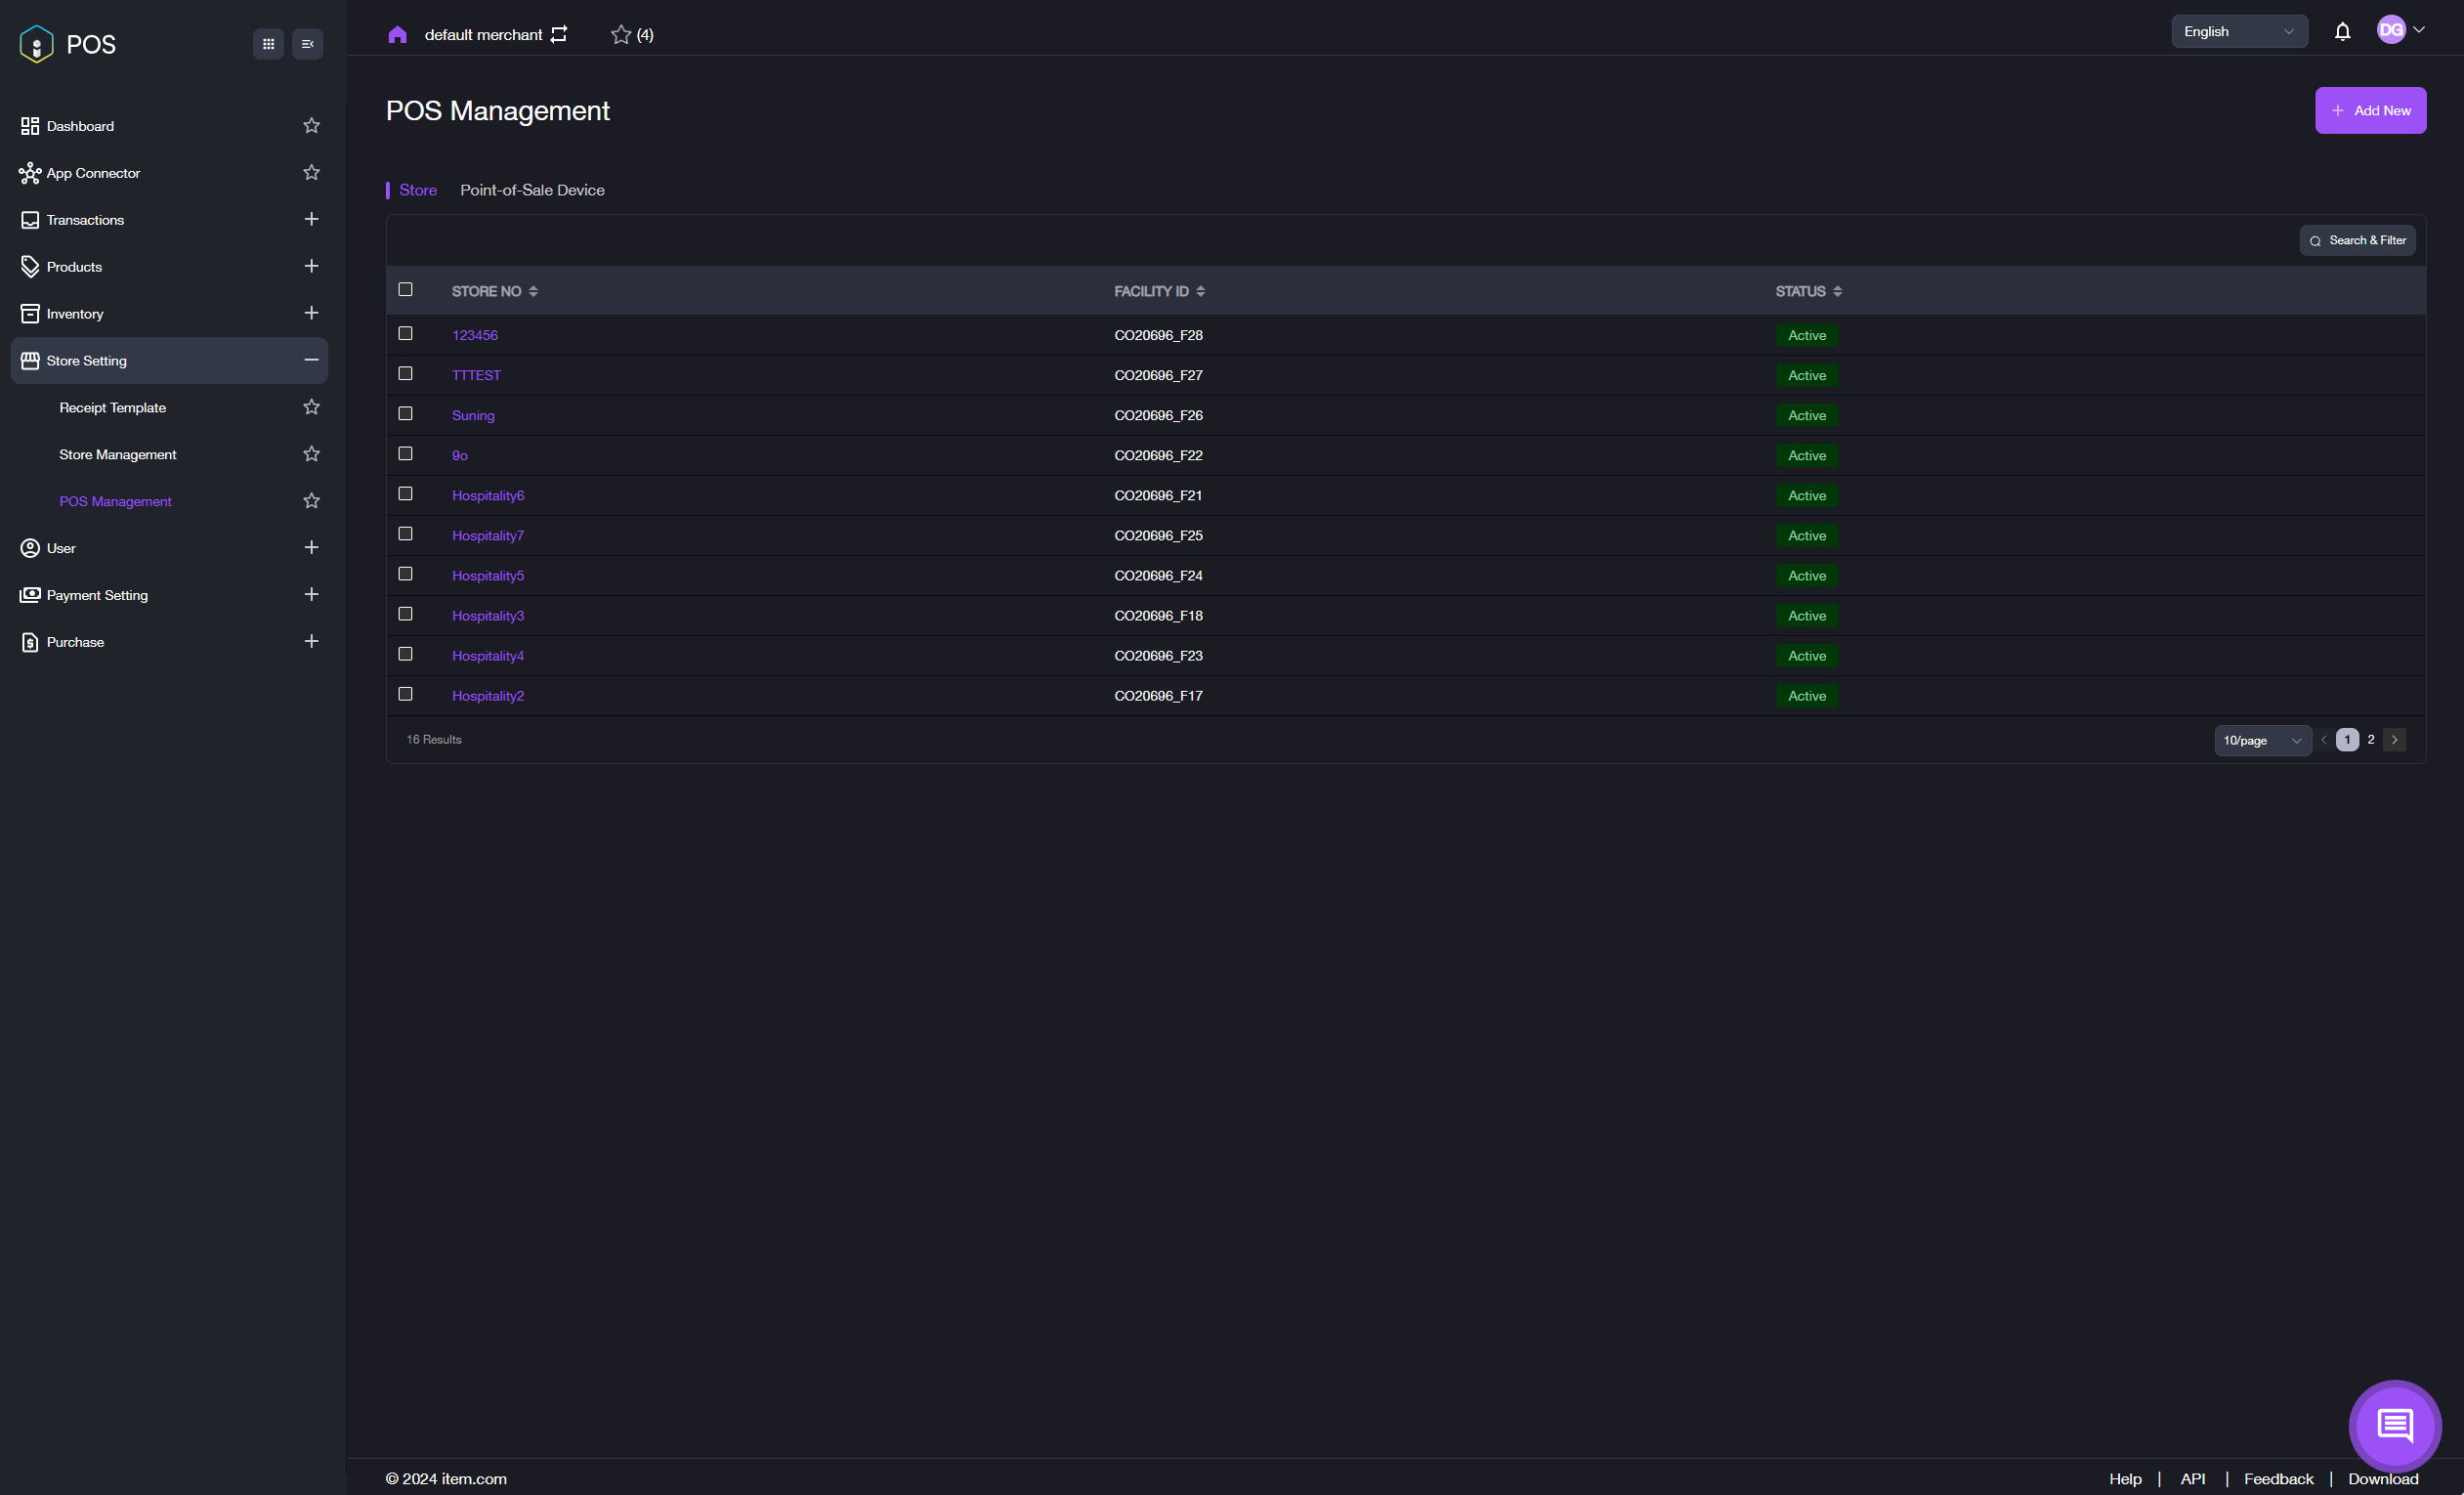
Click the Store tab.
-
The interface shown in the image below appears.
-
The store number, facility ID and status are displayed in the table.
- STORE NO: The number of the store.
- FACILITY ID: The specific number of the warehouse the store uses.
- STATUS: The current mode of the store, whether it is enabled or disabled.
Notes:
- Search for a specific store: Click the Search & Filter button with the search icon in the right top corner of the page. Enter the required information, such as address, store name, or store number. To return to the original page view, click Cancel.
- View store details: Click the store number listed in the table. This will take you to the Store Details page, where you can review the detailed information about the store.
To View POS Information
-
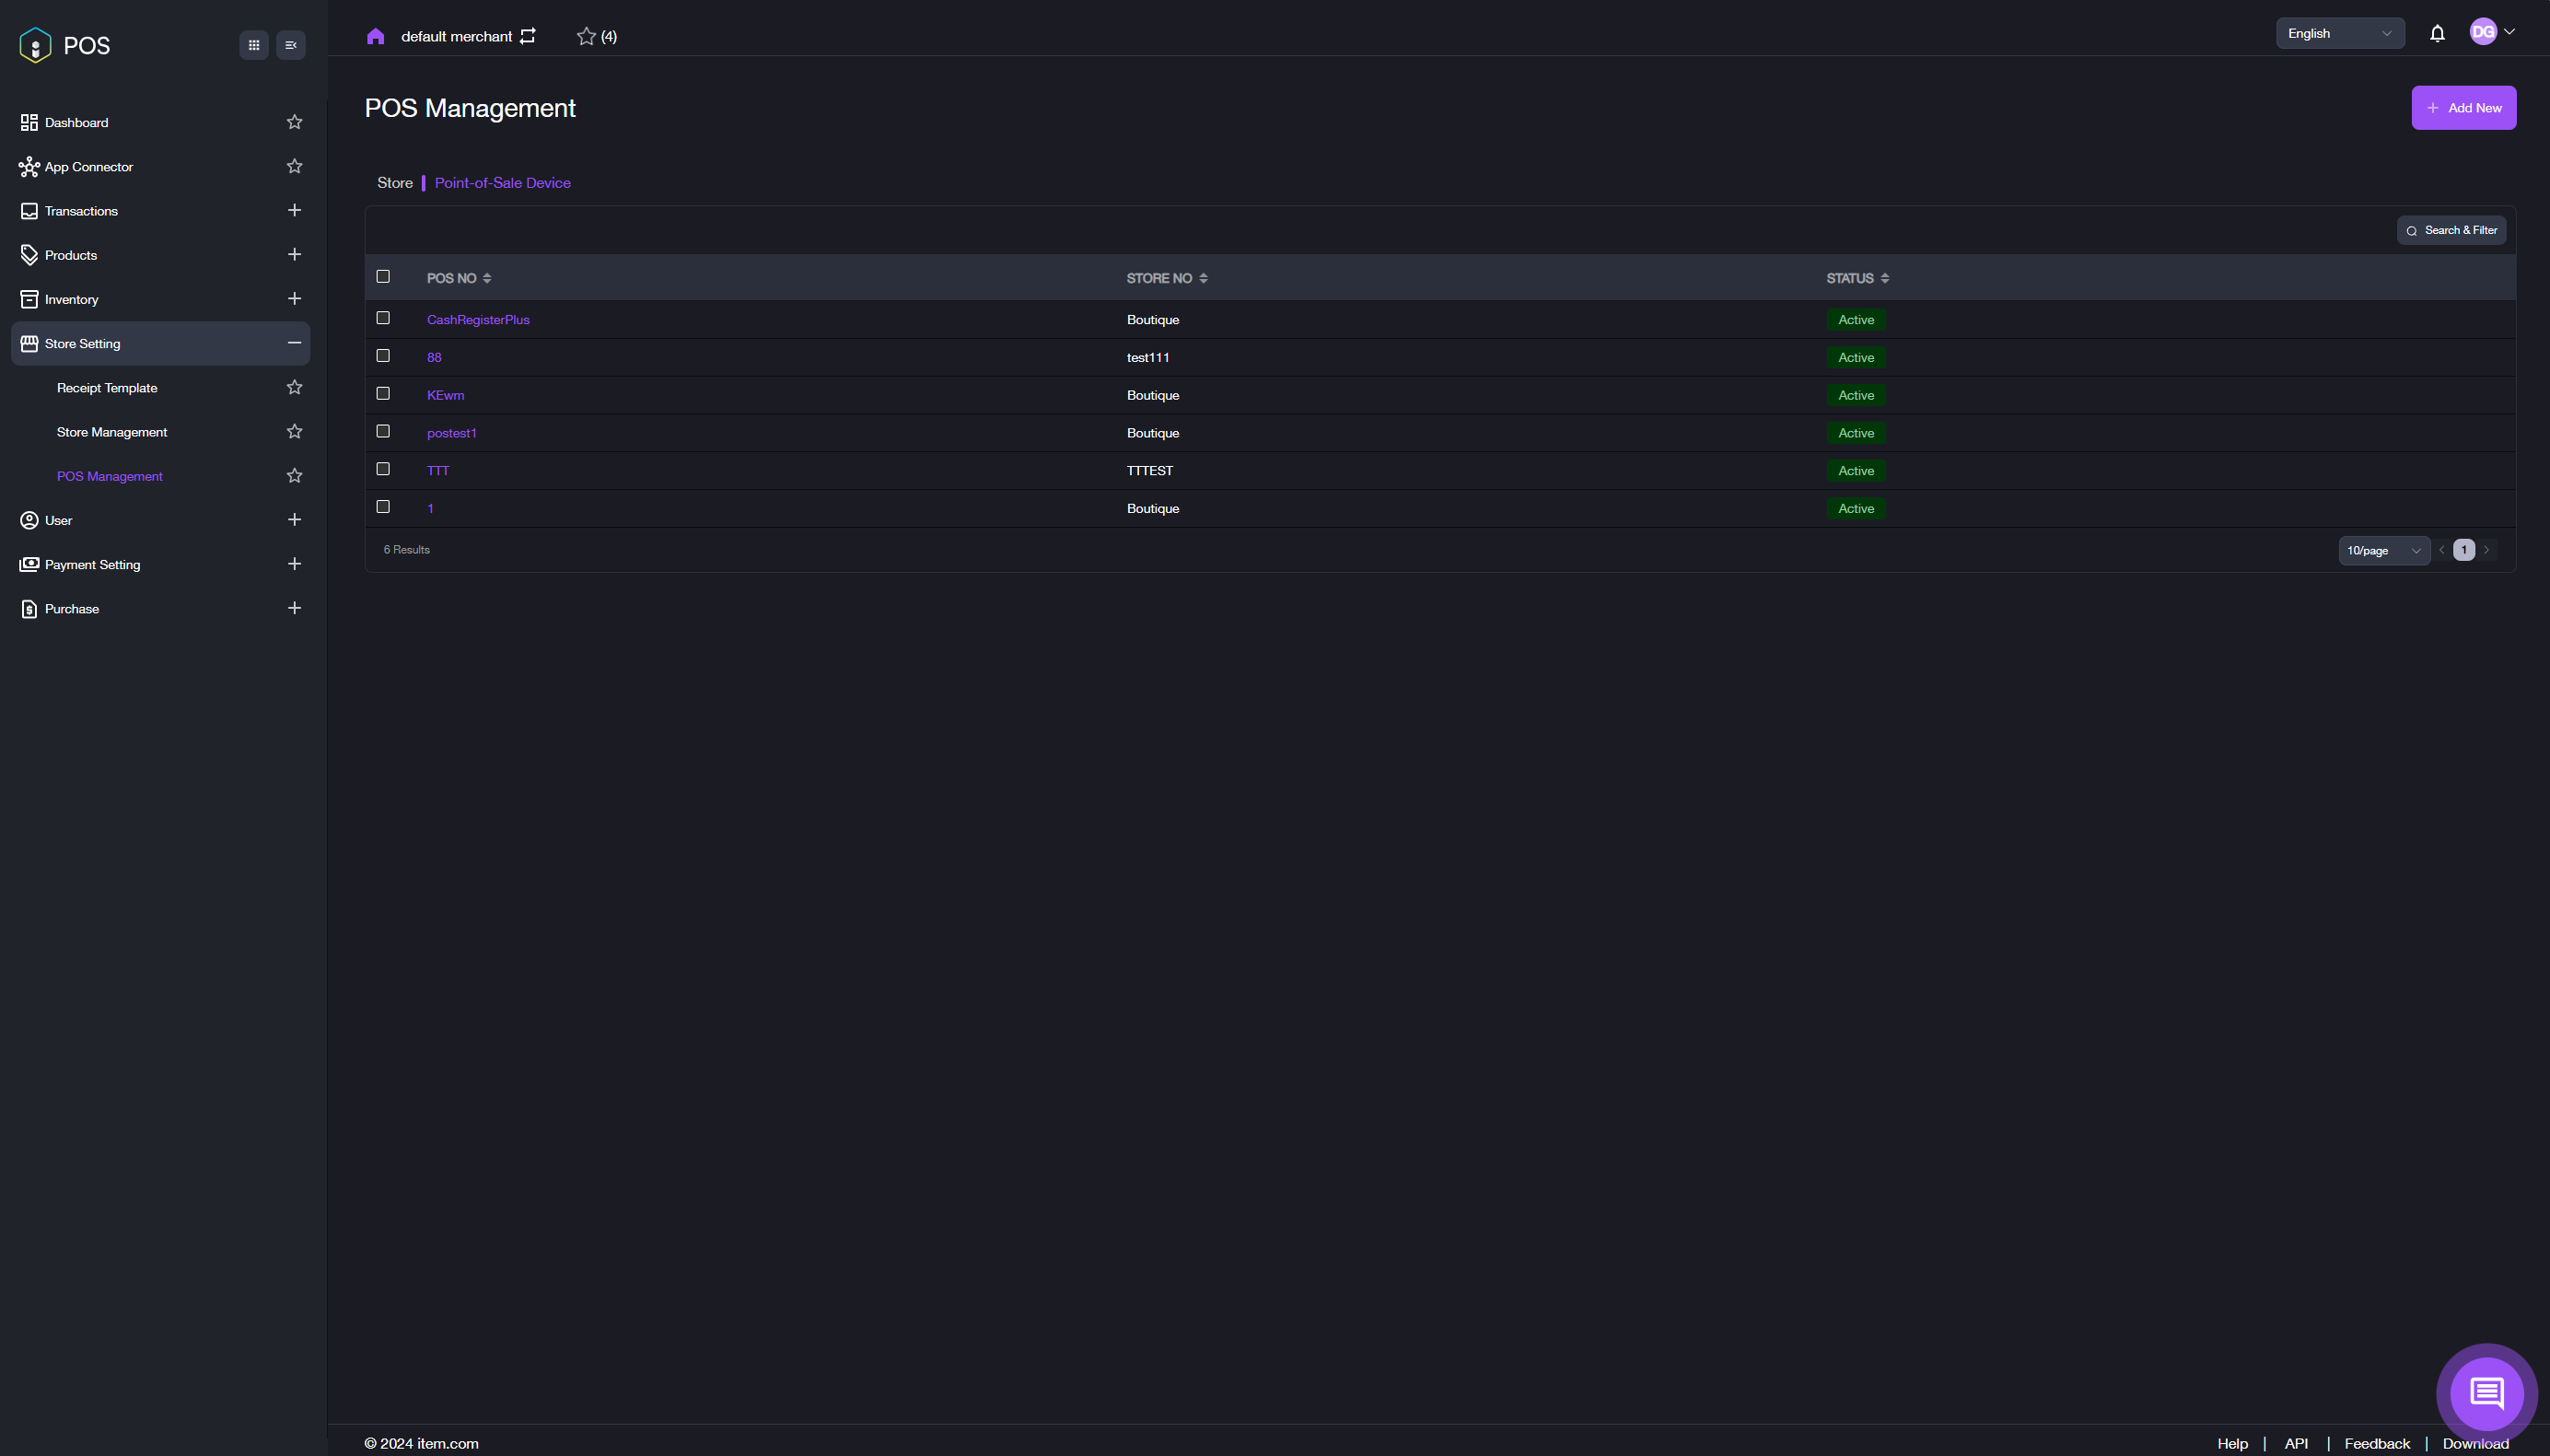
Click the Point-of-Sale Device tab.
-
The interface shown in the image below appears.
-
The POS number, store number and status are displayed in the table.
- POS NO: The number of the POS device.
- STORE NO: The number of the store.
- STATUS: The current mode of the store, whether it is enabled or disabled.
-
Search for a specific POS device: Click the Search & Filter button with the search icon in the right top corner of the page. Enter the POS number, or select a POS status (Active/Inactive). To return to the original page view, click Cancel.
-
View POS details: Click the POS number listed in the table. This will take you to the POS Details page, where you can review the detailed information related to the POS device.
a. On the top of this page, a general summary related to the POS device will be displayed.
-
Store No.: The number of the store, in which the POS device is used.
-
Region: The area the store locates.
-
Address: The detailed location of the store.
-
Phone: The contact phone number of the store.
-
Boutique: Indicates whether or not the store is a boutique store.
-
Silver Star Boutique: Indicates whether or not the store is a silver boutique store.
-
Employees: The number of people who work in the store.
-
POS Device: The amount of the POS devices the store uses.
b. In the table below, you can view detailed information related to the POS device.
- ORDER NO.: The order numbers associated with the POS device.
- STORE NO.: The number of the store that uses the POS device.
- ITEM QTY: The quantity of the products sold through the POS device.
- TOTAL: The total amount of the order.
- PAYMENT TYPE: The payment method used, including cash, debit card, credit card, split payments, etc.
- DATE TIME: The date and time when the order occurred.
- STATUS: The current status of the order.
-
Note: On this page, you can also search for a specific order number and view its POS device information by clicking the Search & Filter button with the magnifying glass icon in the top right corner of the page. Enter the order number or product name to find the details.
To Add a New POS
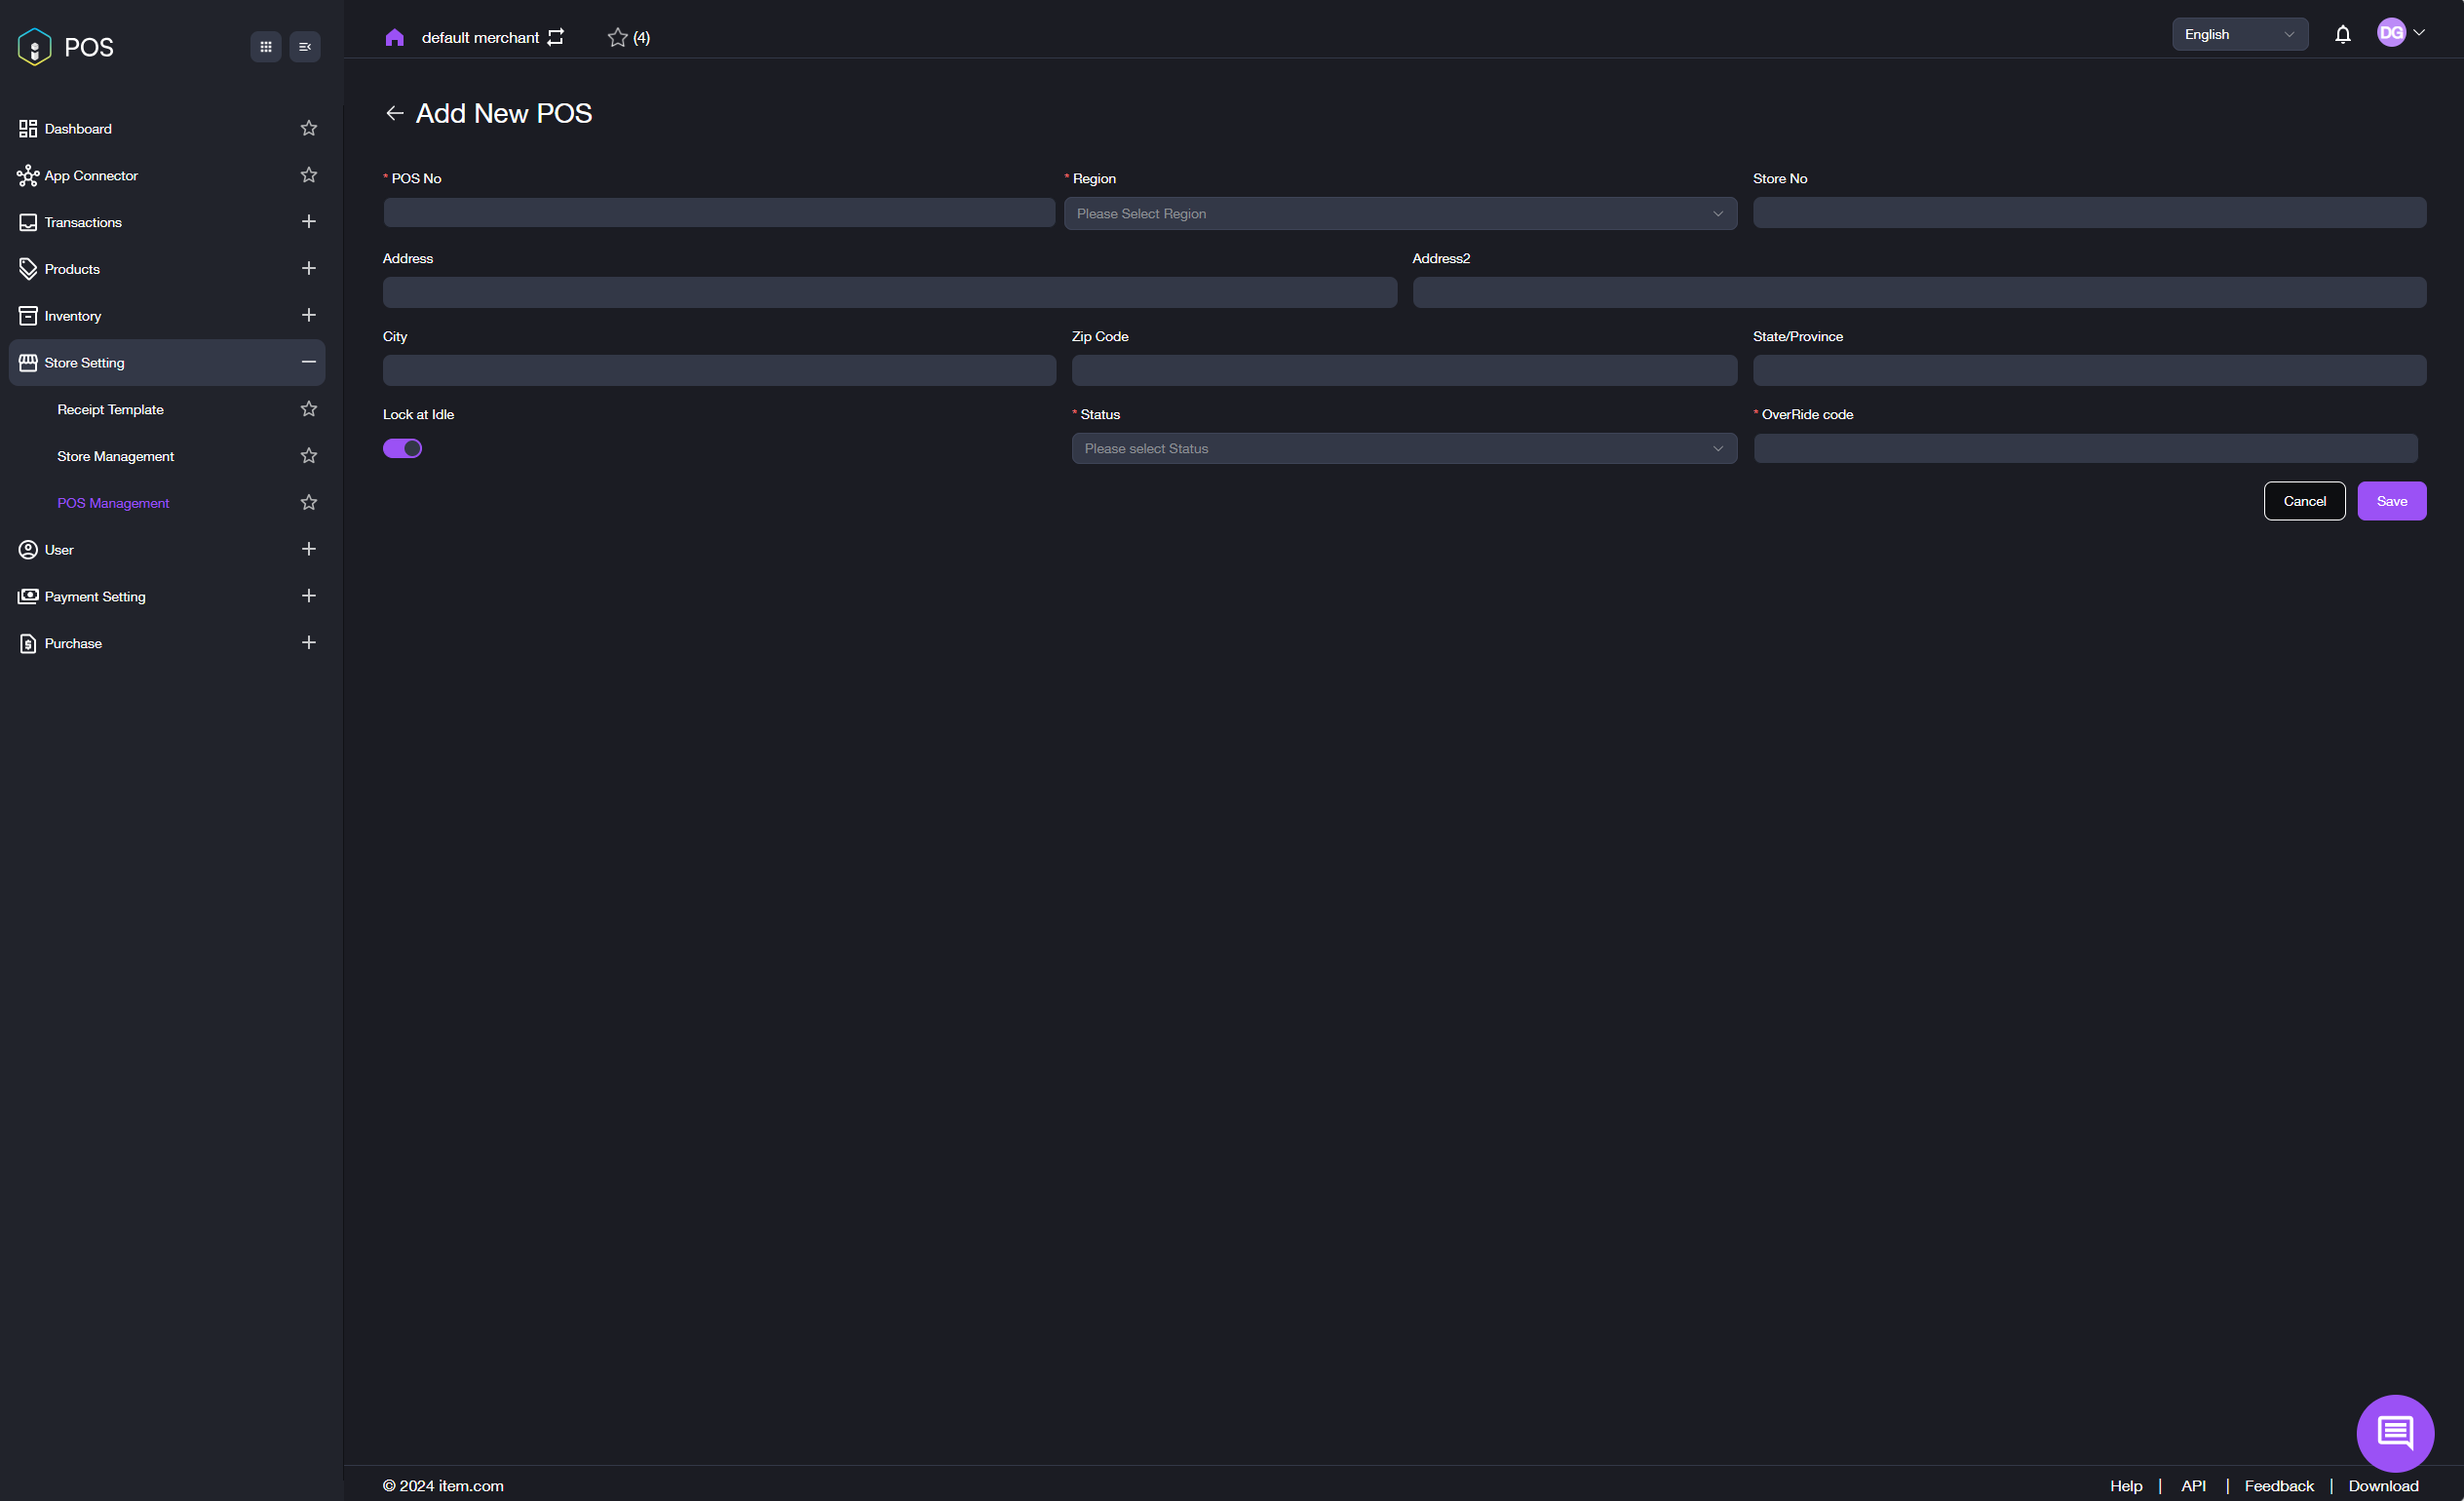
- On the POS Management page, click the + Add New button in the top right corner. The interface shown in the image below appears.
-
Input the required information: POS number, region, status, and override code.
- POS No.: The number of the POS device.
- Region: The area where the store using the POS device is located (select the region from the drop-down menu).
- Status: The current status set for the POS device (select the status from the drop-down menu).
- OverRide Code: The code used to override the current code.
-
Click the Save button. The new POS will be added, and you will be returned to the POS Management page. Meanwhile, the newly added POS number will appear in the table list.