User Management
This article introduces how to do the users’ information management and role & role permission management on Ship system.
User Management
This section will guide you how to edit the user’s information and how to add a new user on Ship.
How to add a new user
Note: this feature is only available for primary user and admin user.
- Navigate to User > User, click +Add New button on the right side.
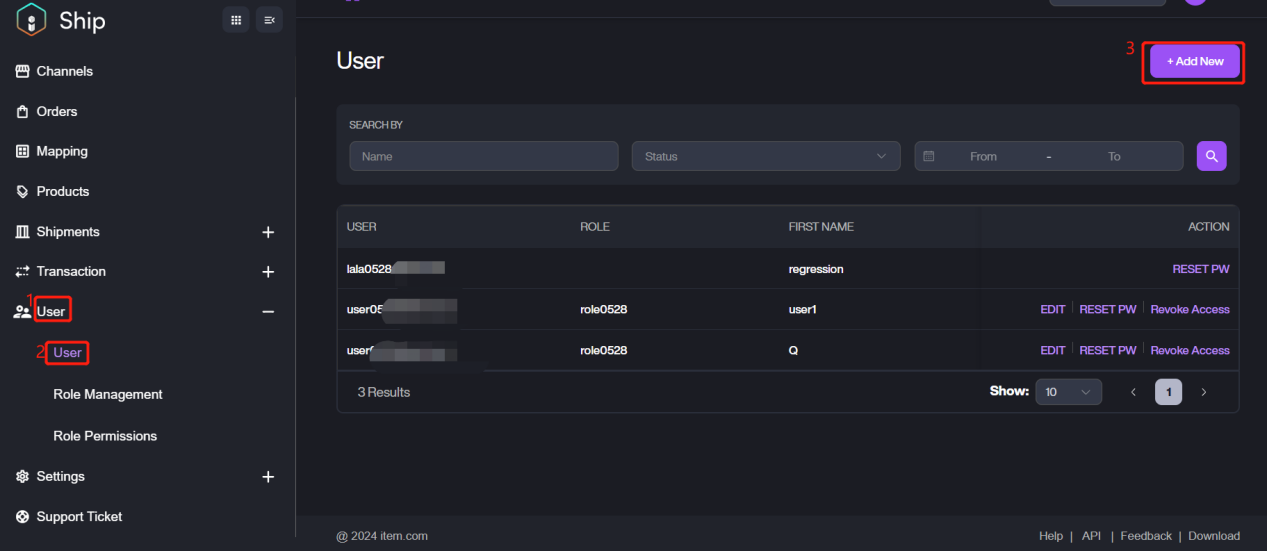
If there are a lot of user accounts under your user list, you can do a quick search by these categories.
| Category | Description |
|---|---|
| Name | The email address of the account. |
| Ship Access | The access permission of the account. Value: Yes/No |
| Date | Setup the time period of account creation. |
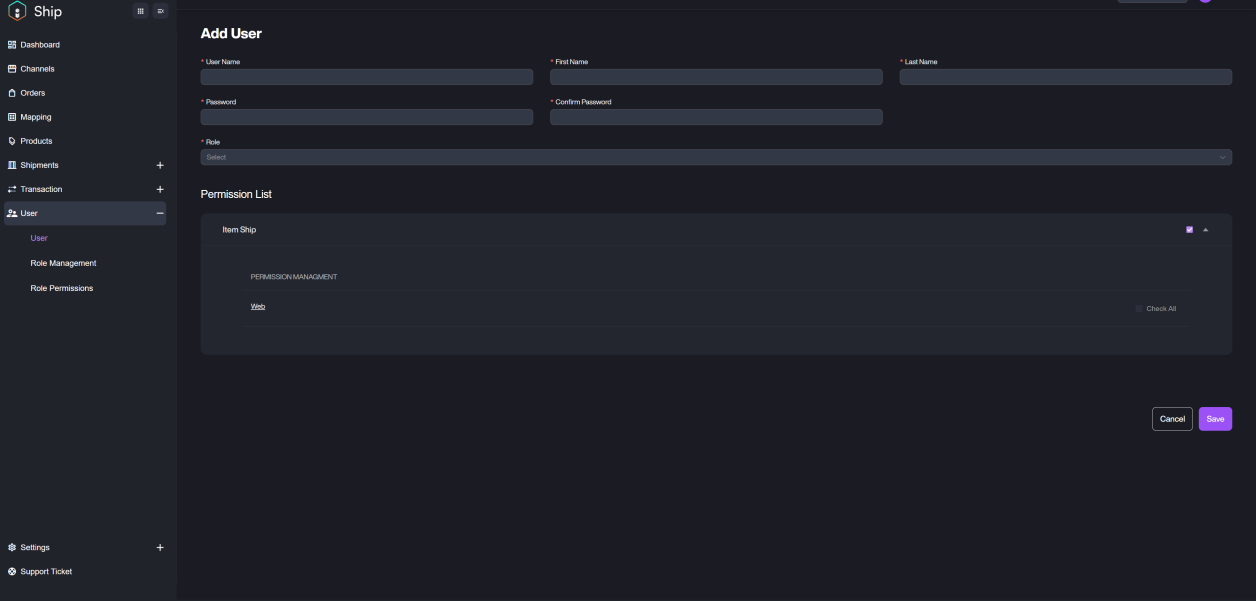
- Fill in the required information, and select a role for this account.
The admin role will be preset on the system and it allows the user to access all pages on Ship, if you want to customized some other roles and setup other access permissions, please refer to Role Management and Role Permissions for details.
After setting role, you can view the pages you can access by clicking Web. And it supports to click downward icon to check the specific permission.
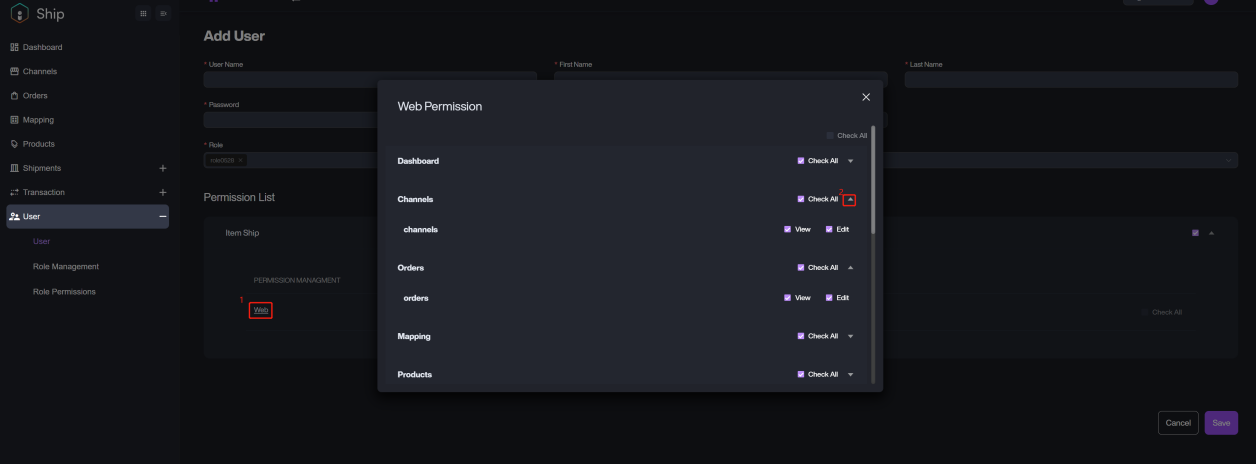
- Click Save button to complete adding the new user.
How to edit the user information
Note: Regular user only supports to edit their own information under My Profile, it can’t view the user list.
Edit your own user information
-
Click the avatar > My Profile.

-
Click three dots button > Edit User.

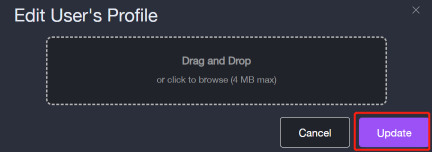
If you want to update the avatar, please click Update Picture to upload a the new picture, then click Update to complete it.

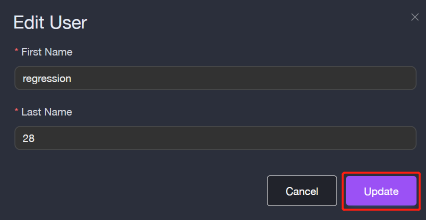
- Enter the new information and click Update to save.
Edit the other users’ information
-
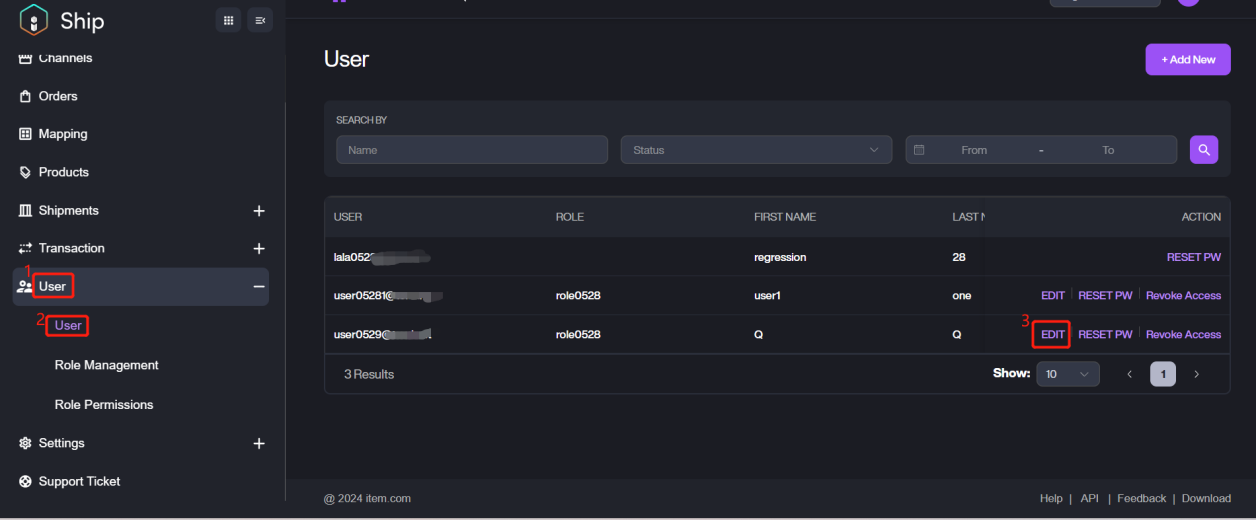
Navigate to User > User, confirm the target user account and click the EDIT button at the right side.
-
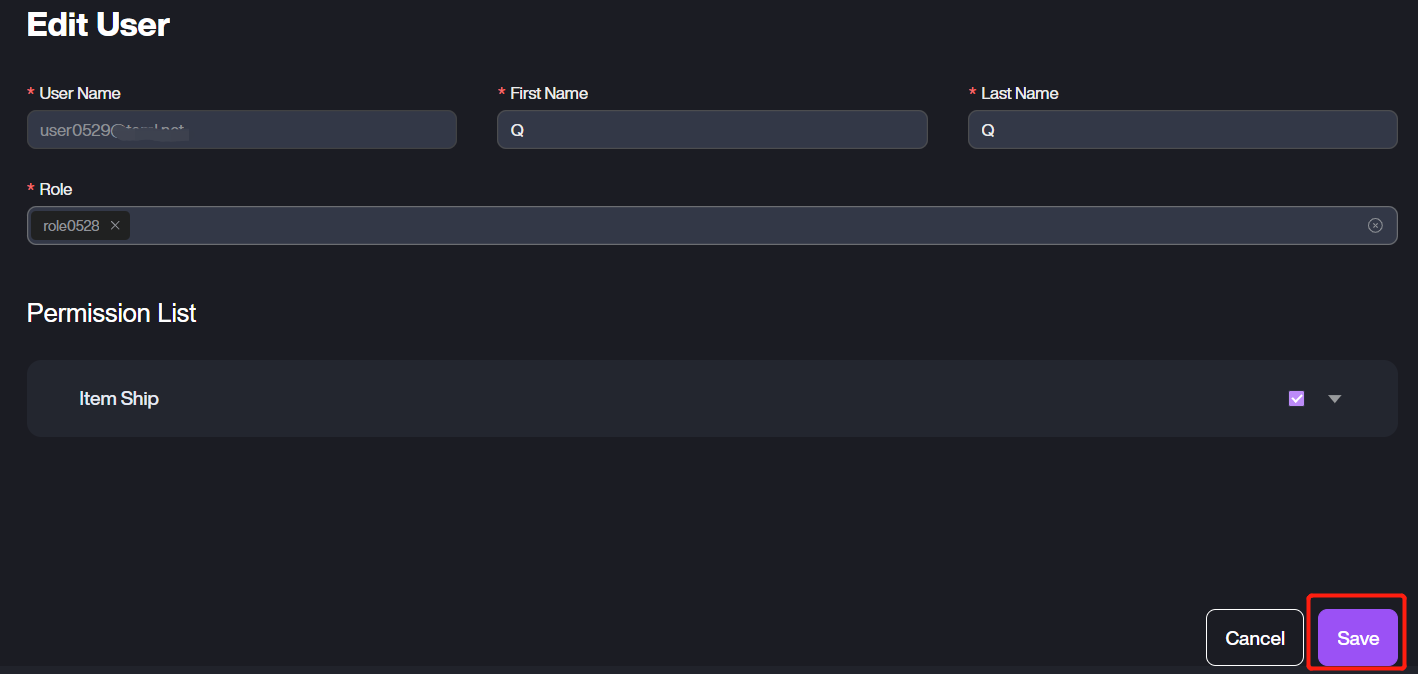
Update the user information or reassign a role to this account, then click Save to complete it.
In the User section, there are another two action buttons at the right side of the regular account, RESET PW and Grant/Revoke Access.
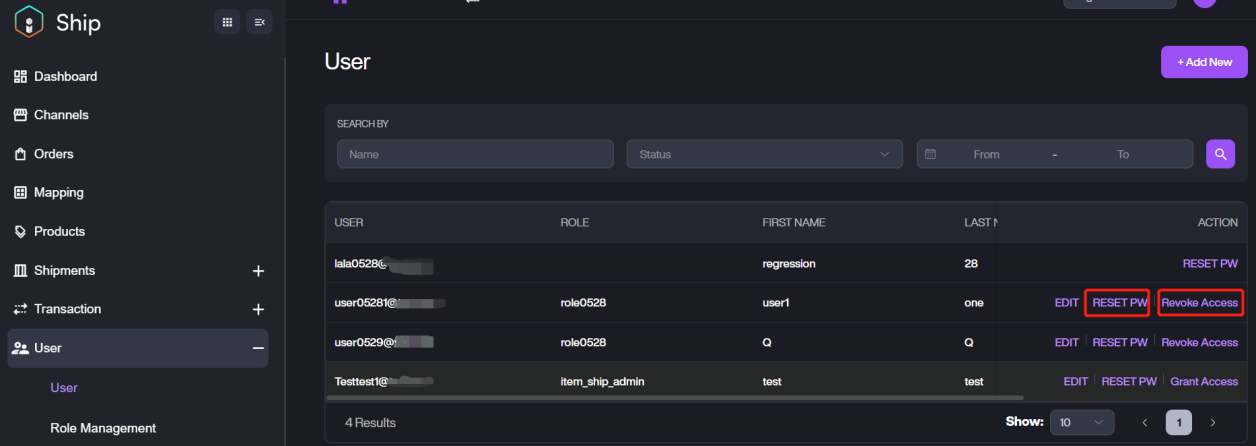
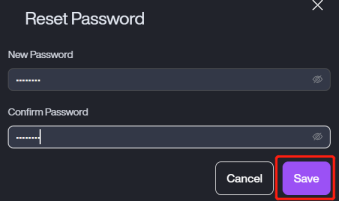
RESET PW: if the regular user fails to login to the system since they forget the correct password, please contact the admin user to reset the password for you.
Click RESET PW, fill in the new password and click Save.
Grant Access: please click Grant Access to assign the access permission for the user, which allows the user to login Ship.
Note: it requires the user account keep Active status, it means the account should have been activated.
Revoke Access: please click Revoke Access if you don’t allow the user to access Ship anymore. After revoking, Item Ship will be removed from Connected Applications on Item Pass too.
Role Management
Roles defines the access positions with the company have. For example, the roles can be named according to the company’s organization, then the admin users can assign the roles to corresponding team member. The operations are as below:
- Navigate to User > Role Management.
- Fill in the Role Name and click + to complete.
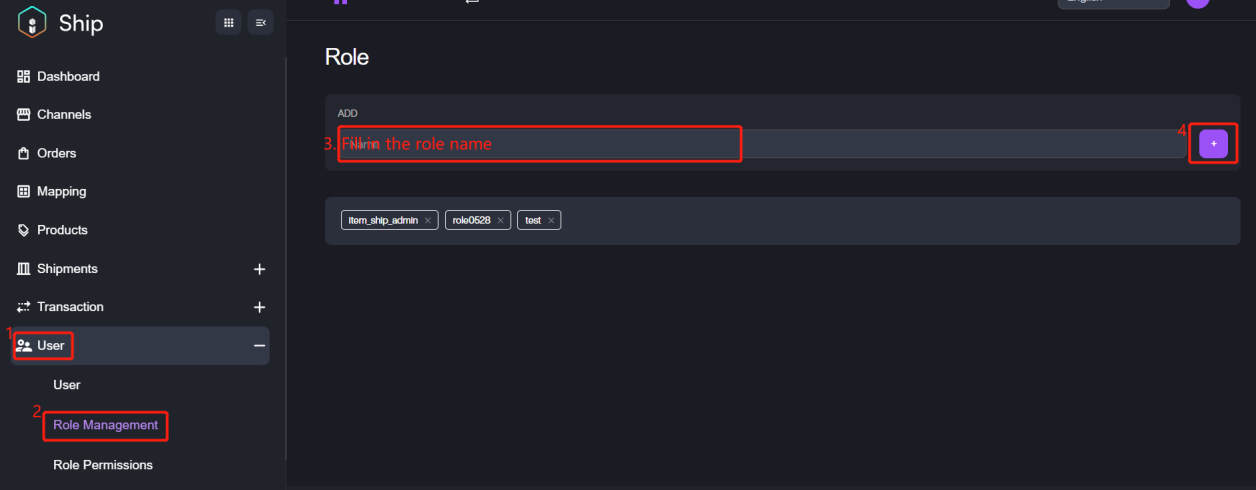
If you want to delete some specific roles, please click x on the role’s tab. As shown:

Role Permissions
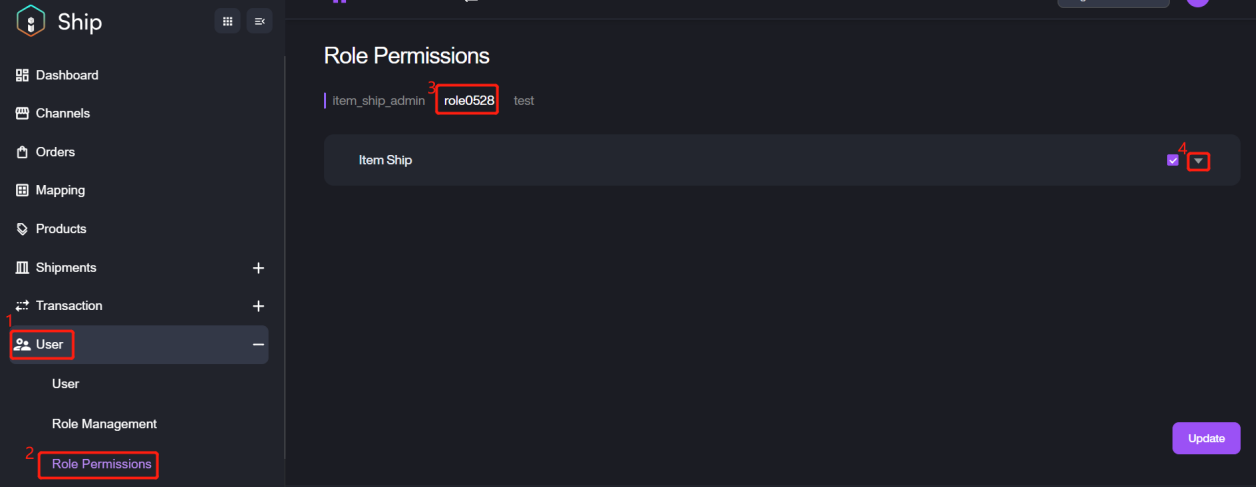
Role permissions define what access roles have. After adding the roles according to the last section, please refer the following steps to configure the specific access permission for corresponding roles.
-
Navigate to User > Role Permissions, select the targeted role.
-
Click the downward icon.
-
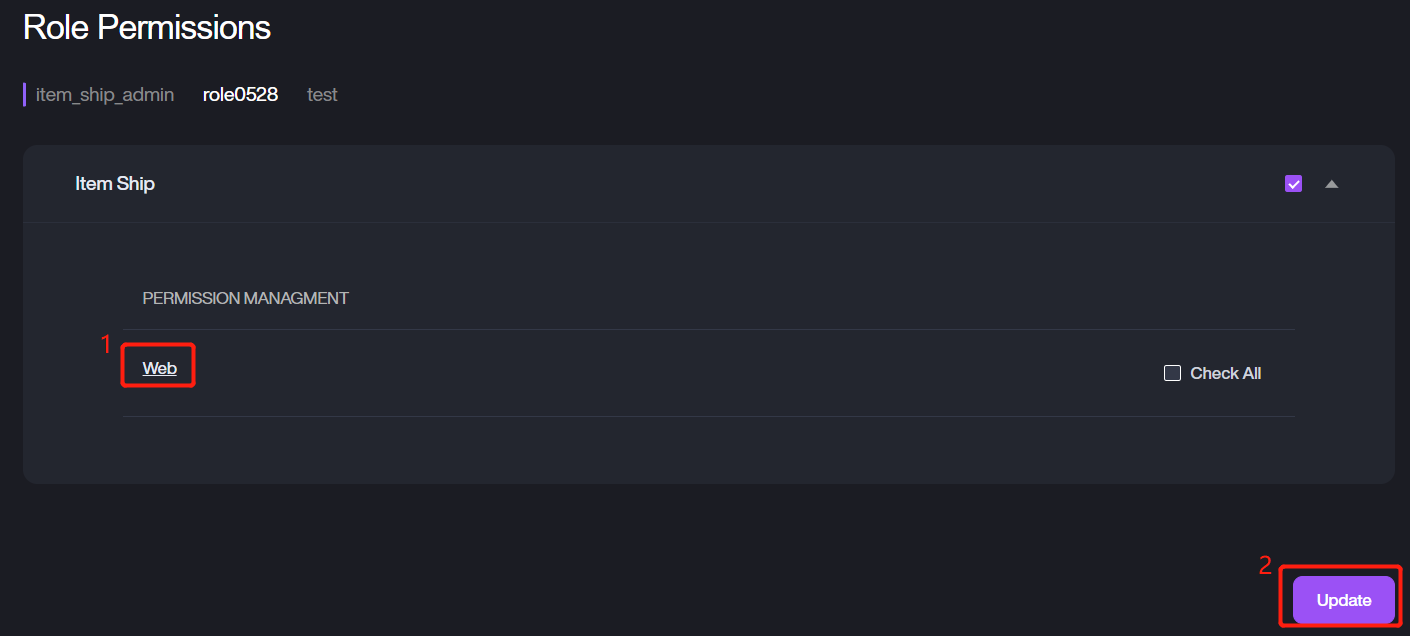
Click Web to edit specific page access permissions, then click Update to save the information.
For example:
-
All permissions
If you want to assign the access permission to all pages and allow the user to view and edit the information, there is a quick way to select the Check All button and click Update complete configuration.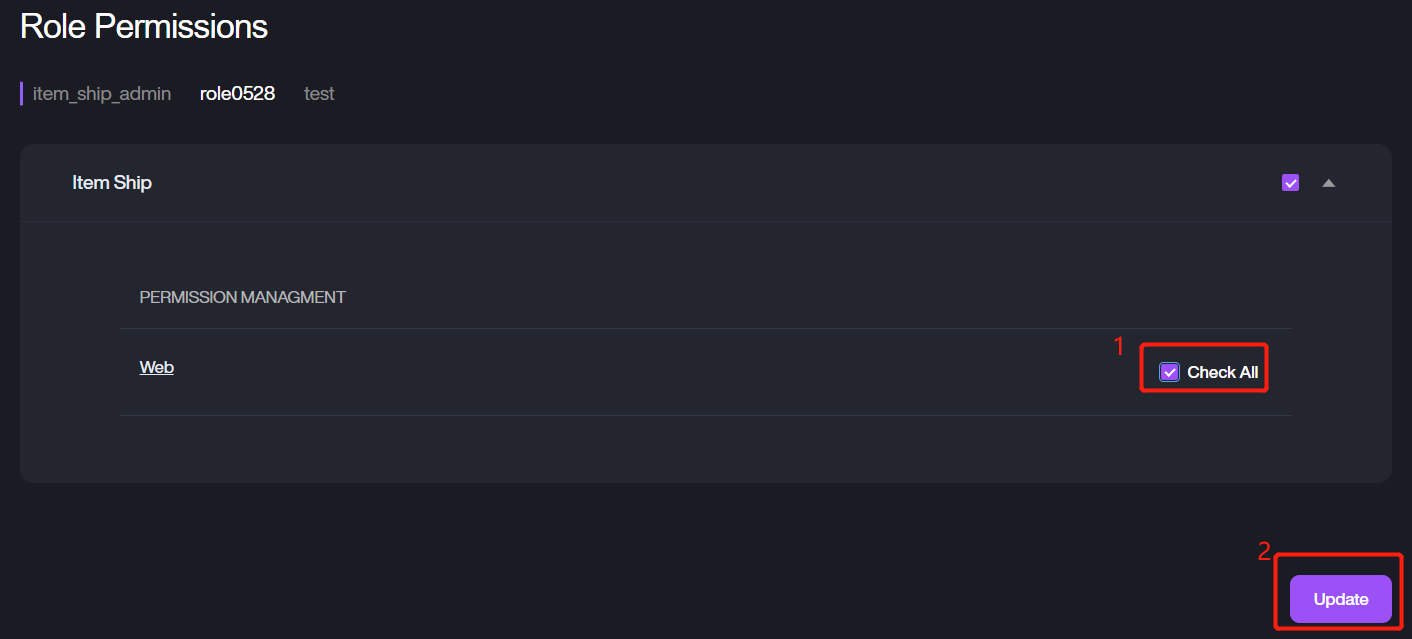
-
Customized permissions
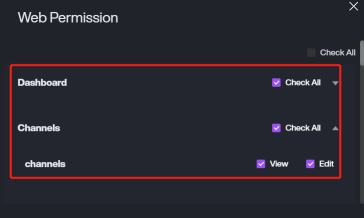
It allows the user under this role to access Dashboard, Channels, Products and Settings>Packages pages.
Allow view and edit/Check All: Dashboard/Channel
Only allow view: Products and Settings > Packages
Select Check All on Dashboard and Channels option.
For Product option, click the option or downward icon then select View.
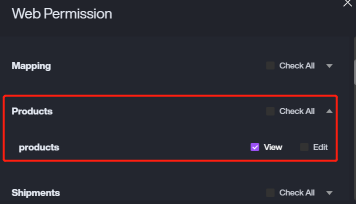
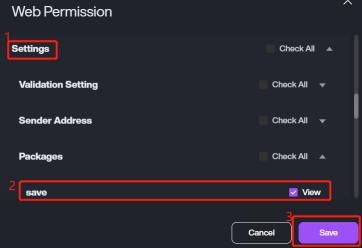
For Settings > Packages page, click Settings option, select the View permissions for the tab pages then click Save.