Carrier Management
Carriers handle shipments and deliver orders to their destination. When you need to use your own carrier account to print labels, you can configure it in the carriers section of Settings. This article introduces how to add carrier and edit carrier information on Item Ship system.
How to add a new carrier
-
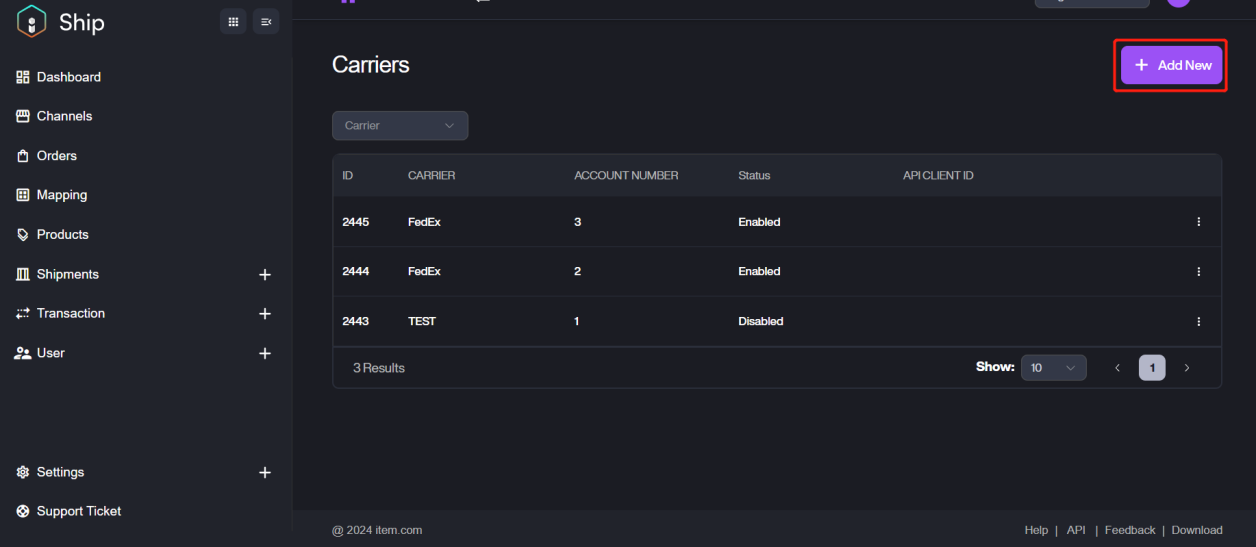
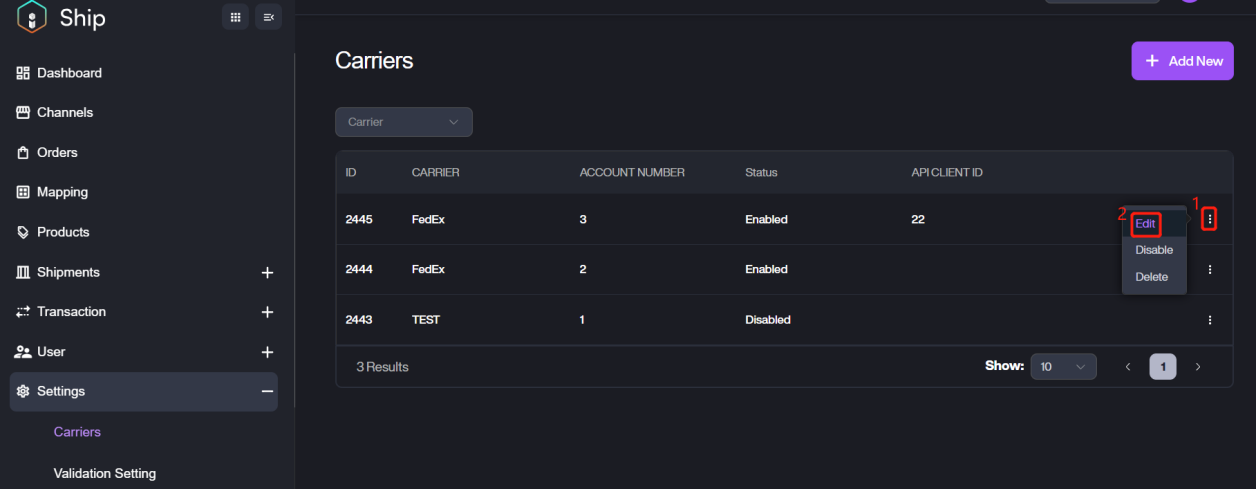
Navigate to Settings > Carriers on the left side of the screen, it will display the all carriers which that have been created.
 Generally a carrier might have different sites to handle shipments in different areas, so one carrier will have multiple shipping account with different account numbers. For example, DHL 1# is for Los Angeles, and DHL 2# is for New York.
If you want to search some specific carrier accounts faster, please select the targeted Carrier and search it as shown.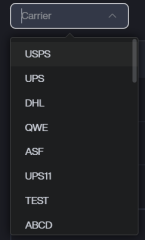
-
Click + Add New button on the right side.
-
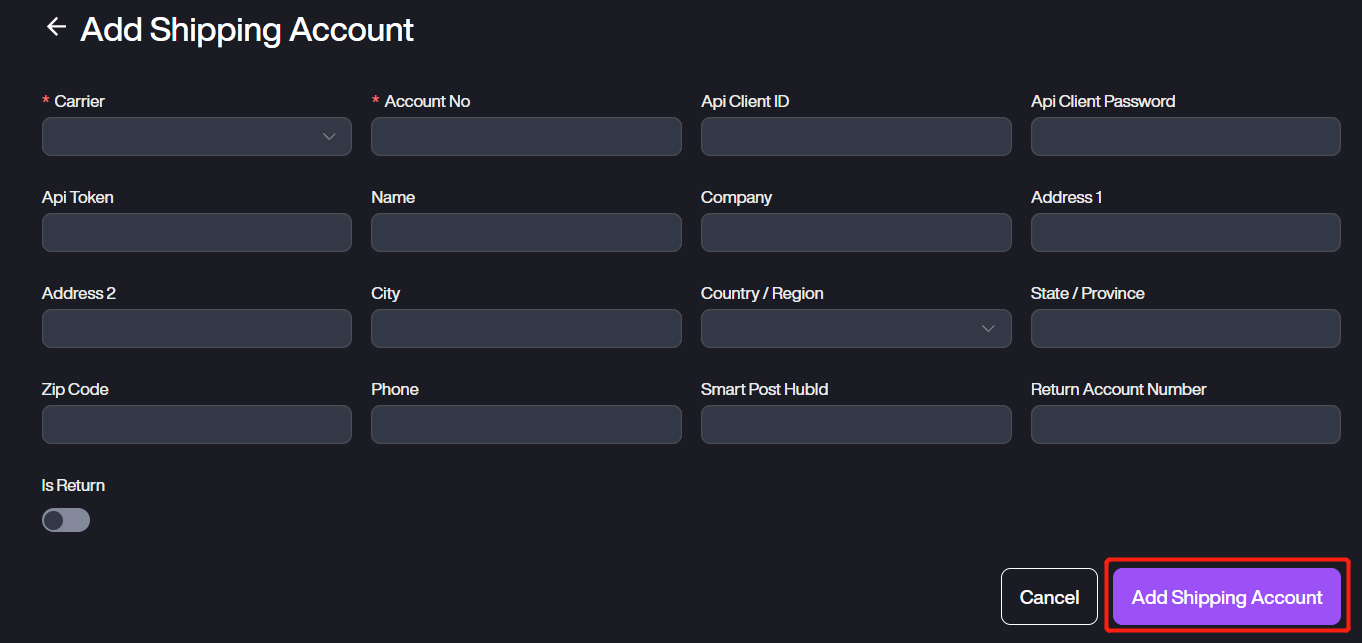
Fill in the corresponding information here, and click Add Shipping Account to complete the progress.
 The shipping account will be shown on the Carriers List after adding successfully. The default status is enabled.
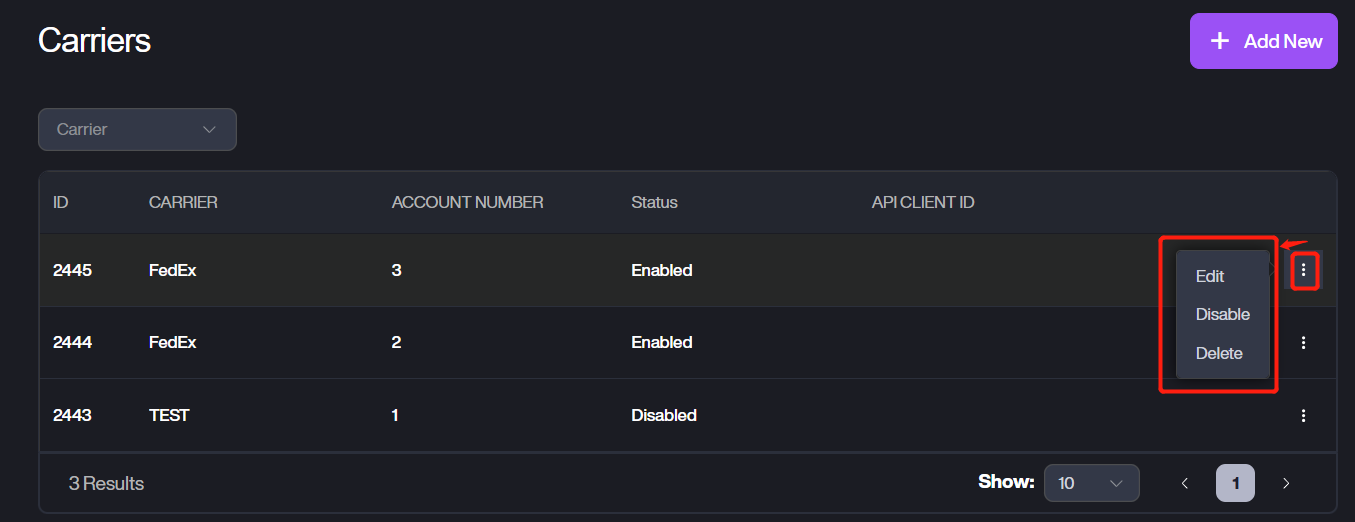
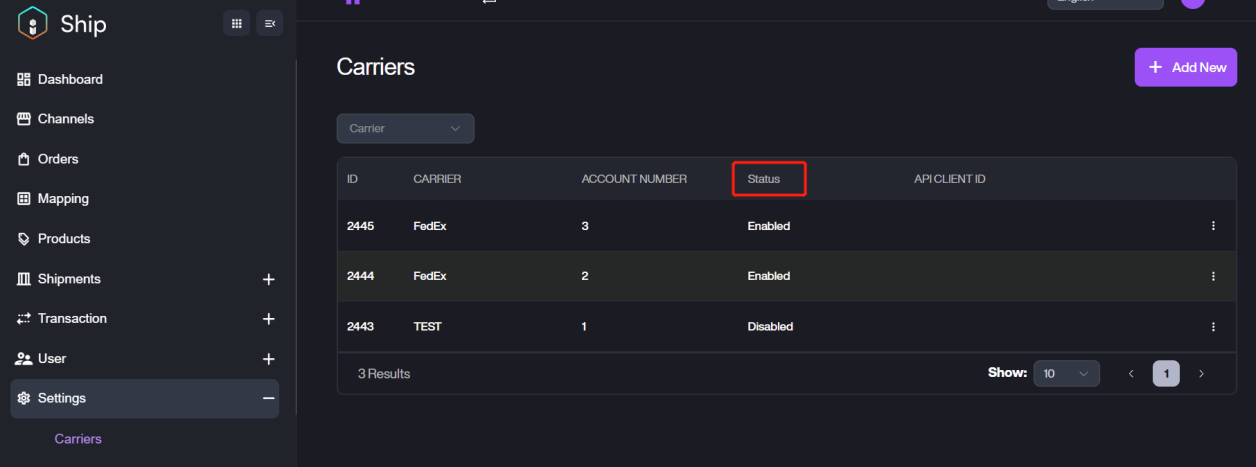 There is a three dots option, you can click it for Edit/Switch Status/Delete the shipping account.
Edit the shipping account
If you need to update some information for the shipping account, please click three dots option and then click Edit to modify the information. Please noted that the Carrier and Account number is not editable.
Click Edit Shipping Account to save the updating information.