Create New Orders
If you’ve connected third-party channels to item OMS, the system can automatically pull orders from these channels based on your configured settings. For specific channel configuration details, refer to the Sales Channel Settings (opens in a new tab) section. Additionally, you can manually create new orders or import orders via CSV files.
Importing Sales Orders
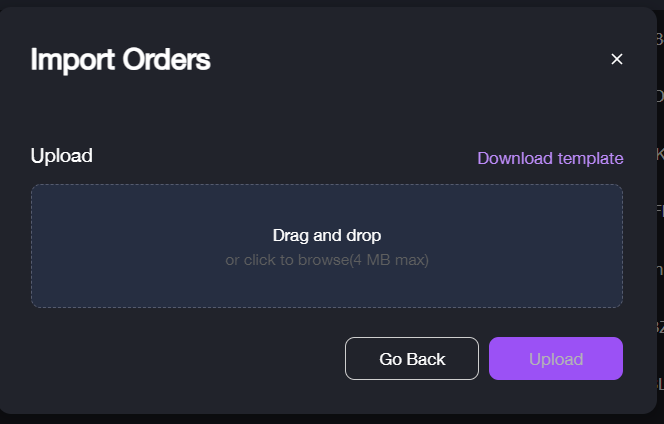
To import sales orders via CSV:
- Navigate to Outbound Order Management > Sales Orders.
- Select Import Order from the drop-down menu under the Actions button.
- Download the provided templates and fill them with the sales orders details.
- Upload the completed file by clicking Upload.
Manually Creating a sales Order
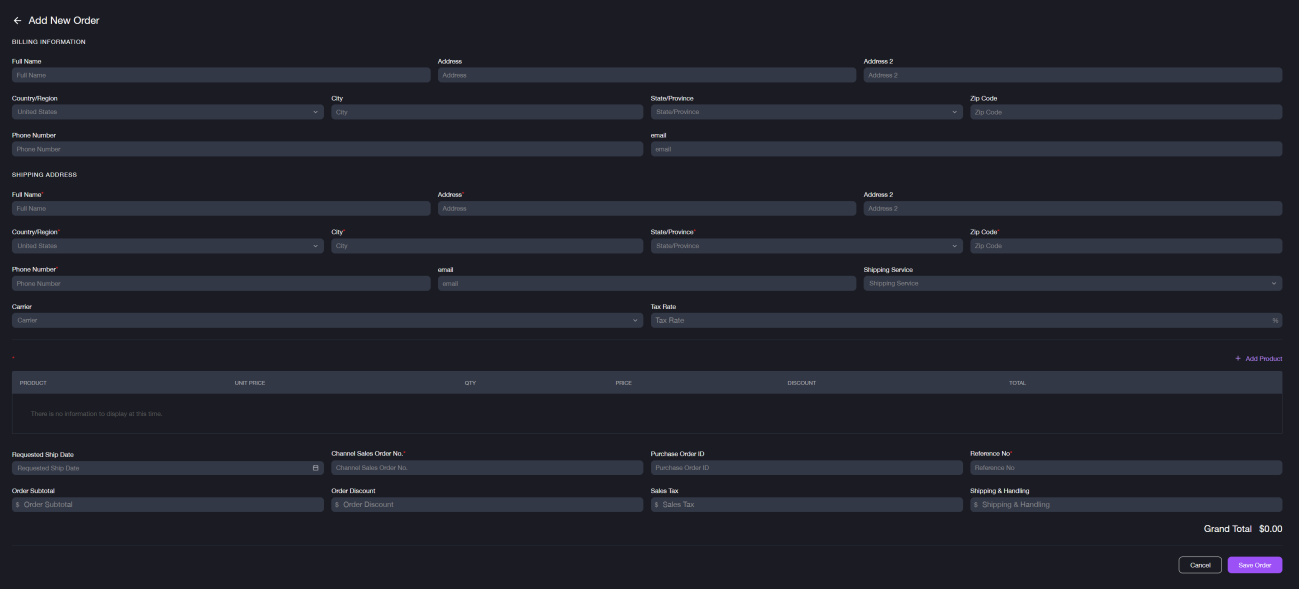
When creating a new sales order, ensure the following fields are completed:
- Full Name
- Address
- Country/Region
- City
- State/Province
- Zip Code
- Phone Number
- Channel Sales Order No.: The sales order number generated by the third-party channel.
- Reference No: The Unique identifier indicates the sales order.
To manually create a new order:
- Navigate to Outbound Order Management > Sales Orders.
- Select New Order from the drop-down menu under the Actions button.
- Enter the shipping information and if applicable, the Billing Information.
- Click + Add Product to include the items being ordered.
- Select the product from the drop-down menu and enter the quantity ordered. If necessary, you can apply a discount to the products, either as a price discount or a percentage rate.
- Enter the Channel Sales Order No and Reference No.
- Click Save Order.
Orders that you create manually or import will initially appear with a New status. From the order list page, you can arrange for shipment and create labels for orders with the new status.