AP - Setup of Account, Bills, Payment of Vendor
Add Vendor
- Click on the Vendor module name in the left navigation panel to open the drop-down menu. Then, click on Vendor Accounts and select the sub-menu Vendor Accounts. The Vendor Accounts page shown in the image below will be displayed.
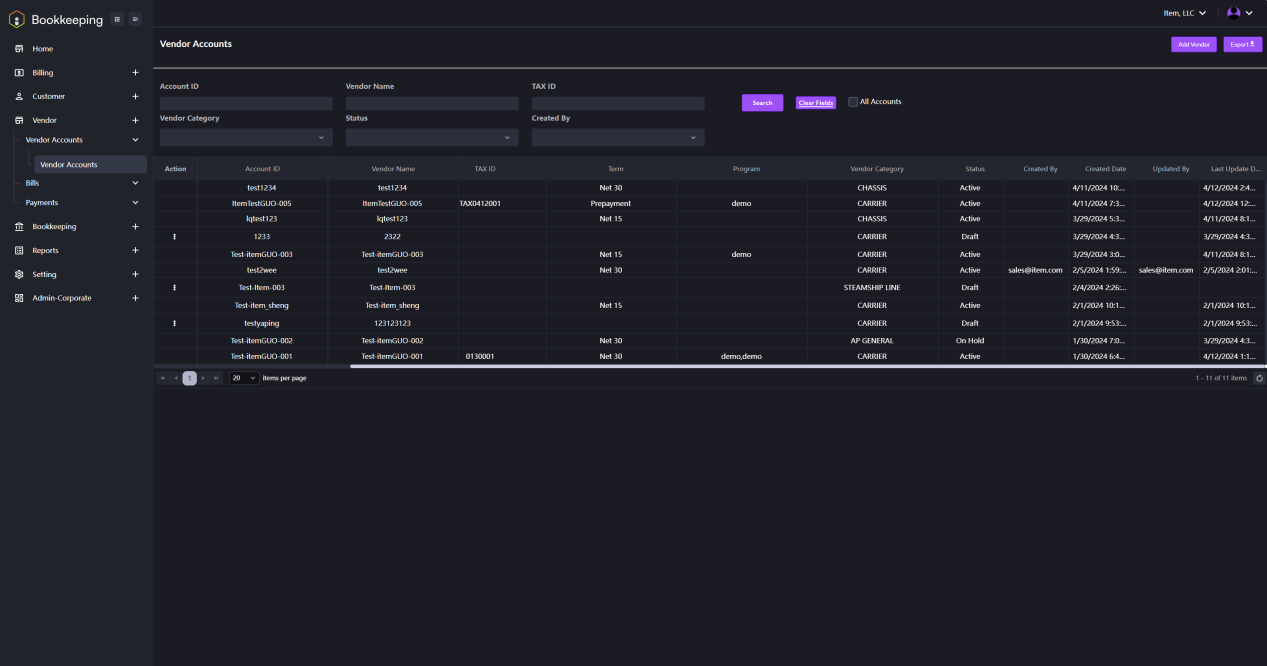
- Click the Add Vendor button in the right top corner of the Vendor Accounts page. The interface shown in the image below will appear.

- Fill in the required information and click the Save button. A new vendor is added successfully.
Vendor Bills
- Click on the Vendor module name in the left navigation panel to open the drop-down menu. Then, click on Bills followed by Vendor Bills. The interface shown in the image below will be displayed.
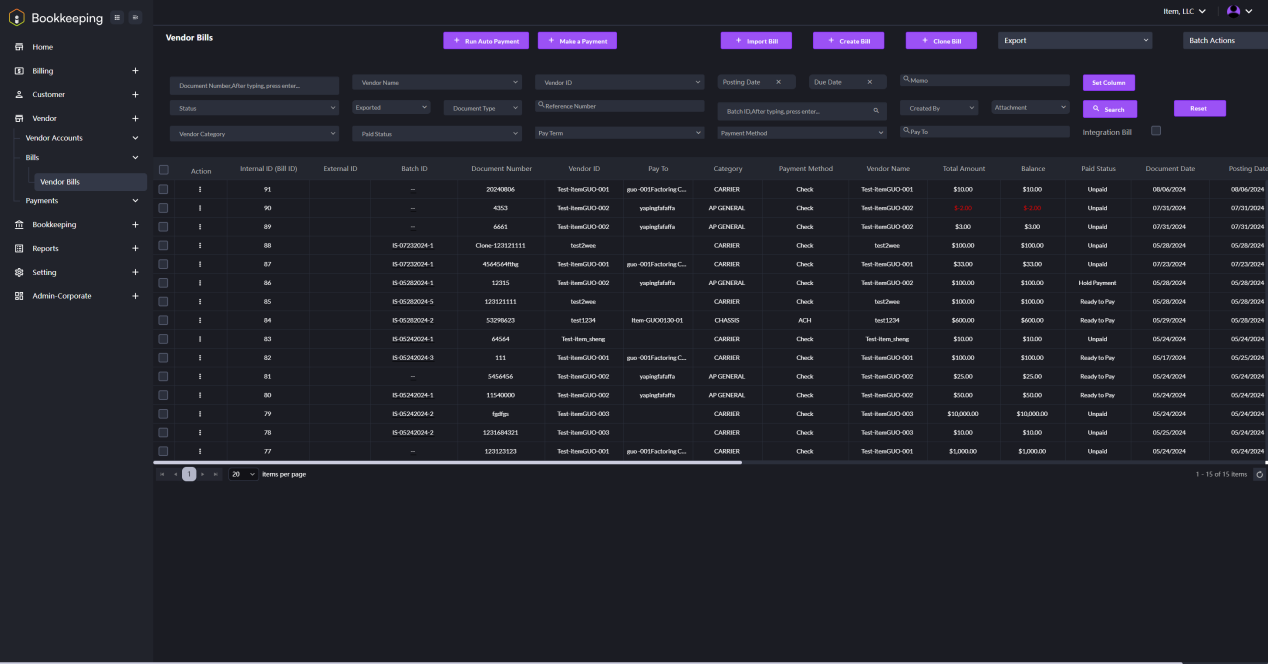
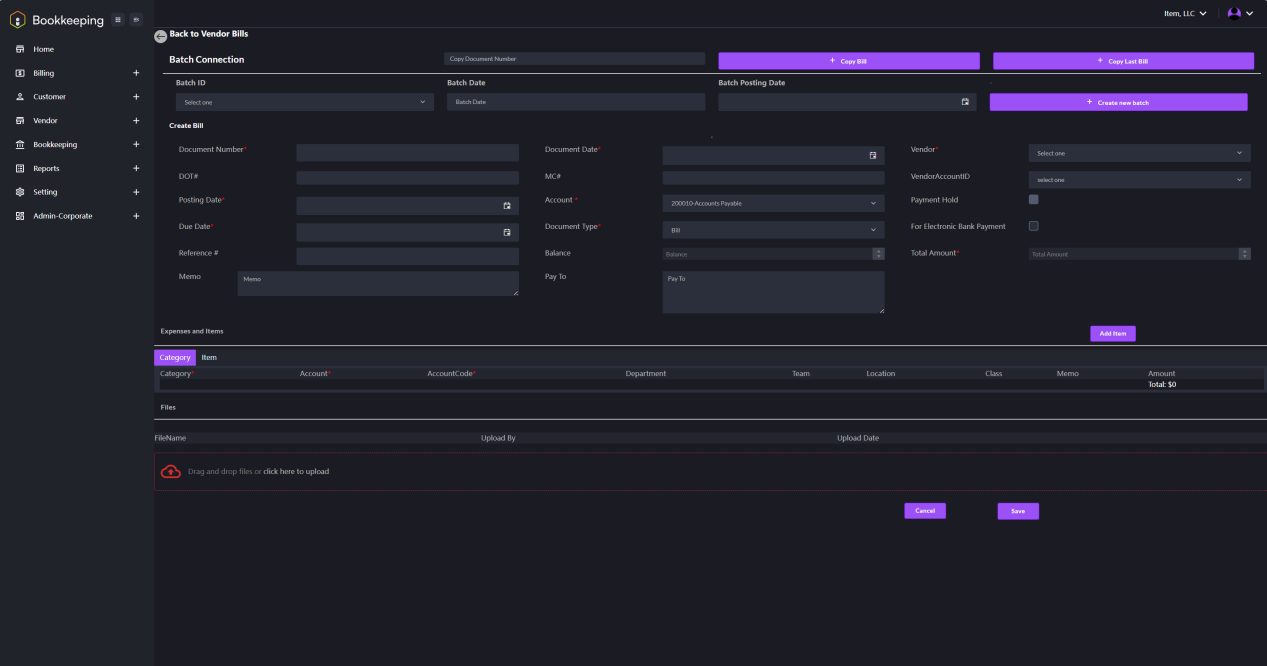
- Click on the Create Bill button. The interface shown in the image below will appear. Fill in the required information to create a bill.
Payment of Vendor
- Click on the Vendor module name in the left navigation panel to open the drop-down menu. Then, click on Payments followed by Vendor Payments. The interface shown in the image below will be displayed.
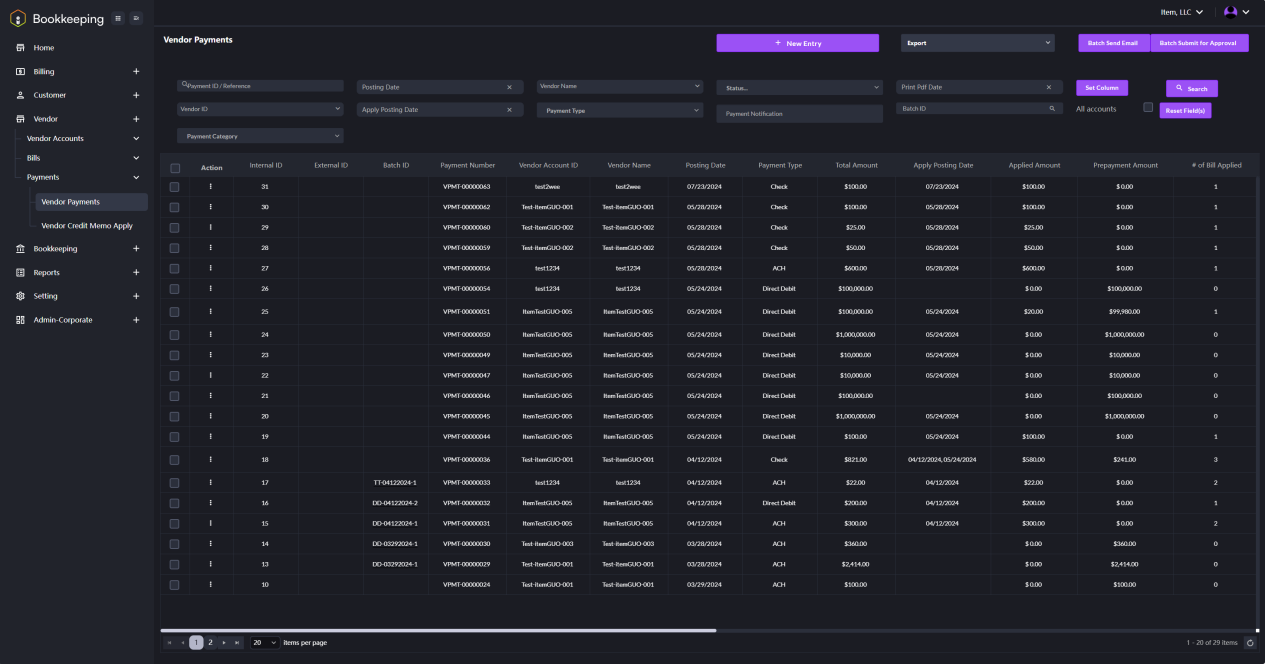
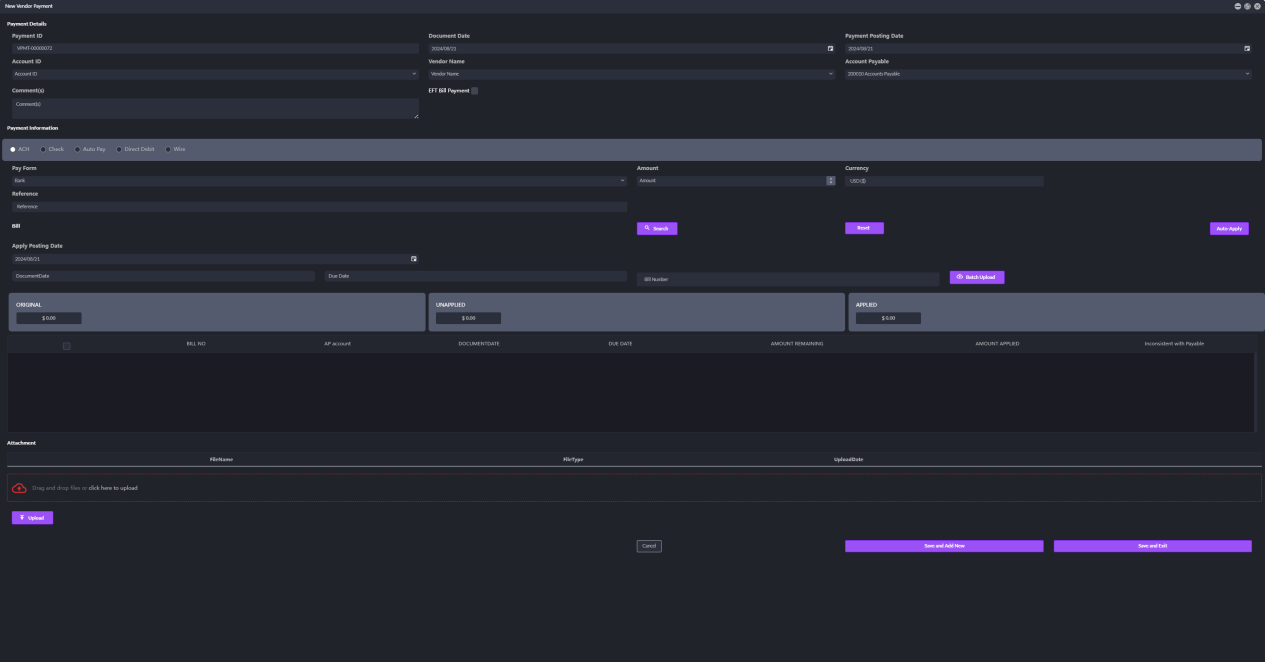
- Click on the New Entry button to enter the New Vendor Payment page. Fill in the detailed information to create a new vendor payment.
