In RMS, you can handle and dispose returned goods from customers. Upon receival of the returned packages, the status of the packages and goods should be logged, and based on whether the goods are in a condition suitable for resales, they might be put back on shelves for other orders, or be disposed of and scrapped.
Receive returned packages
Step 1: Log into RMS and navigate to “Inbound” > “Visual Screening”. The “Suggestion Log” to the right side automatically lists suggested follow-up steps.
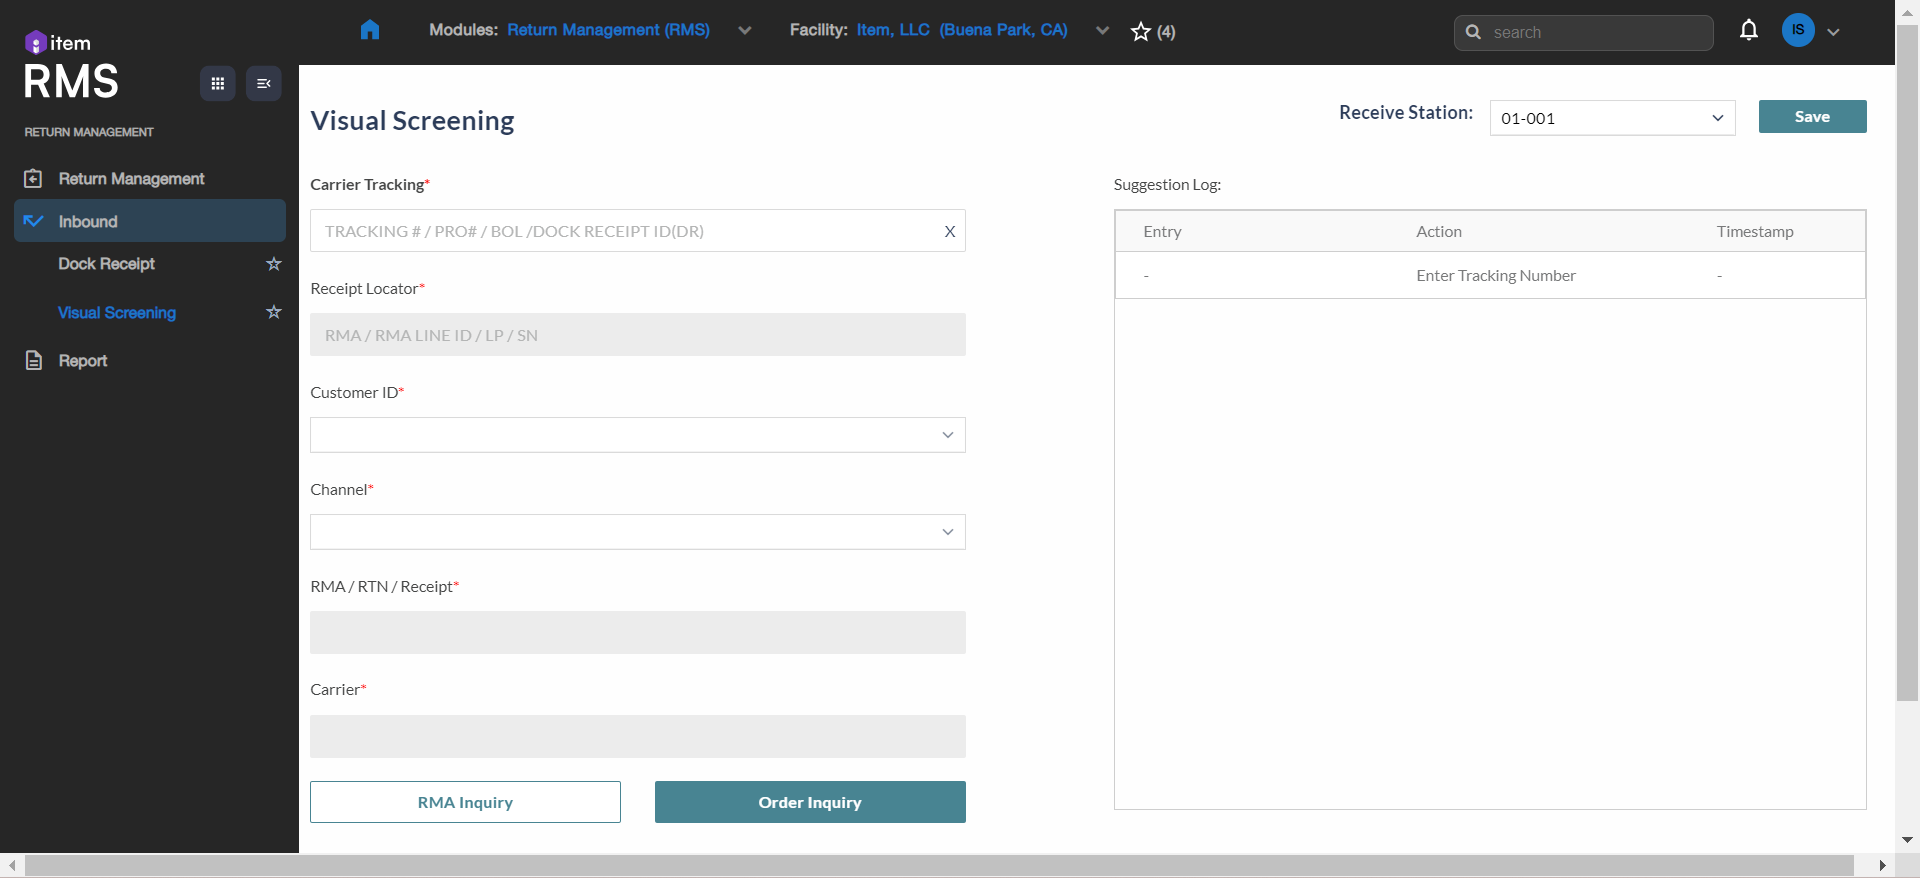
Step 2: (Optional) The “Receive Station” in the top right corner provides a dropdown menu and is usually set to the current location and saved without constant changing. You can change it to a desired one if needed.
Step 3: Enter the Tracking No., ProNo., BOL, or Dock Receipt (DR) for the returned goods, by manual input or scanning, into the “Carrier Tracking” text box. Then press Enter in the keyboard. Usually, the following fields are auto-populated.
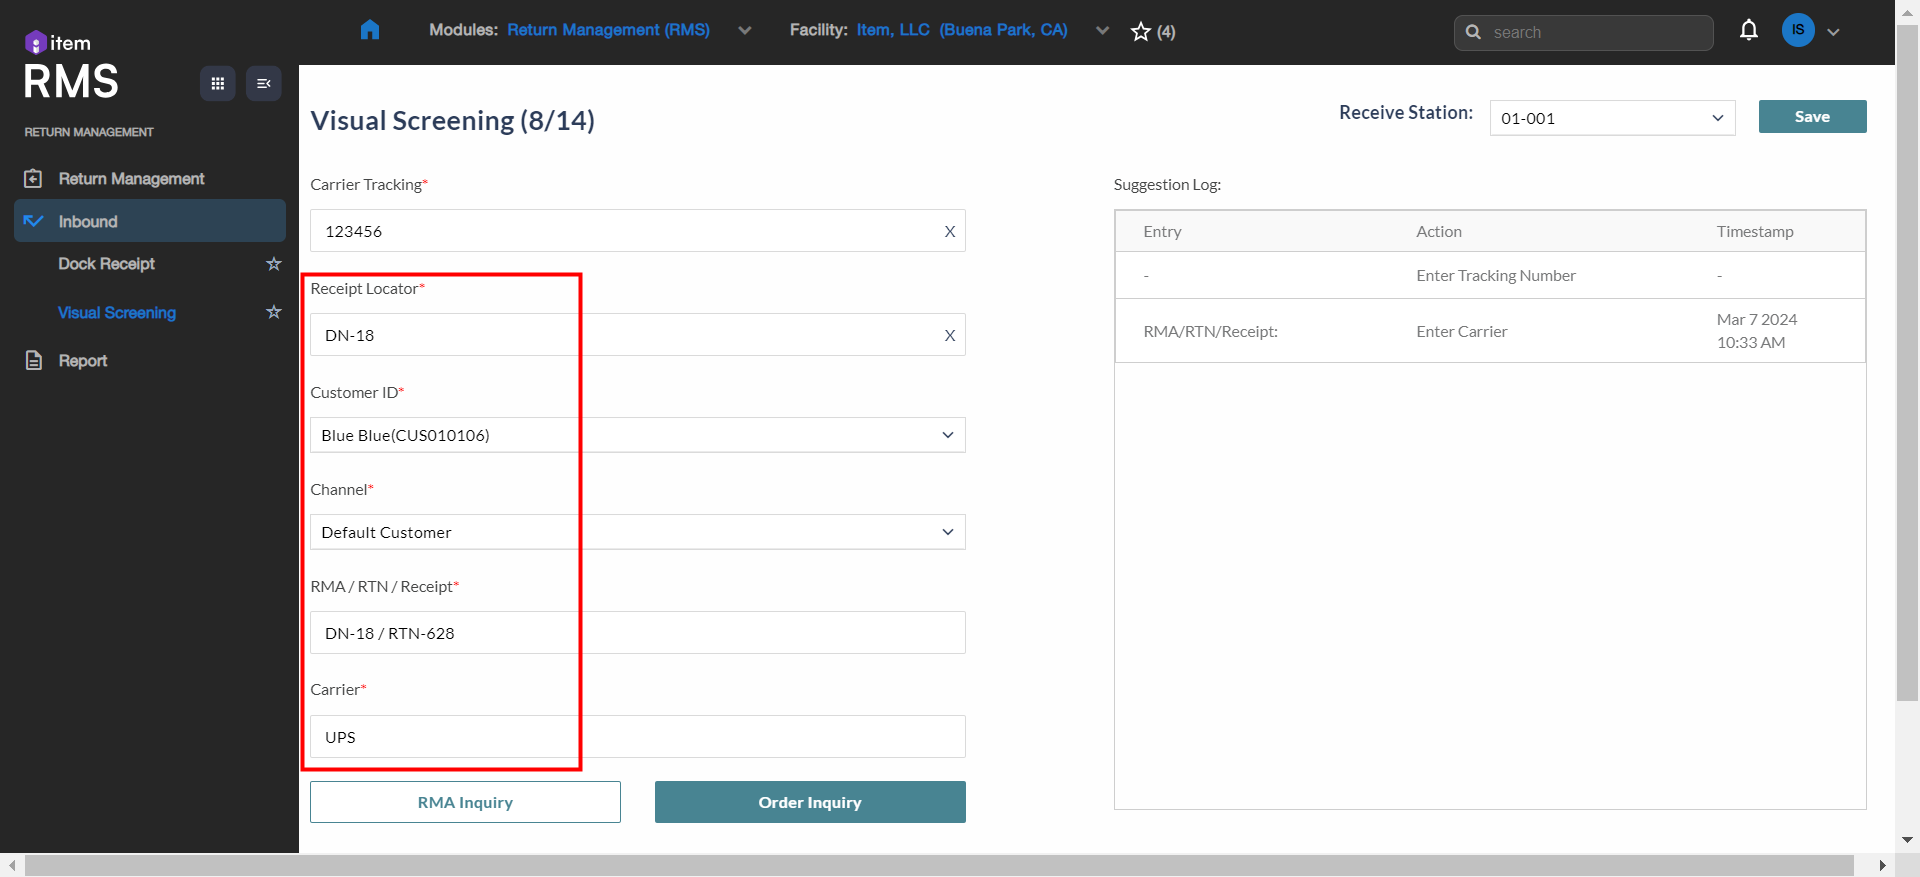
NOTE 1: If some fields are not auto-populated, enter the required fields manually into the text boxes or into popup dialog boxes.

NOTE 2: If you are not sure about the exact information for certain fields, you can click “RMA Inquiry” or “Order Inquiry” and search for needed RMA or order information. If a “Create Pre-Authorized Receipt” dialog box keeps popping up, possible reasons might be the order or the RMA for this order lacks certain crucial information; in this case, you may turn to our technical support team for help.
Step 4: Scroll down the webpage, so the visual screening results section is shown and to be filled. Enter each field after careful screening the returned packages or goods.
- Condition (Item package condition): Select the condition of the item packages. If desired, click “Upload” to upload photos of the packages. Press Enter to continue.
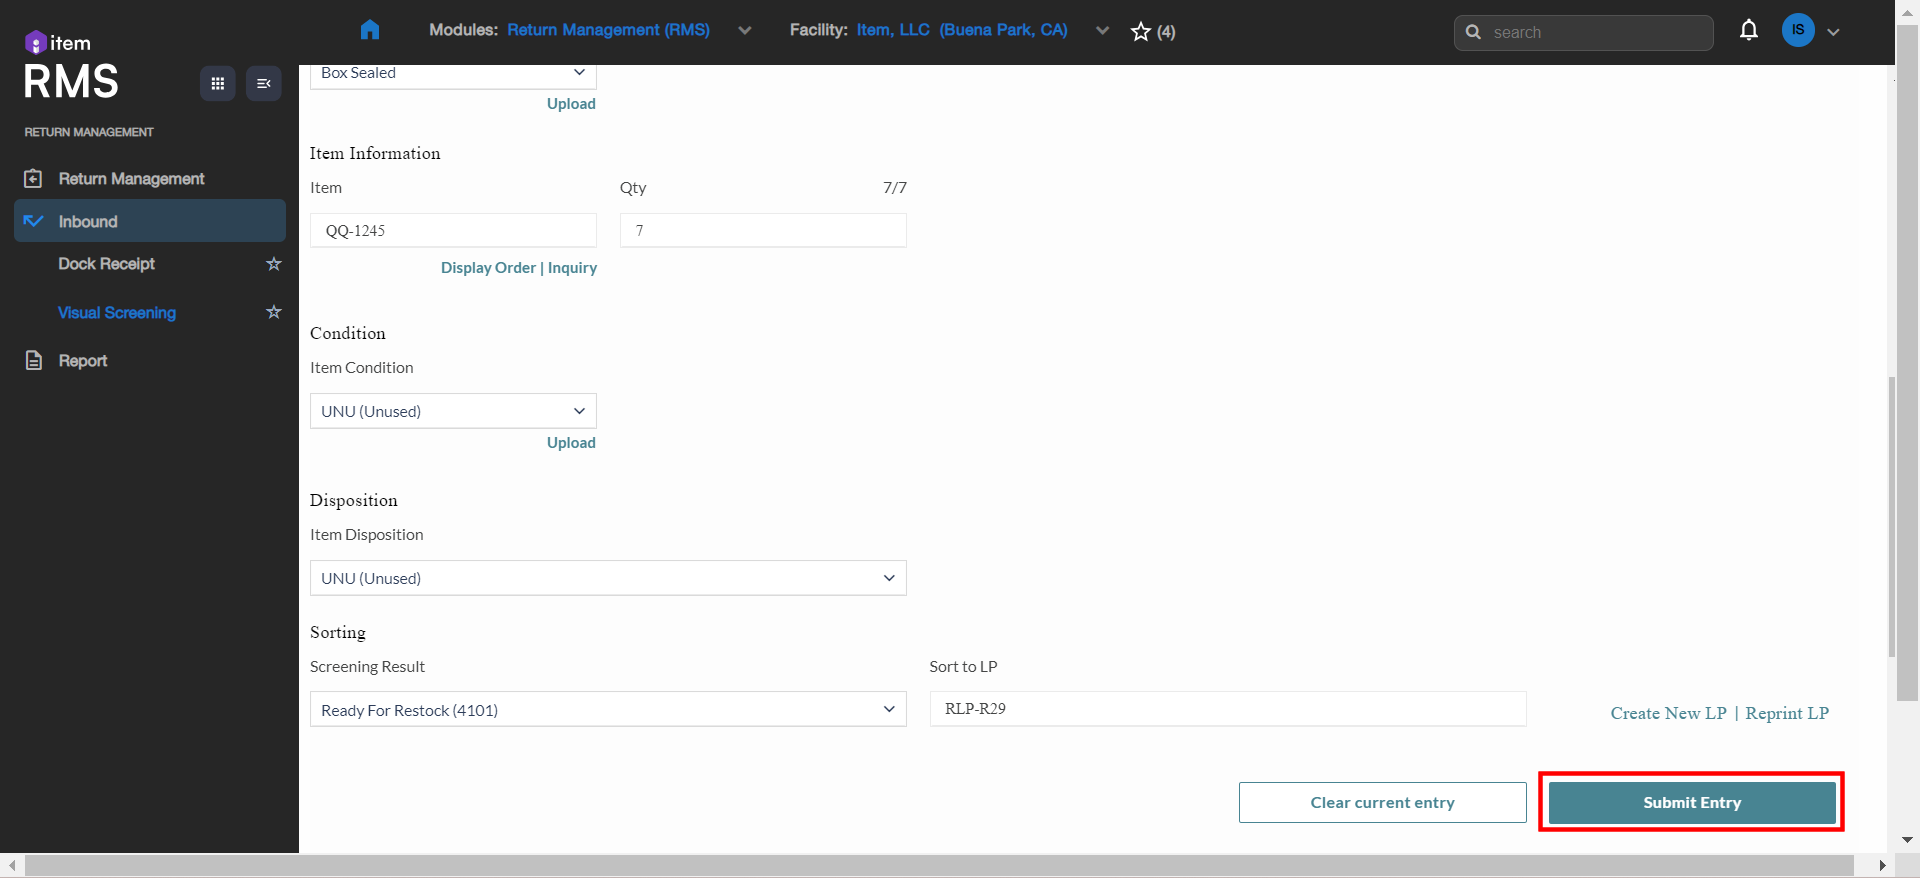
- Item Information: First fill in the item name, press Enter and then fill in the received quantity and also press Enter to continue. If not sure about the items, you can click “Display Order” to view the items within the order or “Inquiry” to search. Be noted that only one item line can be operated here at one time.
- Condition (Item condition): Select the condition of the items. If desired, click “Upload” to upload photos. Press Enter to continue.
- Disposition: Select the way of disposition for the items. Press Enter to continue.
- Sorting: First select the screening result, namely further process to handle the items. Then fill in the LP for sorting the items. Or you can click “Create New LP” to generate a new LP. Be noted that the result selected here will affect options for later actions.

NOTE: Thefollowing lists suggestions for some common scenarios:
- Ready For Restock: Select this one if the item is to be restocked to inventory and used for other orders.
- Pending Scrap: Select this one if the item is to be scrapped.
- Pending Repair: Select this one if the item is to be repaired and later process will be up to repair results.
Step 5: Click “Submit Entry”.
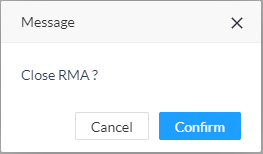
Step 6: A confirmation dialog box pops up, asking whether to close the RMA or not. The common practice, as well as the suggestion here, is that, if there is more than one item line in this returned package, select “Cancel”, in case of needs to return other item lines; if not, select “Confirm”. The reason is that only when an RMA is not closed can another return handling process be created in RMS later for other items in this order.
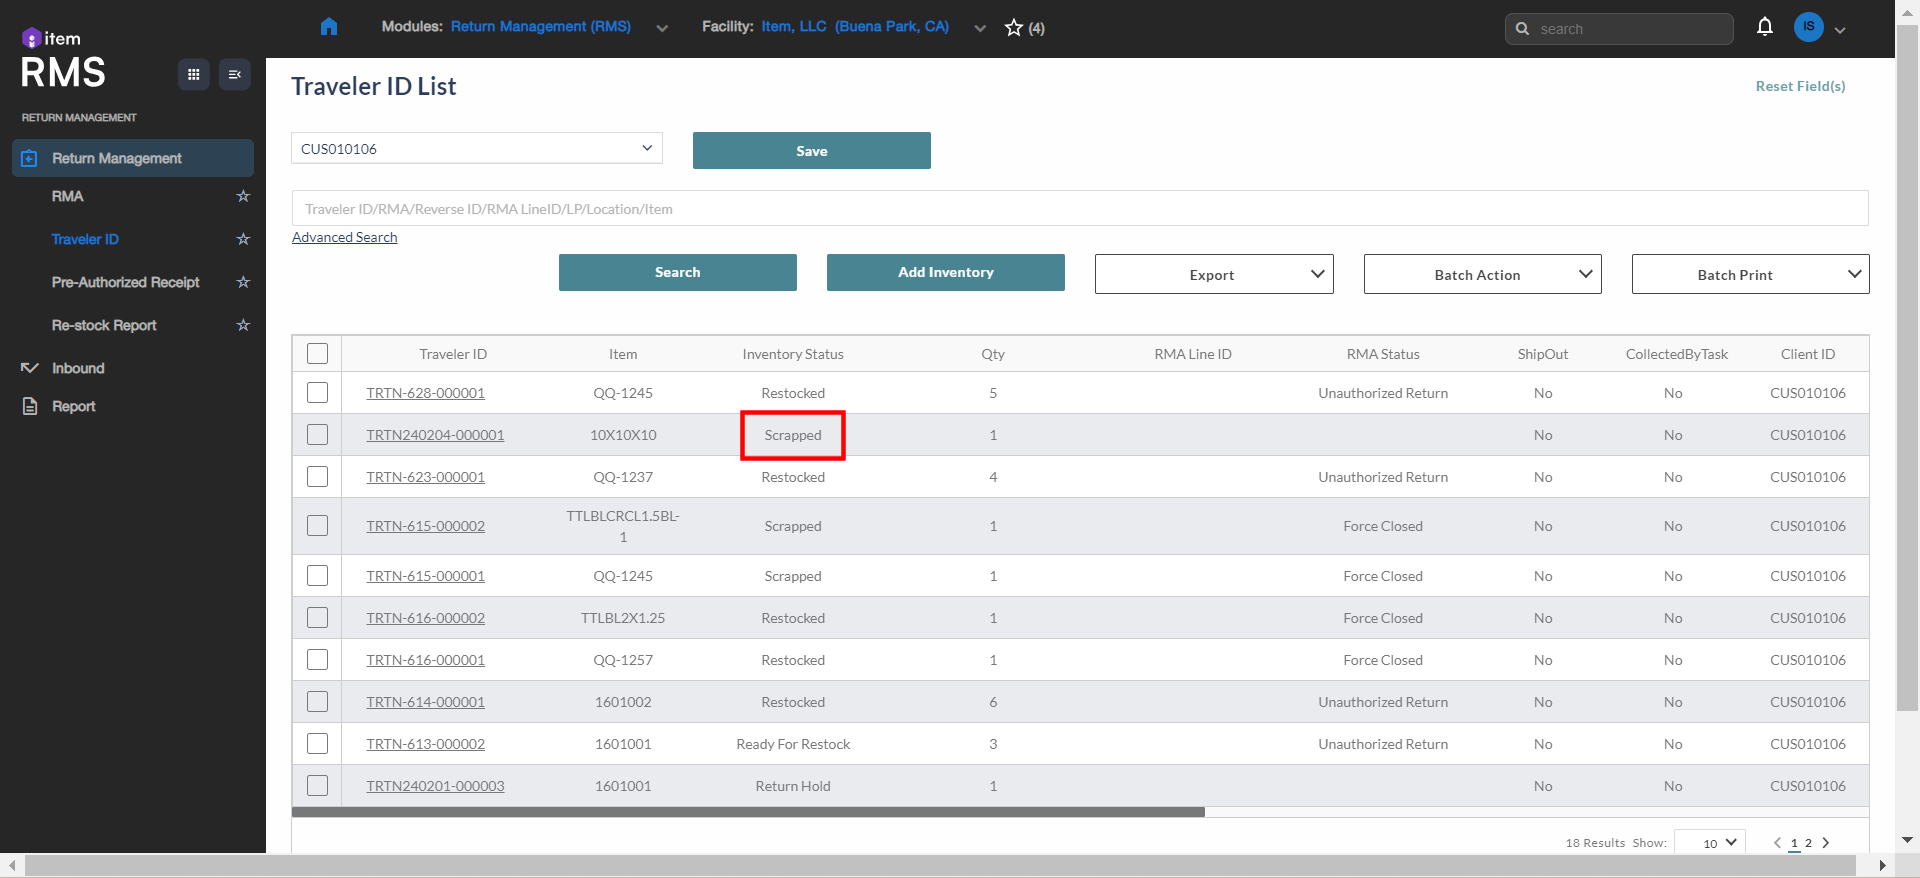
Step 7: A “Traveler ID”, which is an ID for each return handling process, is generated for the current process. Navigate to “Return Management” > “Traveler ID”. All the Traveler IDs are shown here, with different status.
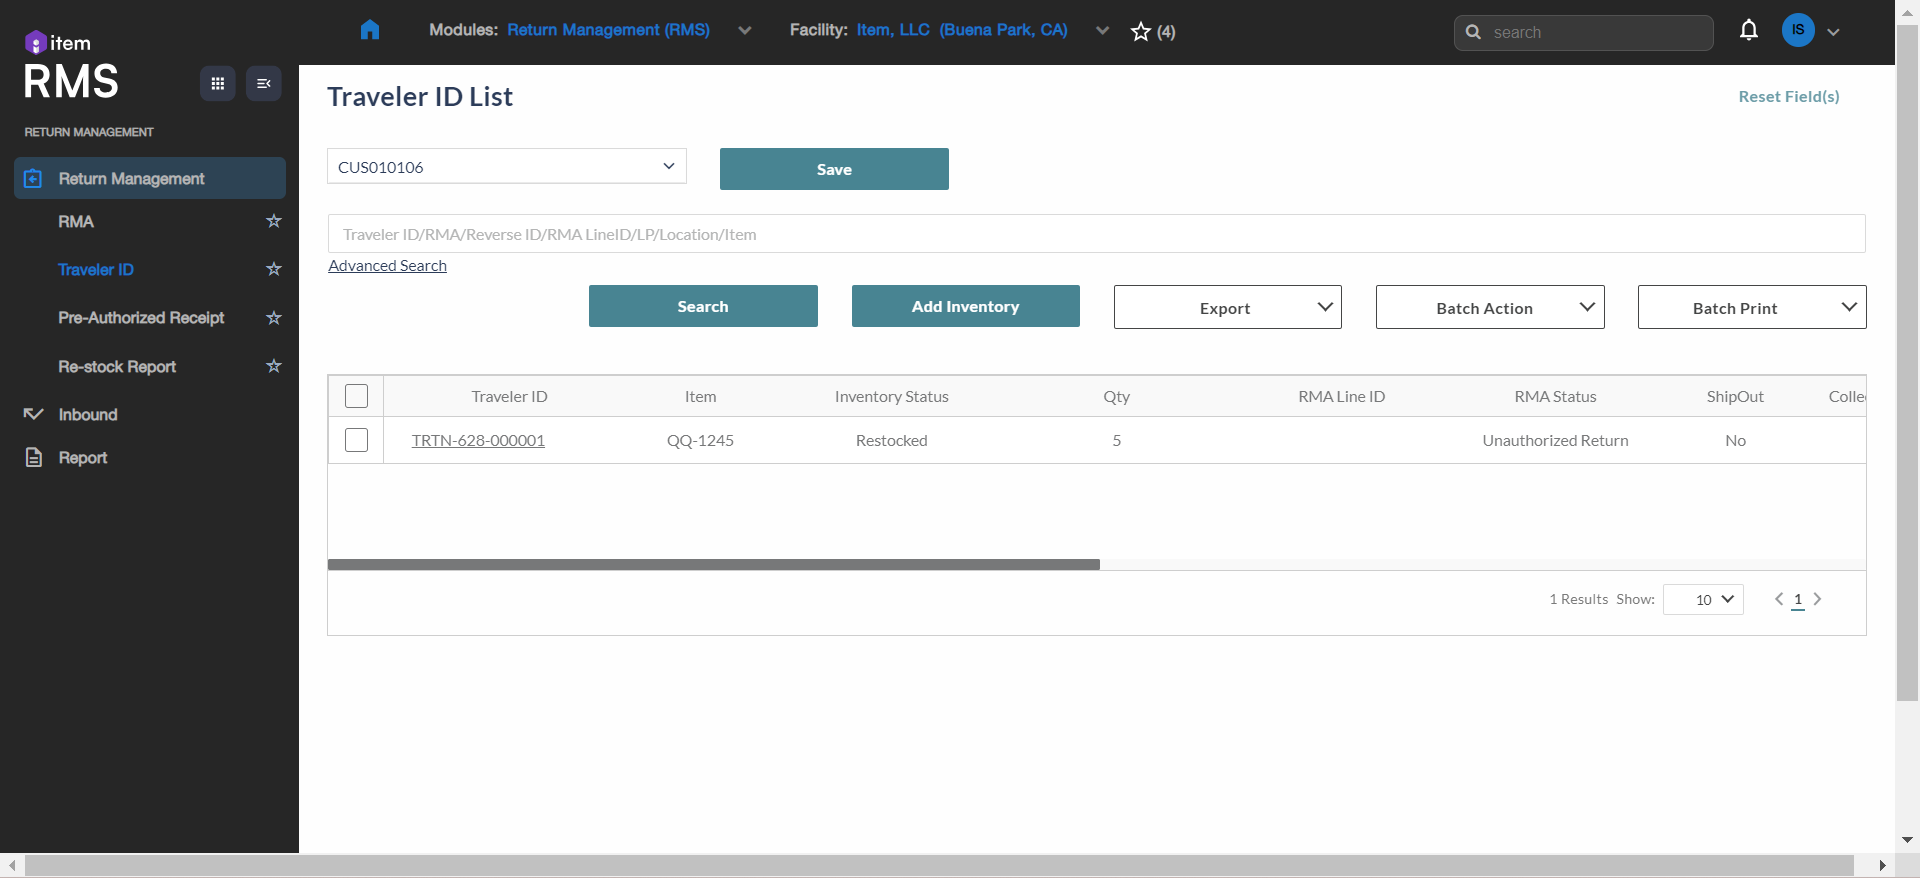
Step 8: If the shown customer ID is not correct, enter the desired one and click “Save”. Enter other keywords if needed.Then click “Search”.
Step 9: Select the desired Traveler ID (by checking the checkbox at the beginning of the row), and click “Batch Action”. The dropdown menu is displayed. Be noted that the options in the menu vary or might be empty with the Traveler IDs’ status.
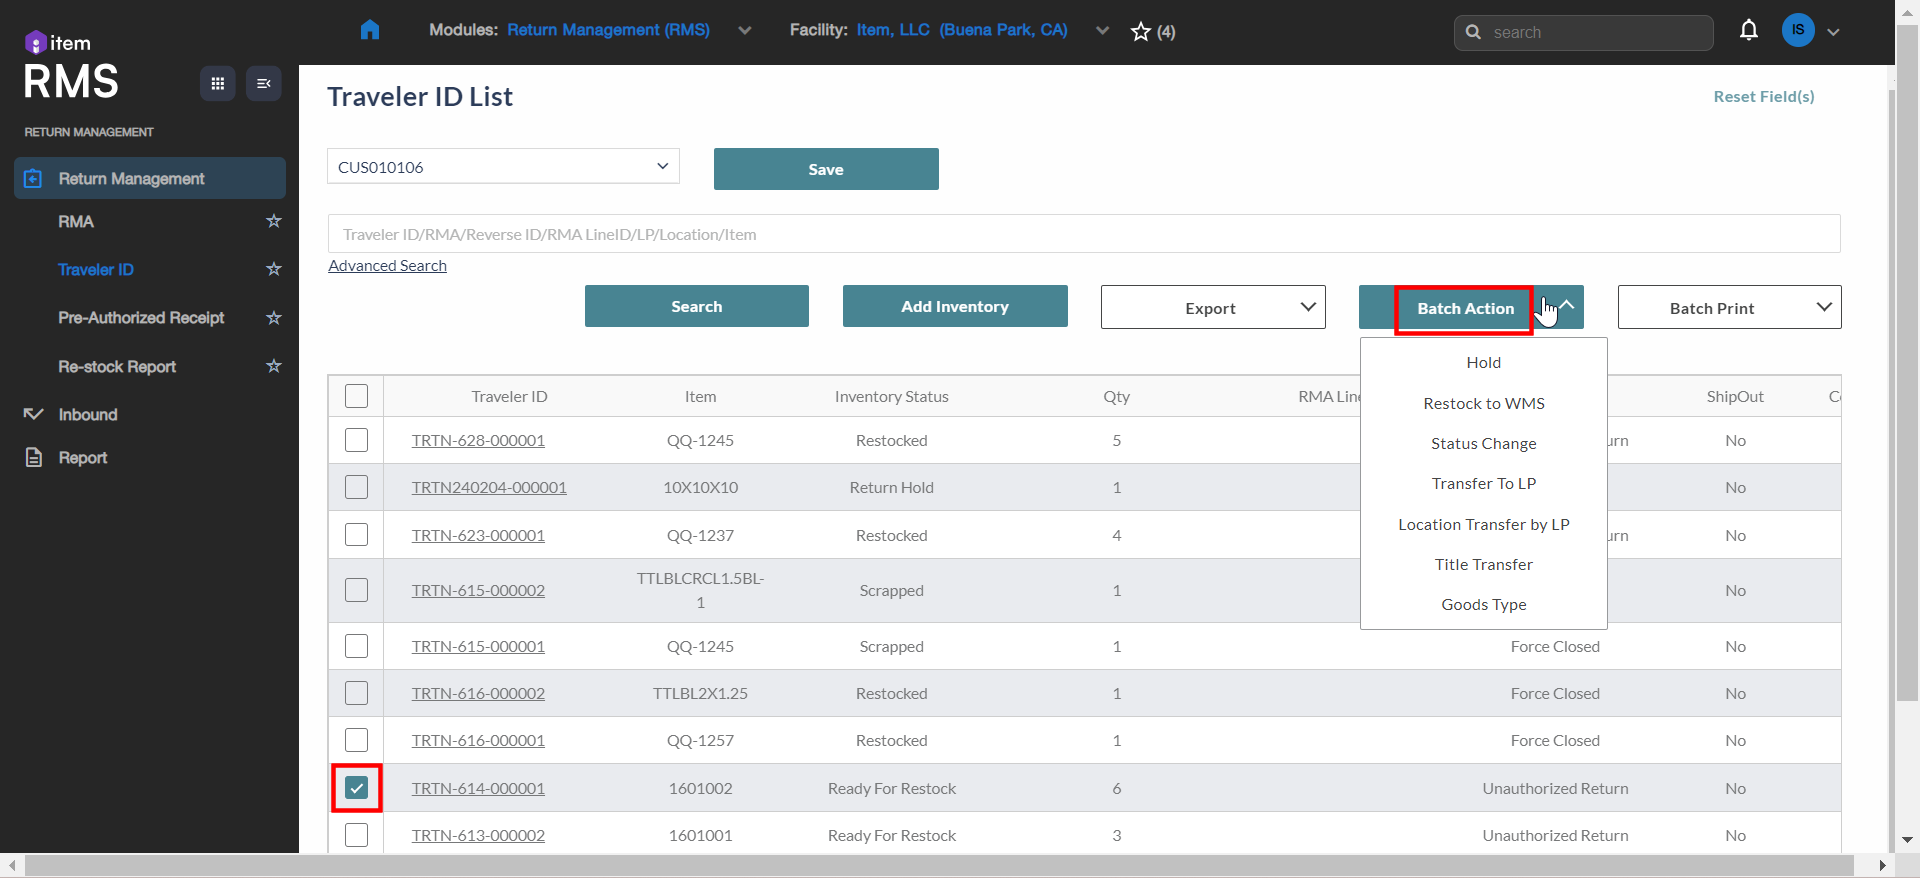
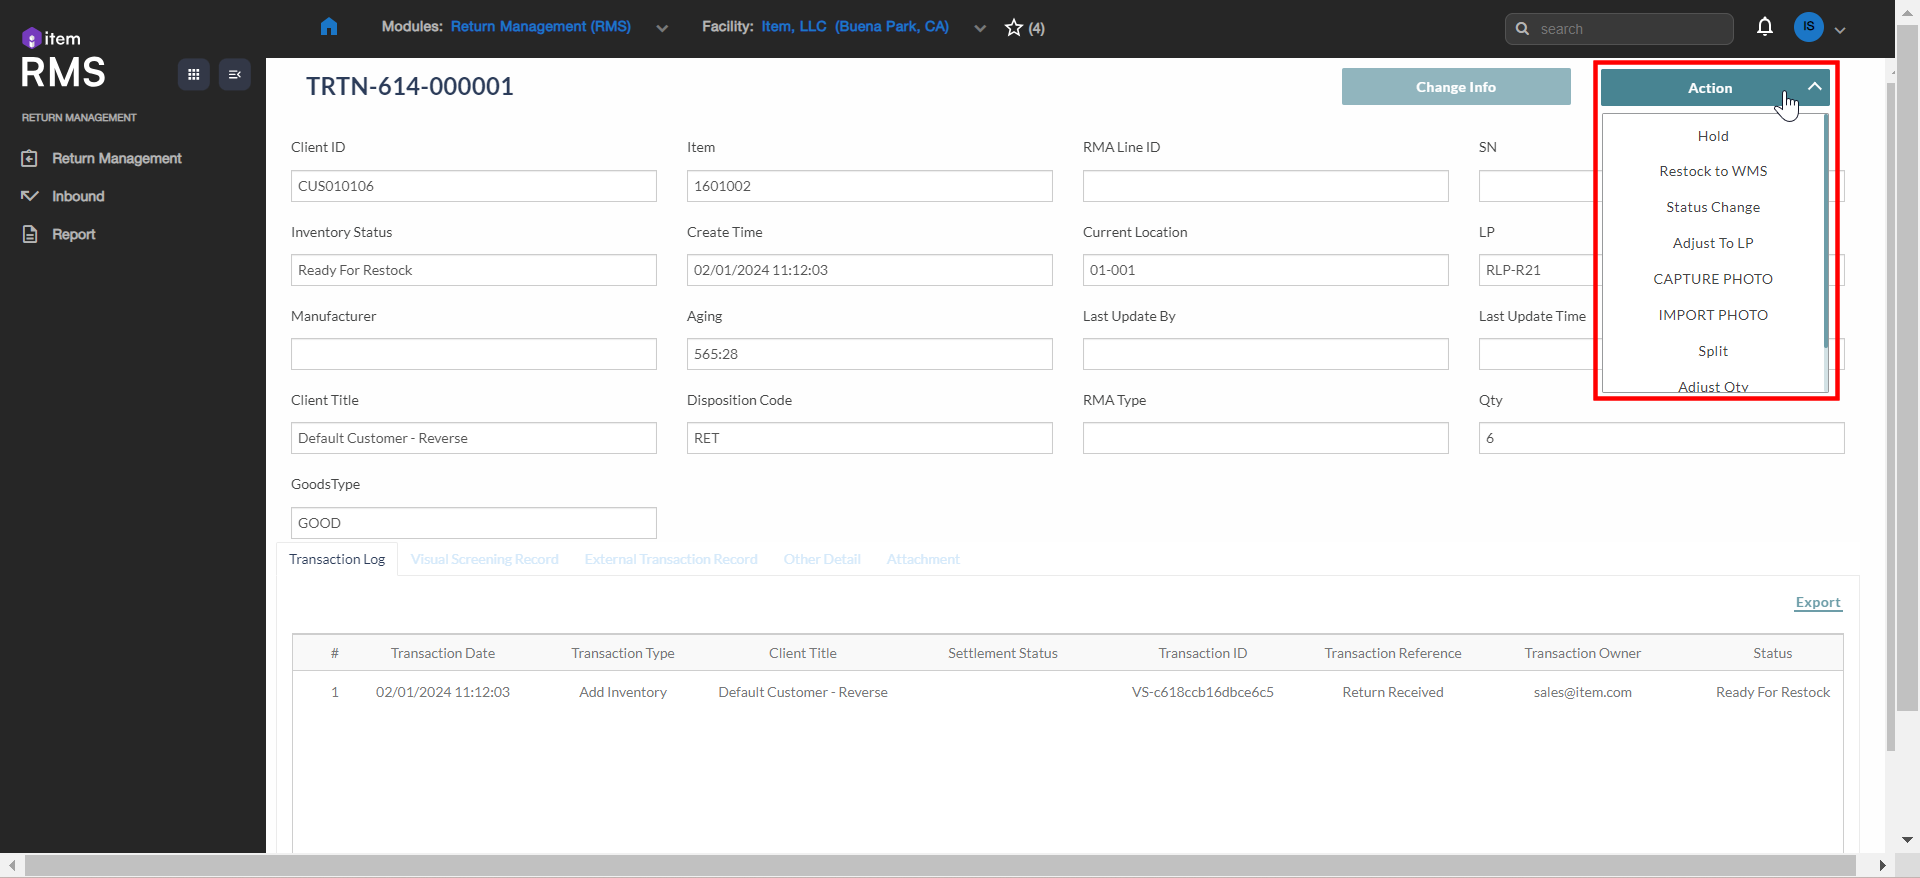
Besides “Batch Action” which is a batch action for multiple Traveler IDs, you can also click a specific Traveler ID and go to “Action” in the upper right corner of the details page.
For proceeding steps, based on the goods condition, you can continue with different options to handle the goods. In the following text is introduced two commonly adopted options: Restock to Inventory, and Scrap.
Restock to Inventory
This option means the goods are in a condition that can be put back to inventory and be used for other orders. Normally the screening result is “Ready For Restock”.
Step 1: In the “Batch Action” dropdown menu, select “Restock to WMS”.
Step 2: In the popup dialog box, copy the displayed RLP number and paste it back into the text box, or enter the right one directly.
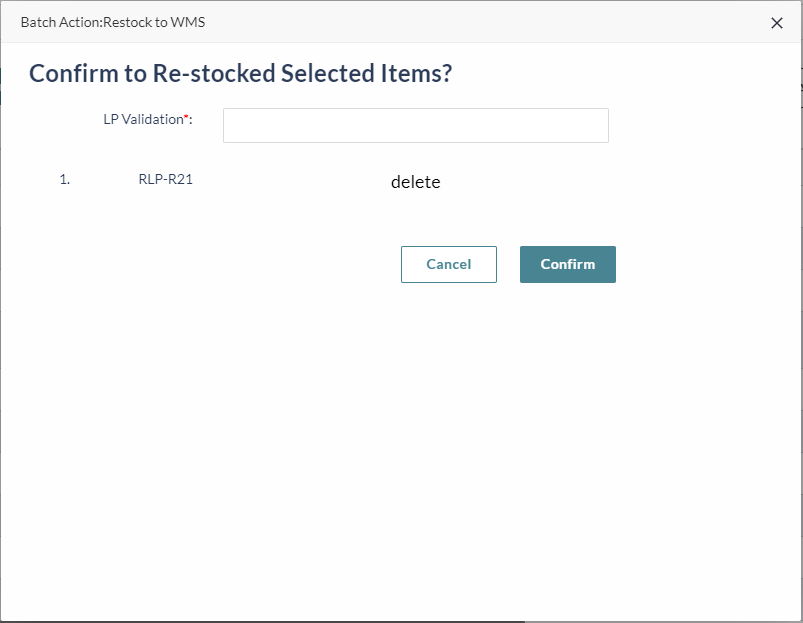
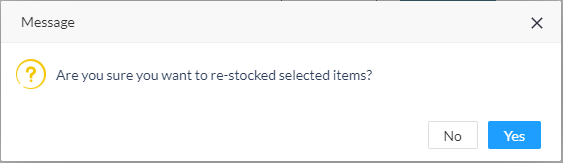
Step 3: Click “Confirm” and in the confirmation dialog box, click “Yes”.
Step 4: The status of this Traveler ID is updated from “Ready For Restock” to “Restocked”. So far, the operation in RMS has been completed. Next, you (or other personnel in charge) need to sign in the WMS app and create a putaway task to restock the mentioned goods to inventory, so that they are available for other orders. These items are listed (added directly back to the identical items if any) in WMS > Inventory > Inventory > Inventory List.

Scrap
This option means the goods need to be abandoned due to irreparable condition or other reasons. Normally the screening result is “Pending Scrap”.
Step 1: In the “Batch Action” dropdown menu, select “Scrap”.
Step 2: In the popup dialog box, select the reason to scrap the items and enter necessary notes.
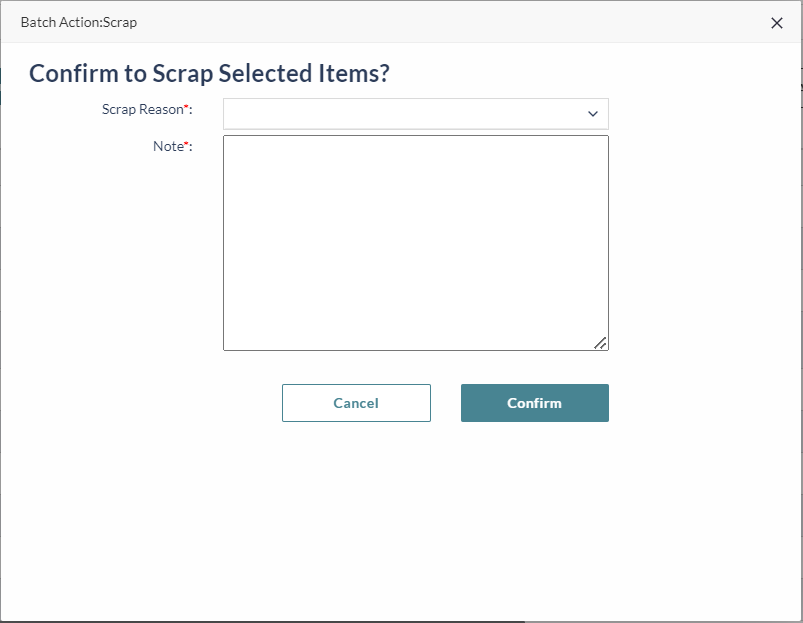
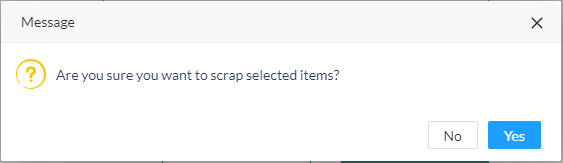
Step 3: Click “Confirm” and in the confirmation dialog box, click “Yes”.
Step 4: The status of this Traveler ID is updated from “Pending Scrap” to “Scrapped”. So far, the operation in RMS has been completed. Next, dispose the scrapped goods as needed.