1. Navigate to Warehouse Management (WMS) → Window Check In → Entry List.
2. Click Create Entry.

3. Select the check box for the type of entry:
Live Load—Outbound orders where a trailer or container is loaded at the facility
Live Delivery—Inbound orders where a trailer or container is offloading at the facility
Pick Up Hook—No-touch freight service; a tractor arrives and picks up or drops off a trailer without loading or unloading
Dropoff—Delivery at the gate, such as USPS and other delivery services
Parking—Check this box if the vehicle or container is to be parked at the yard.
Visitor—One-time guest
Other—Any entry not covered by the other choices
4. Click OK.
5. Click Yes in the dialog box.
6. Enter the Carrier Info:
MC/DOT: vehicle’s MC/DOT number
Carrier: name of the carrier (example: FEDX_CG for FedEx ground)
Driver Name: driver’s name from the driver’s license (example: Steve Jimenez)
Driver License (required): driver’s license number (example: A3452341)
Driver Phone: cell phone number to contact the driver
Equipment Type (required): type of vehicle or vehicle/trailer combination
- Bobtail Truck
- Box Truck
- Car (including pickup trucks, SUVs, etc.—anything that is not a commercial vehicle with an MC/DOT number)
- Tractor + Container
- Tractor + Trailer
- Tractor + Flatbed
- Other
- Tractor Only
- Rail
- Drop Off Container: a loaded or empty container that is being dropped off
- Drop Off Trailer: a loaded or empty trailer that is being dropped off
Tractor (required for all except Drop-Offs): Name or license plate number of the vehicle (example: 6UNI123), or the train ID
Container: the container ID
Trailer: trailer’s license plate
Seal Number: Seal number of the container
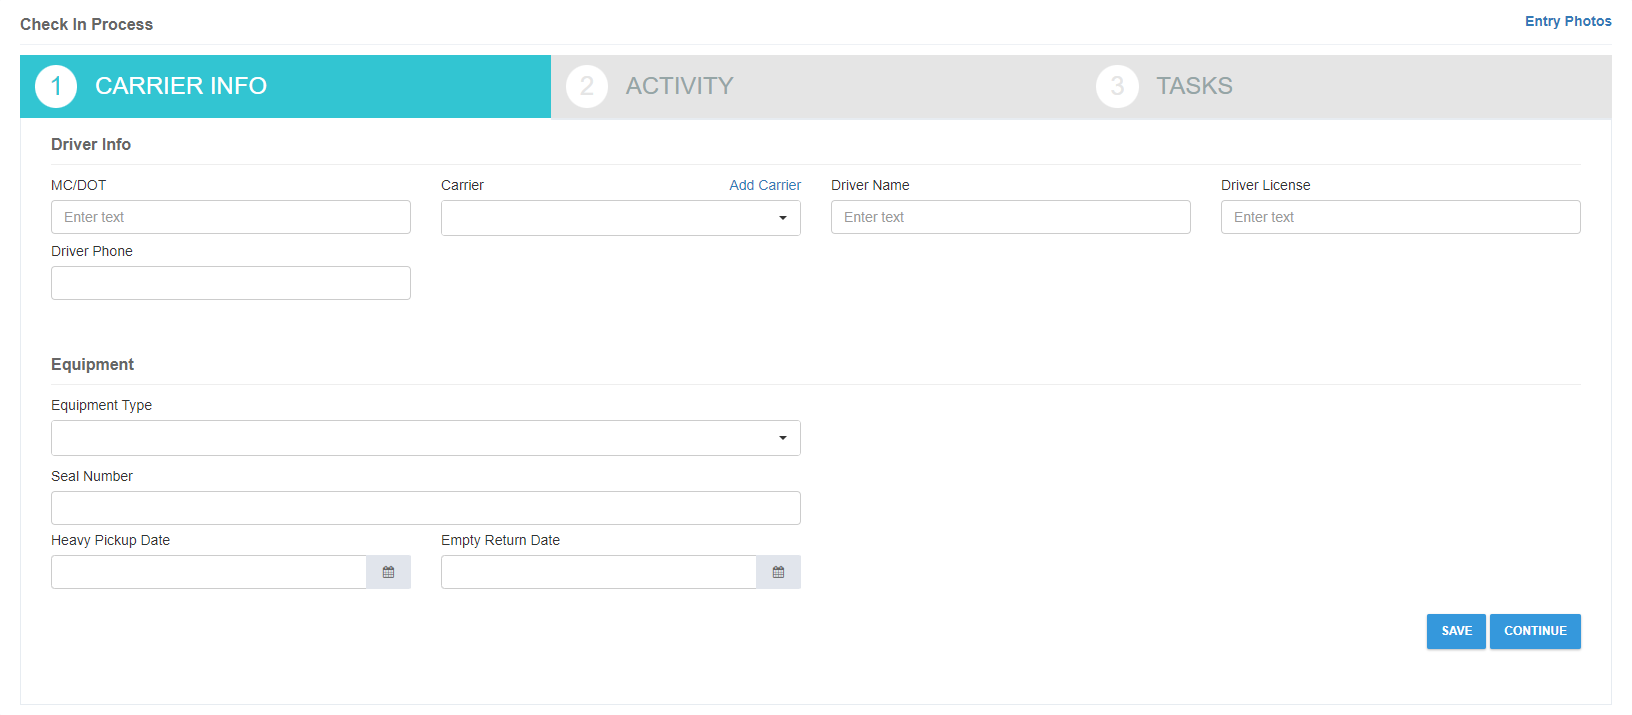
7. Click Continue.
8. In the Activity tab, type an RN in the Type to search Receipt or Load box, then click the RN in the results list. You can use a partial search by entering “RN-”.
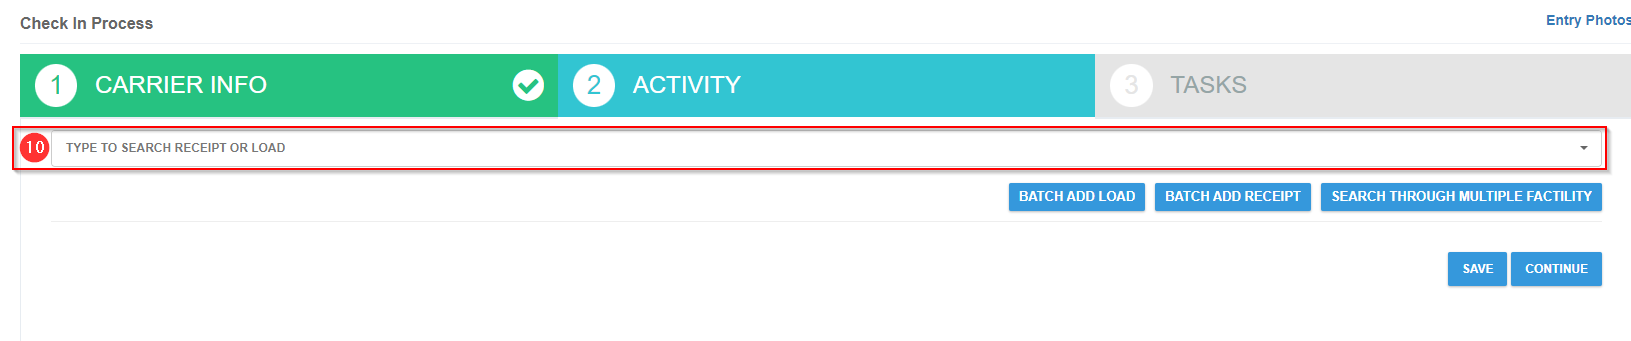
9. Click Continue.
10. In the Tasks tab, select:
Assignee: a worker
Dock: an available dock
11. In the Description box, describe the task.
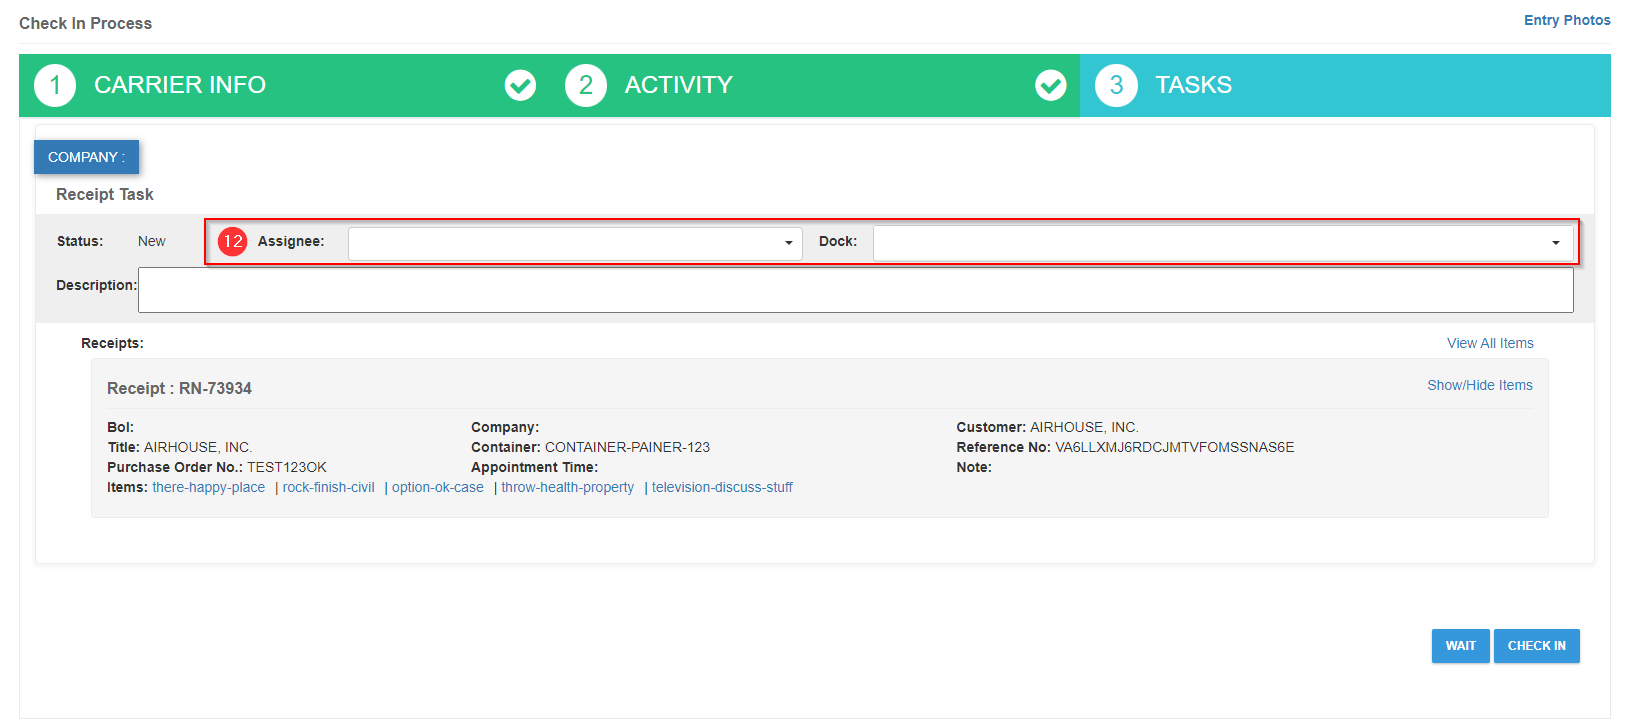
12. Click CHECK IN.
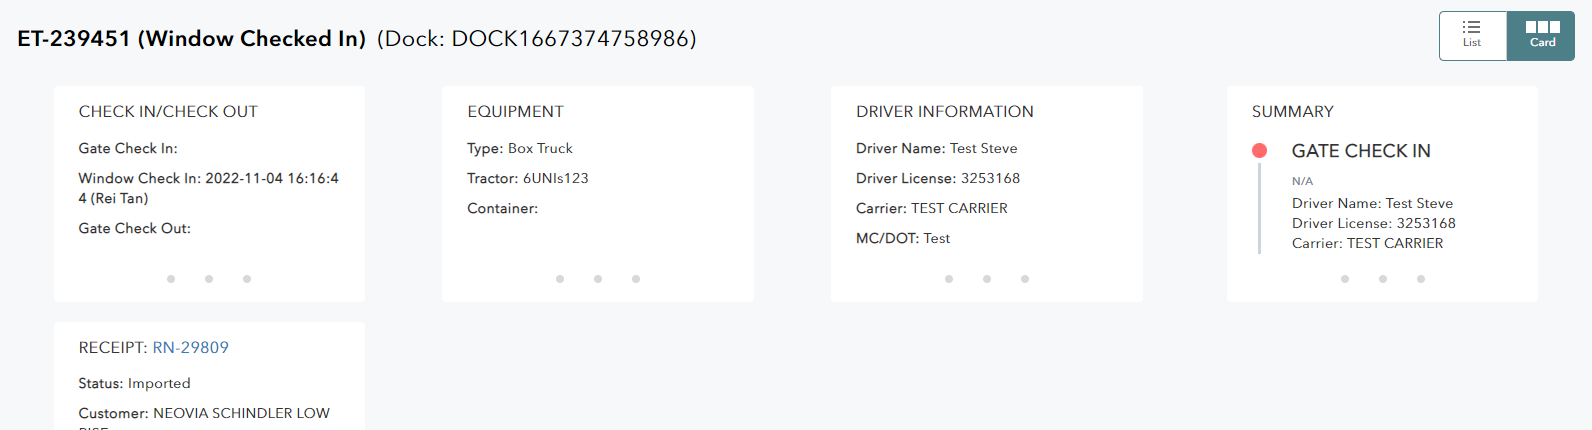
13. Click OK in the confirmation window.The new Entry ID has been created. The assignee’s mobile app will receive a notification of the Receive Task.